COMPUTER
AIDED
ARCHITECTURAL DESIGN
Workshop 13 Notes,
Week of October 28, 2020
There are a number of altermative for compiling the frames into a single movie sequence. The first of these options is the open source program OpenShot available as a download at https://www.openshot.org for Windows or Mac OS. These notes cover a few basic steps appropriate to compiling images into a moviefile. More complete tutorials are avilable on the openshot.org web site.
Launch the OpenShot software.

Select the import files green cross icon in the upper left-hand side of the OpenShot Window or use the menu sequence "File/Import Files"

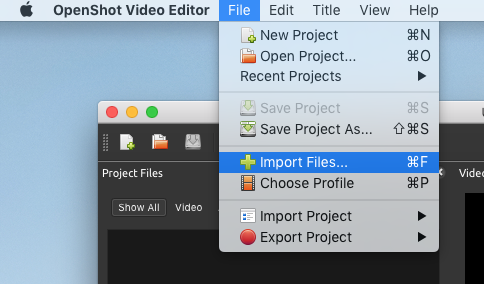
Select the first frame of the animation sequence.
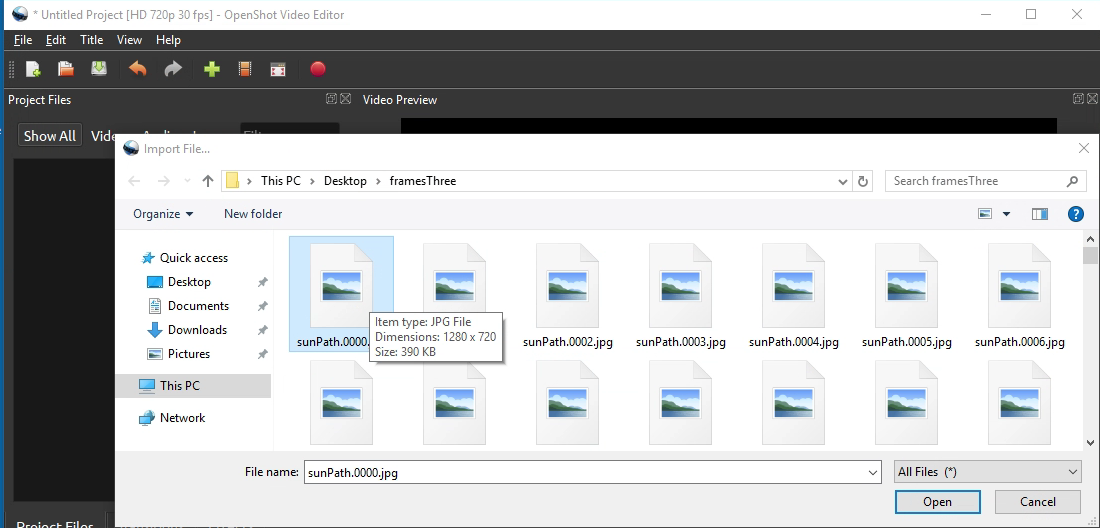
In the dialog box that follows, select the first frame and then select the button labelled "Yes" to load the full image sequence (the default is no)..

The full image sequence now appears in the "Project Files" window.
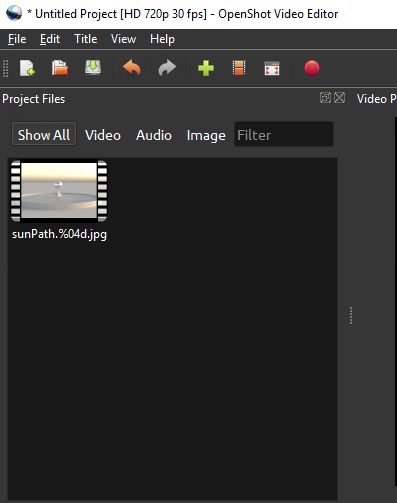
Select the image sequence from the Projects window and drag and drop to "Track1" in the TImeline window.
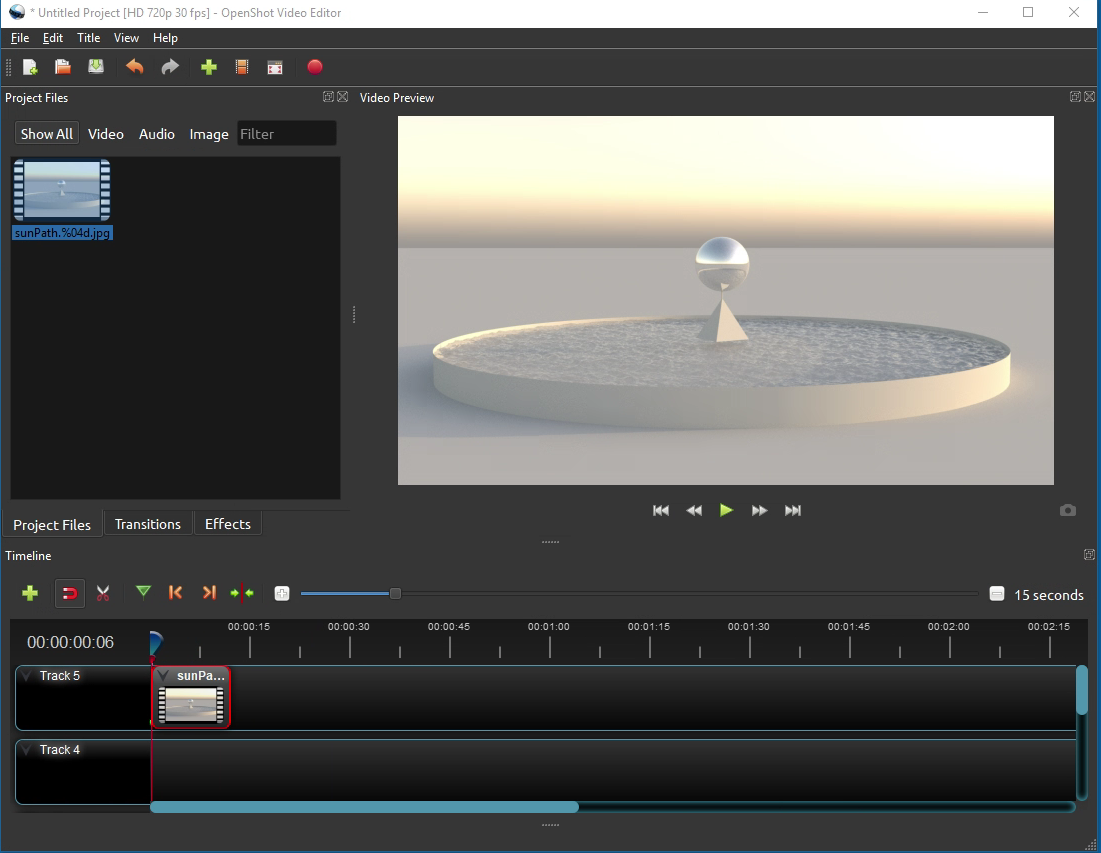
Playback the image sequence by selecting the green right triangle in the Video Preview Window.
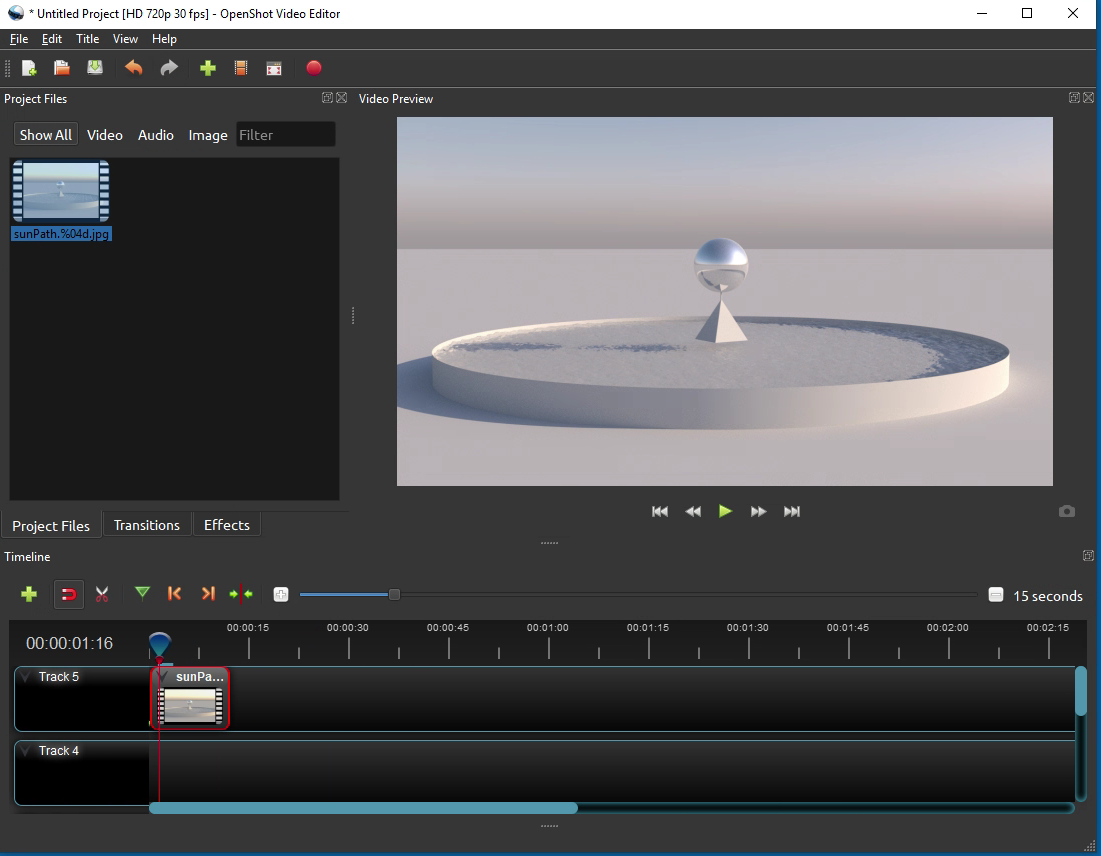
Select the export video icon.
In the export video dialog box that follows, the settings are set to ensure a relatively better quality file compression format. The file is named "myVideo" and it is placed on the desktop. The format is MP4 (h264) and the resolutoin is HD 720p 24 fps (1280 x 720) where fps means frames per second and where the resolution is the same as the original source material. The compression quality is "High" which results in a larger file size at a higher quality output.
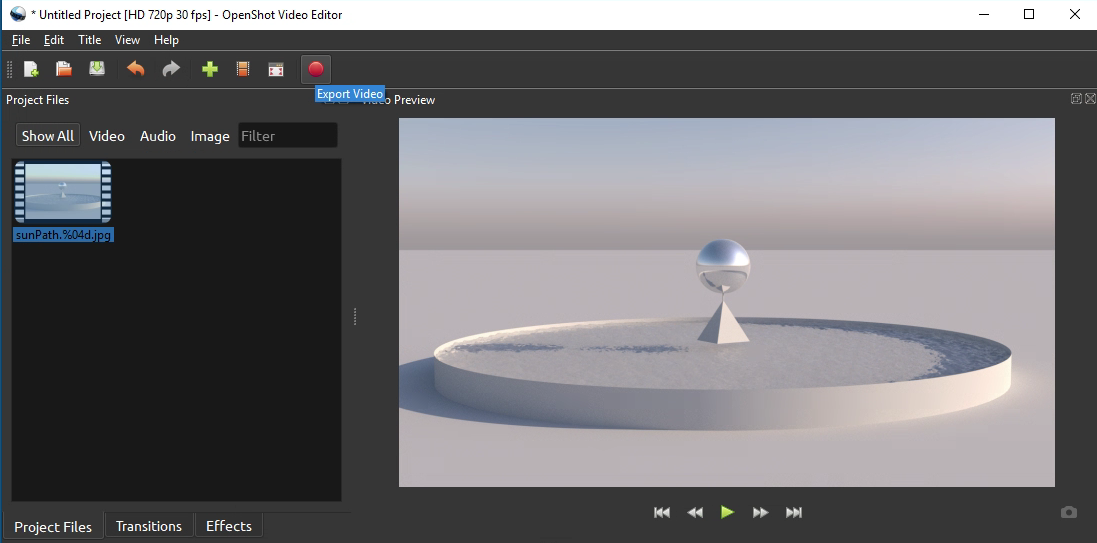
Note that the specific settings may also be varied to achieve a different playback quality and compression method used. For example, in the dialox box below the target is reset to be "CPU" MP4 (h.264) and the Video provide is reset to afaster playback speed HD 720p 30 fps (1280x720) where fps means frames per second. You may need to test differnt options based upon the playback quality you see and also the computer system you are working with.
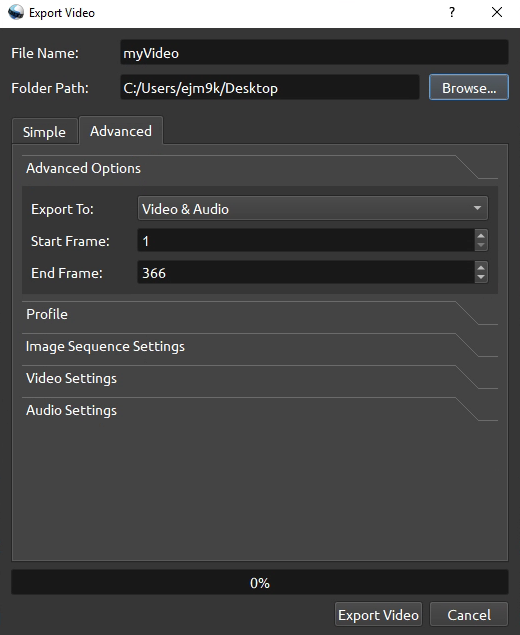
Select the advanced tab to change the resolution of the video export.
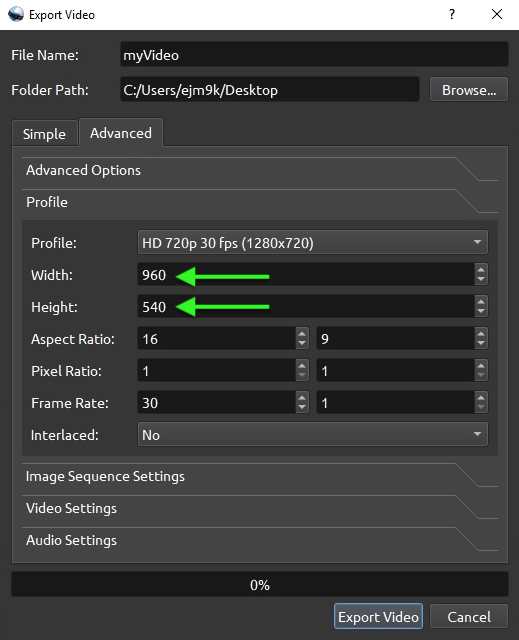
Next, open the Profile sub-panel and change the resolution to the original frame resolution. You may want to use low resolution such as 960 x 540 or 640 x 360 for basic animation studies in this class. Ensure that you pick a resolution that also matches the aspect ratio of the original animation frames.
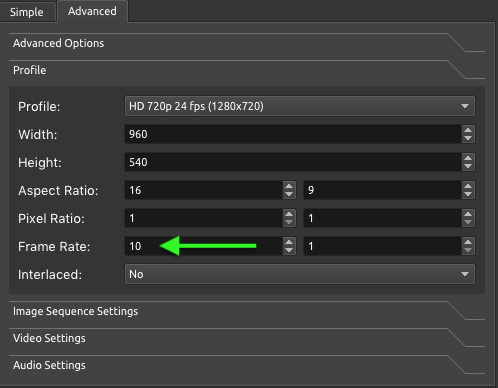
A lower playback frame rate can also be specified in the advanced panel, such as a revised 10 frames per second in the setting below. In this examle the frame rate is set to 10 frames per second. However, this is slightly deceptive. It means that the output will just render one in every 10 frames.
Alternatively, if you right-mouse-button click on the "File Properties" of any imported media in the "Project Files" area. This will open up the "File Properties" dialog box. Go to the "Video Details" panel, and then reset the value of the "Frame Rate" to 10 frames per second. Make this change before placing video mediaon the Video Track editor timeline. It render out at 10 frames per second (or whatever frame rate you wish) and render every frame.
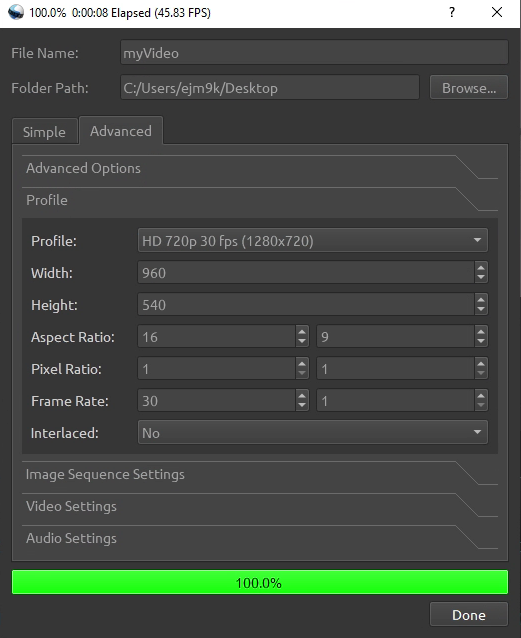
Next, select the Export Video button. This final step will explore an mp4 movie file to your desktop folder named "myVideo.mp4".
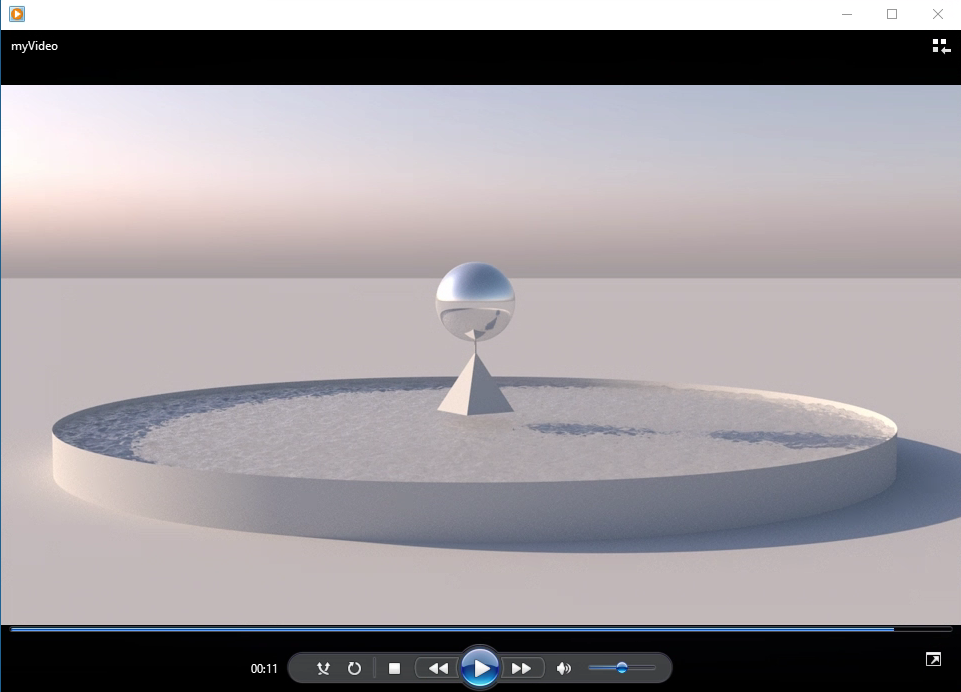
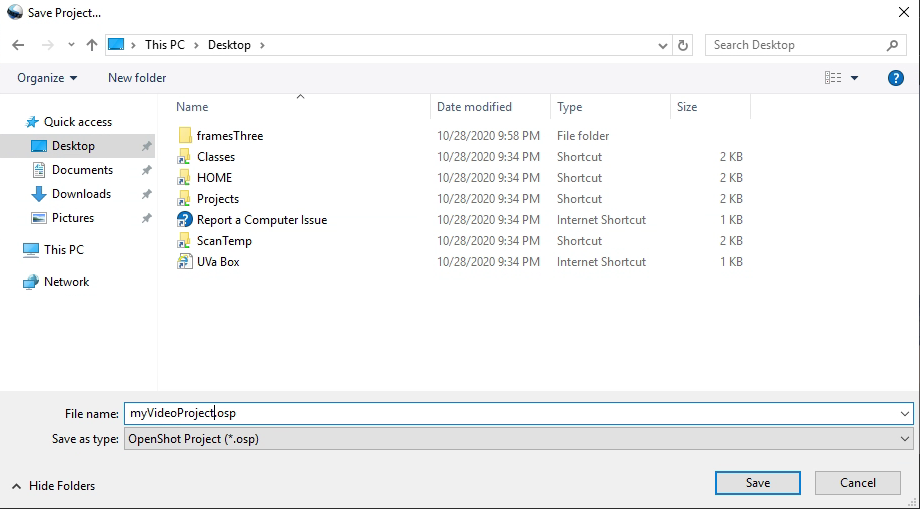
To continue to work with the video editig project at a later time, use the "Save Project" icon which is the third icon from the upper left hand corner of the OpenShot window. You need to maintain the resource files in the same folder as the Project File to take advantage of this features.
![]()
In the dialog box that files, create a project name and then select the "Save" button.
Open shot allows you to add sound, handle video transitions between multiple animation clips, add titles and address most common video editing functions.
Note that other video editing options are available. Adobe Premiere is availalble on Adobe Creative Cloud widely used within the School of Architecture. Quicktime Pro is also available is availble on Apple Computers in Campbell 105 and 107. These tools are beyond the scope of this tutorial and may be questionable during limited access issues in 2020.