COMPUTER AIDED ARCHITECTURAL DESIG
Workshop 1 Notes, Week of August 28, 2011
Initiating a drawing in Microstation and Graphics Primitives
1.
Opening Microstation :
Programs/Architecture and 3D Modeling/Bentley/Microstation
V8i/Microstation V8i
2.
Opening a new file :
Choose File / New
and choose the directory where you want it to be saved to
C:\Documents and Settings\All Users\Application Data\Bentley\MicroStation V8i (SELECTseries 1)\WorkSpace\System\seed\seed3d.dgn
The file will open with 4 viewing windows –each show a different views of model space
Use fit window ![]() (small mountain icon in each view window toolbar) to see all elements
of drawing
(small mountain icon in each view window toolbar) to see all elements
of drawing
If you accidentally close a window you would like to keep open, it may be reopened by clicking on one of the first 4 tabs numbered 1 through 8 at the bottom left of your screen.
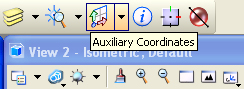
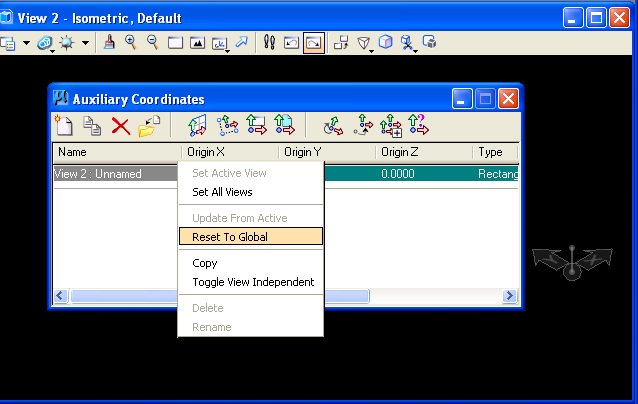
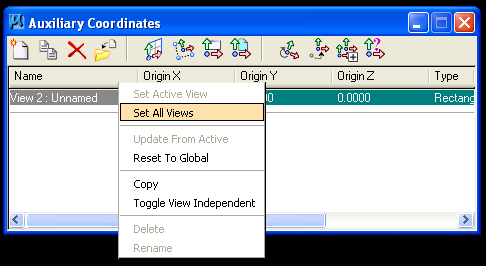
4. Setting Auxiliary Coordinate System
Set the default Auxiliary Coordinate System to Global by following the next three steps:
4. Turning on standard tool bars (should be on by default):
Select: Tools and each of the following should also be selected on: Attributes, Primary, Standard, Main, & Tasks
5. Establishing scale units:
a. MORE DETAILED METHOD:
b. SHORT CUT METHOD:
6. Establishing Reference Grid:Setting a Grid to scale units:
7. Drawing graphic primitives (all tools in main tool palette, screen-right)
8. Using Snaps:
9. Deleting objects:
Select object(s) to be deleted using delete tool (single object) or arrow tool (single or multiple objects) and then use delete button on keyboard or in tool palette)
10. Using the icons on the lower left of your screen:
![]() Fit view
(mountain): returns to window what has been constructed in the model
space.
Fit view
(mountain): returns to window what has been constructed in the model
space.
![]() Plus (+): zoom
in
Plus (+): zoom
in
![]() Minus(-) zoom
out
Minus(-) zoom
out
![]() Pan View
(Arrow): allows view to be repositioned allow a vector. (zoom factor
may be changed)
Pan View
(Arrow): allows view to be repositioned allow a vector. (zoom factor
may be changed)
![]() Rotate
View: may be used to move about the construction.
Rotate
View: may be used to move about the construction.
![]() View
next and view previous: self explanatory.
View
next and view previous: self explanatory.
![]() Change
View Perspective: perspective projection tool (manipulates perspective
in very uncontrolled way). Going to Settings / Camera / Off
will turn off perspective.
Change
View Perspective: perspective projection tool (manipulates perspective
in very uncontrolled way). Going to Settings / Camera / Off
will turn off perspective.
![]() Window
Area: defines view window for
zooming in
Window
Area: defines view window for
zooming in
Microstation is constantly saving the file.
If you would like to save iterations of model, make sure to use File / Save As Edit / undo / redo will allow you return to previous work, but is of limited value.
12. Choosing Levels:
![]()
Pull down menu next to the color menu at upper left of screen. You can turn on or off, or make active a prenamed level. Using layers allows parts of the model to be turned off or on and will be useful for assigning attributes. On the upper right side of the screen is a second icon referring to the level manage which allows you to name layers and further use them as we will see later in the term.
12. Choosing Colors:
![]()
The pull down menu next to level menu at upper left of screen allows easy selection of colors (stay away from dark blue, hard to see, and red, often used as a highlight color).