Animate sun movement through a specified calendar day.
COMPUTER
AIDED
ARCHITECTURAL DESIGN
Workshop 18 Notes,
Week of November 28 , 2017
BASIC ANIMATION IN RHINO WITH RHINO RENDER OR VRAY
This set of fresh notes will be expanded wih screen captures. They supplement links to "animation commands" provided by McNeel and to the "OpenShot" web sites below.
These notes are intended to supplement the introduction to basic animation techniques described in Rhino's documentation online. Animation may be rendered in either Rhino Render or VRay. During the workshop itself we followed the techniques adequately described in Rhino's documentation for animation commands. We also used the open source program OpenShot which you can acquire at no cost with a donation at your discretion at openshot.org. Note the user guide/tutorial provided by the OpenShot software maker. The set of additional notes below is provided wih screen captures and supplements the links to "animation commands" provided by the McNeel and the OpenShot on the web sites linked to above.
However, we also need to work around Campbell Hall location specific bugs in the implementation of OpenShot on our computer systems.
1. Launch the software under the name "OpenShot" in computer labs 105 or 107 on the first floor. OpenShot will launch normally.
2. Or, launch the software the under the modified name "OpenShot in Cambell 302 or 304" in the labs on the third floor. OpenShot will appear to launch normally, but invisibly it reconfigures appropriately to these rooms.
In summary, the method we followed in the workshop was:
1. Create one or more animations rendered in either Rhino Render or VRay.
2. Store the frames in separate folders on the desktop for each animation (e.g., folders "desktop\sunStudy", "desktop\walkThrough", etc.)
3. Ensure that the first frame number begins with the number 0000 (e.g., walk0000.jpg or sunStudy0000.jpg within each folder).
4. Launch the OpenShot software. Import the frames as a numbered series for each of the animations.
5. Place the frames on a video track in the OpenShot editor.
6.
Export the video to a single file "mp4" format.
1. Choose the rendering option of either "Rhino Render" or VRay".
2. The animation techniques here are limited to camera movement or rhino sunlight movement. Rhino sunlight movement is more easily realized with Rhino Render. With VRay Rhino sunlight requires the use of additional less well supported rendering techniques.
3. Go to the Rhino Render Tab just above the view window and select animation palette/celluloid strip. The options are (excerpted from the Rhino McNeel docuementation above)
Options and Documentation Links
Animate sun movement through a specified calendar day.
Animate sun movement through a specified week, month, or year.
Animate the camera and target movement along a path curve.
Animate the camera and target movement along separate path curves.
Rotate a view 360 degrees around the target.
4. To preview the animation, open the Animation Preview viewbar (also excerpted from the Rhino McNeel docuementation above).
In the Animation Preview toolbar, click the Preview animation button.
The viewport will change showing a preview of the animation. You cannot adjust the speed of the preview playback.
Press "Esc" to stop.
 PlayAnimation
Play
the animation preview.
 ViewFirstFrame
Go
to the first animation frame.
 ViewFrameNumber
Go
to the specified animation frame number.
 ViewLastFrame
Go
to the last animation frame.
 ViewNextFrame
Go
to the next animation frame.
 ViewPreviousFrame
Go to the previous animation frame.
5. For example, create a camera motion path and a target path adjacent to the subject of the animation.
Draw two curves to represent the camera path and the motion path. Here the curves are a helix for the camera path and a straight vertical line for the target path.
These paths were developed in relationship to a fractal cube subject of the animation and juxaposed as indicate in the following image.
Select the Set
Path Animation tool  and pick
the beginning of the camera path animation first on the lower end of the helix curve and the beginning of
the target path on the lower end of the vertical line.
Set
the number of frames, image file format, render mode, and
image
name prevfix (e.g, the prefiix "animation" for the series for animation
frames "animation0000.jpg", "animation0001.jpg", etc.) and
select
"OK".
Preview the animation using the PlayAnimation  button.'
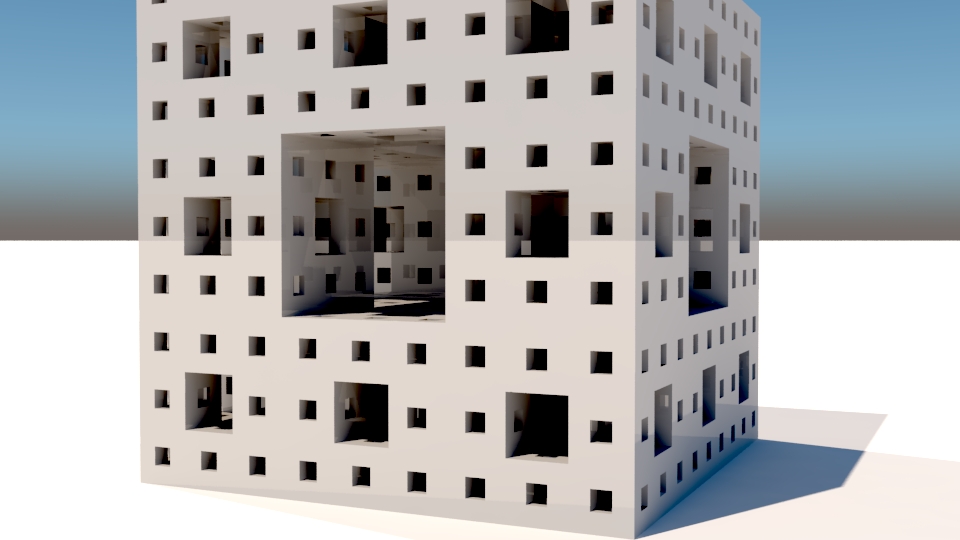
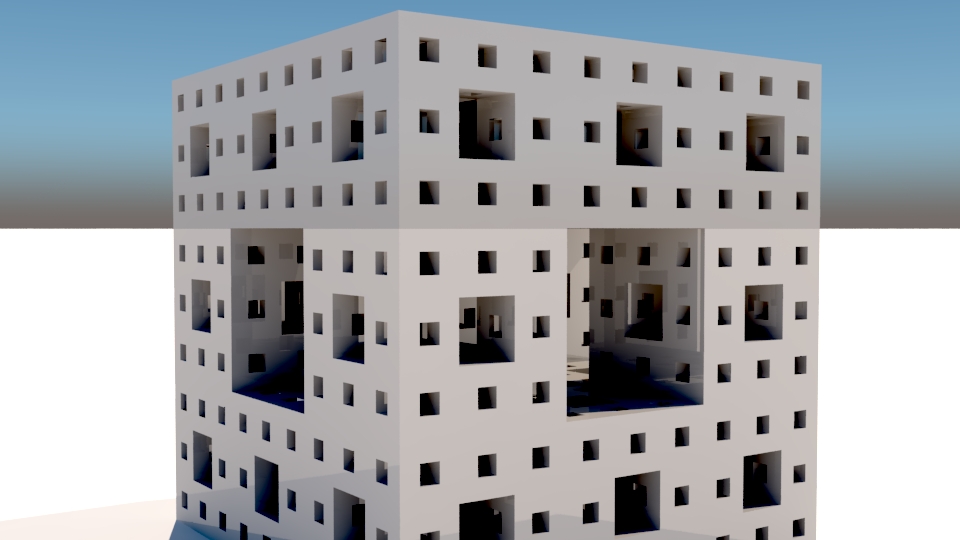
early part of camera path and target path sequence in VRay later part of of camera path and target path sequence in VRay
6. Or, for example, to setup a one day sun animation with Rhino Render (VRay is a bit more complex *):
Select the Sun tool  and
specify the following information:
Latitude (-90 to 90) _Specifies the model's latitude location.
Longitude (-180 to 180) _Specifies the model's longitude location.
North angle (clockwise from y-axis) _Specifies the model's north direction.
Date _Specifies the date.
Calendar _Click to select a date from calendar
Start time _Specifies the start time.
End time _Specifies the end time.
Minutes between frames _Specifies time interval.
File type _Select supported file type.
Capture method _Select from RenderFull using the current renderer or any viewport display style.
Viewport _Select viewport name.
Animation
name _The name for the animation file set (e.g., "sun0000.jpg")
*
NOTE: Within the workshops we introduced a Grasshopper definition
file
that makes rendering the sun in VRay possible. The file sunPathCalendarAndClock.gh,
a simpified version of the tool, is available for this
purpose (see Earl Mark for details). The Grasshopper File was
created by Earl Mark. However,a C# component in the script
was initially developed by Luis Fraguida in 2010. M. Arch.
Student
Katie LaRose initiated the exploration of available scripts to control
the rendering from a given viewport as a homework exercise in this
class (Fall 2017).
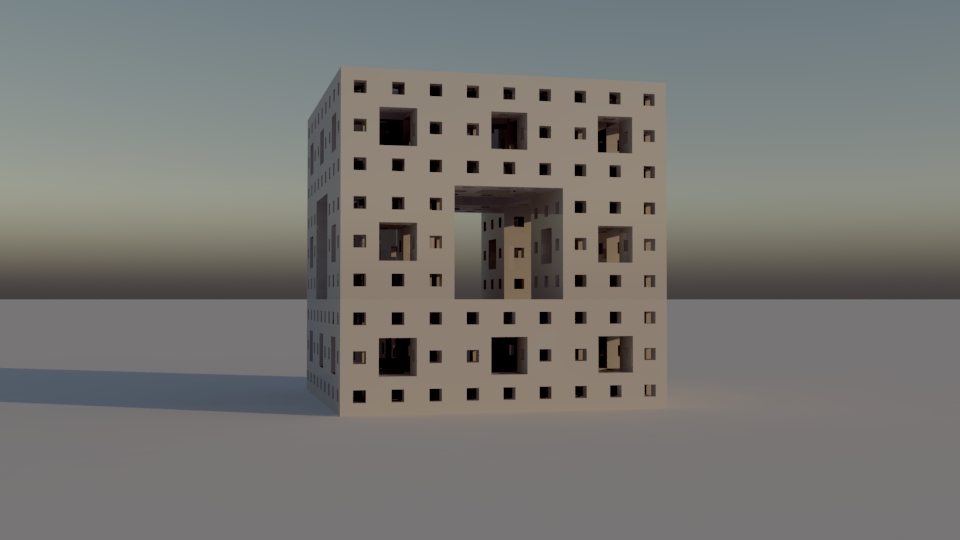
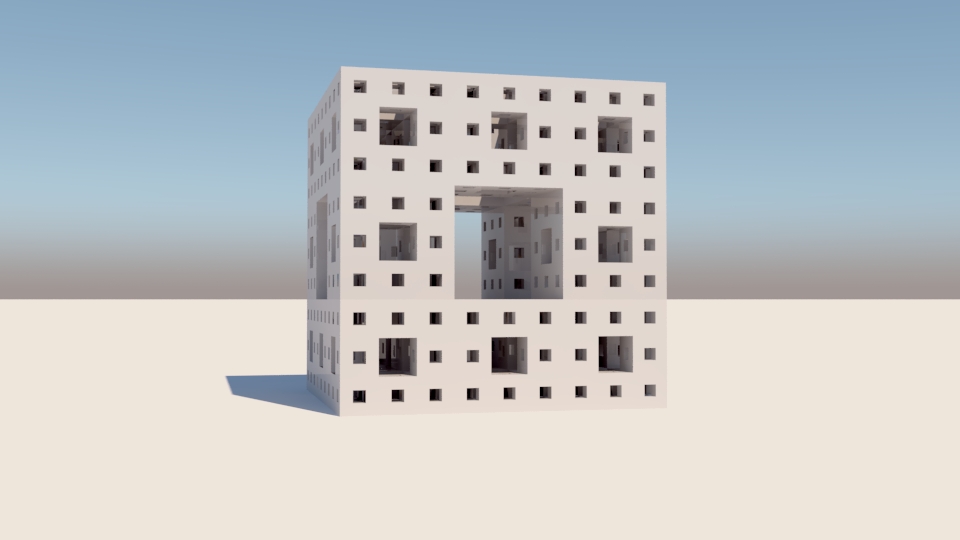
beginnng of sun study sequence in VRay later part of sun study sequence in VRay
7. To record the animation , in the Animation toolbar, click
the Record
animation red button with a red dot.
Press
Enter
to start recording. Press Esc
to stop.
Note:
TargetFolder _Specifies the folder for saving the
animation fram
RunAnimation _Runs the animation and creates the rendered frames.
1. Open the program open shot. On a single CPU computer in the School of Archifecture (Campbell rooms 105 and 107) select"OpenShot". On a double CPU computer faciltiy (Campbell 302 and 304) select the one named " OpenShot in Cambell 302 or 304",
2. Within OpenShot use the menu item "FileImport" to import or the green "+" symbol and import the first frame of the frame sequence for the first animation.
3. Choose the import sequence window.
4. The animation will appear in the Open Shot editor in the "Project Files" window.
5. Similarly any additiona animation seqquence and place in the "Project Files" window.
4. Drag the first animation sequence to the "Track 4" timeline.
5. Do the same for any additional renderings. Note that you can either juxtapose the clips side by side or leave some blank frames inbetween as is teh case below.
7. To view the animatino select the green play arrow in the 'Video Preview" window.
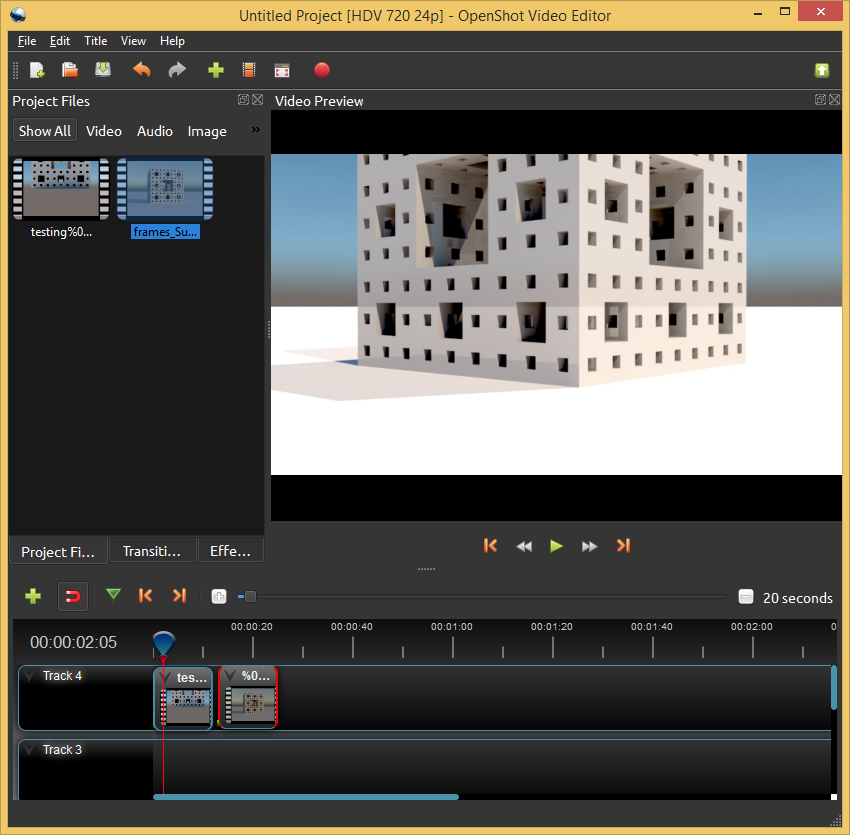
8. To export the animation, go to the "File/Export Video" menu, and under "File Name" create a name such as myVideo for exporting onto the desktop and for the "Target" formrat, choose "MP4 (meg4) as shown here.
10. Am alternative with respect to the "Target" would be "MOV (mpeg4) for the Quicktime format (not as widely widely today outside the Apple Operating System)
11. Select the "Advanced" tab and go to the "Profile Option".
12. Next, you will addjust the image reolution to the specific resolution you've created in the animatino sequence. Hoever,if you don't recall the resolution you've used to create the sequence, then right-click, on one of the images directly in the original animation frames folder, selecting properties, and double-check on the resolution within the "Details" tab. Here the resolution is 960 x 540 pixels.
13. Accordingly, change the resolution in the profile to 960
x 540 pixels.
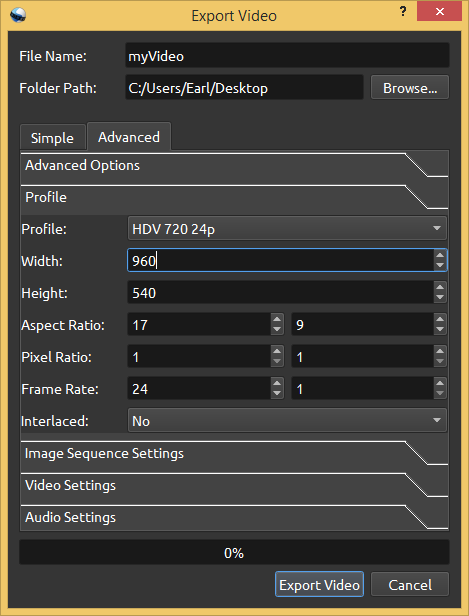
14. To created the video select the "Export Video" button highlighted at the bottom of the dialog box, and you will see an pecentage on the export process.
15. Playback the video such as in VLC or Windows Media Player (image depicts animation viewed in Windows Media Player).
15.
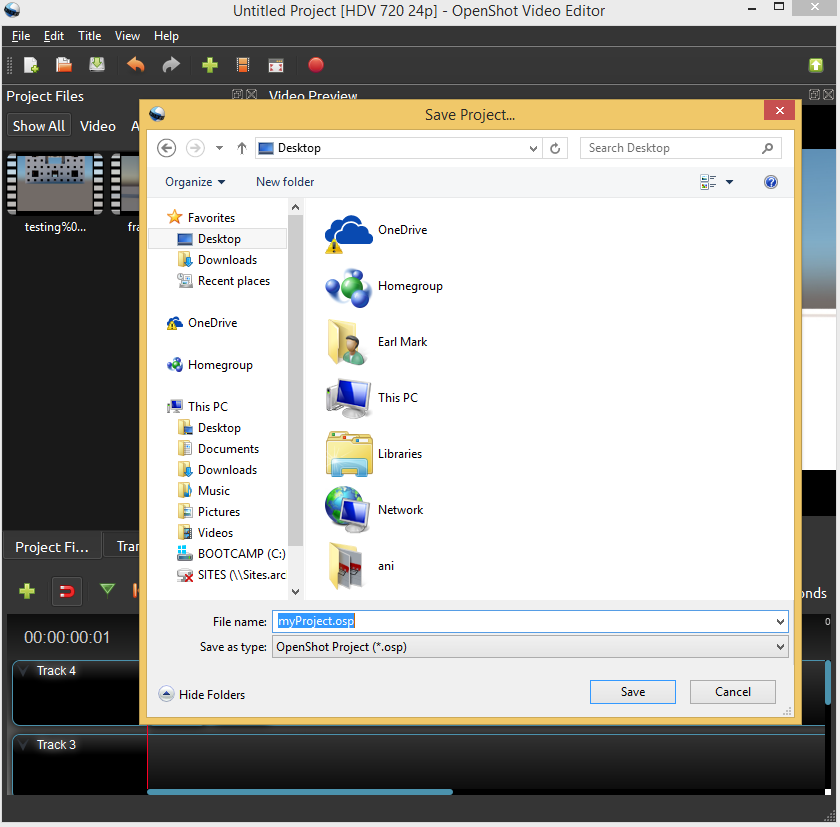
To hold onto the OpenShot edits, use the "File/Save Project"
option so that you can re-edit or adjust at another time. Note that the
source video files should be kept in the same folder as the "osp" file.
That is, the "osp" file links to the source animation files, but
doesn't direclty incorporate it into its file structure.
 .
.