COMPUTER
AIDED
ARCHITECTURAL DESIGN
Workshop 16 Notes,
Week of November 14, 2022
PROXY TREES AND OBJECTS
These draft notes reference a PDF file that relates to the workshop held this week on Proxy trees. It also is relevant for and proxy objects developed for V-Ray. Proxy objects are created with a low polygon count to stand in for more detailed objects. They are thus less cumbersome with respect to Rhino files size and rendering performance. A particlarly effective use of Proxy objects is for varied species of trees which can be found in a library stored in the classes/examples folder.
Note that the notes were originally prepared by former TA Evan Sparkman (Link To PDF Original File Notes) but redeveloped here here to reflect changes that have occured within a more recent release of V-Ray.
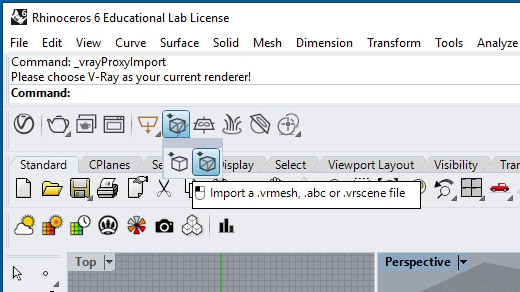
1. Getting Started
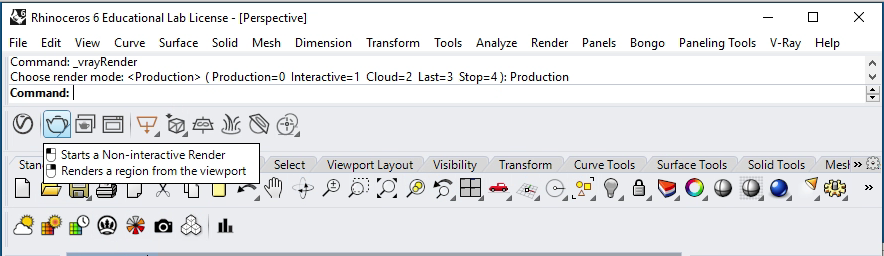
Tun on the V-Ray for Rhino render option. In the V-Ray toolbar select the import a .vrmesh (proxy file) option.
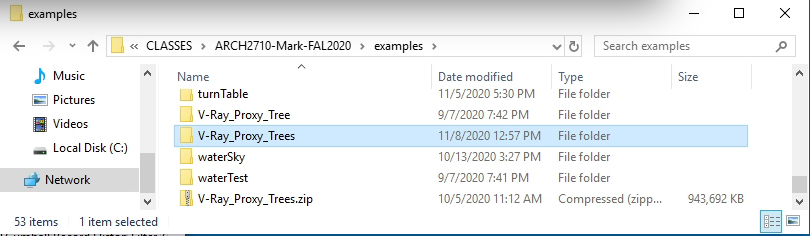
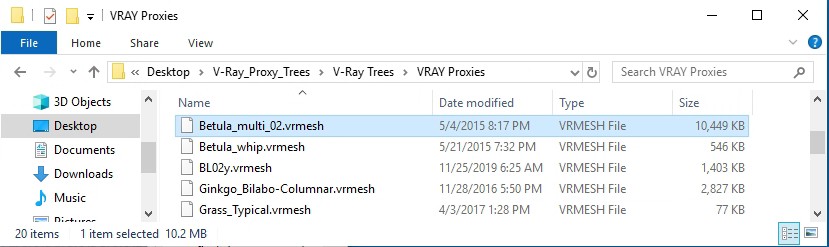
2. Find the V-Ray_Proxy_Trees Folder. This is located on the CLASSES server in the course folder and the examples subfolder and also in the Collab course site in the resources folder. A Zip file of the same name is there for added convenineces. Copy this entire folder "V-Ray_Proxy_Trees" (1.24 GB) or zip file of the same name to your desktop for temporary storage if you want the entire library. Or, to save file space and time for this tutorial, copy the folder V-Ray_Proxy_Tree (256 MB)
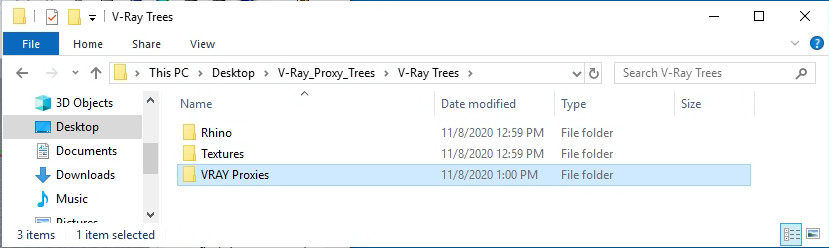
Next, from your desktop select the sub-folder "V-Ray_Proxy_Trees \ V-Ray Trees \ VRAY Proxies"
Next, Select any tree that you wish to work with, such as Betula_multi_02.vrmesh used in this example.
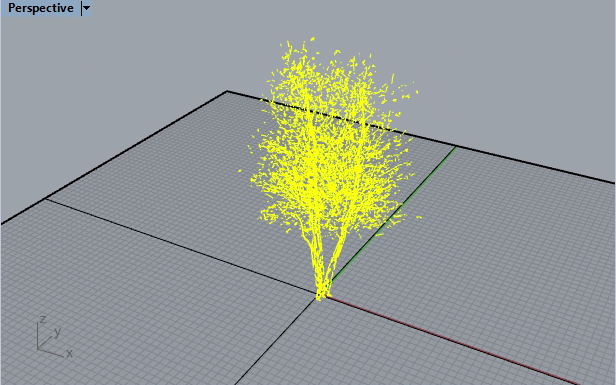
3. Once you have selected the tree place it at a location in the Rhino view window with the left-mouse button. The tree will be placed at this location; however, the scale may need to be adjusted. Adjust the view of the tree, select and rescale it to an appropriate size. In this example a simple ground plane is also added to the model.
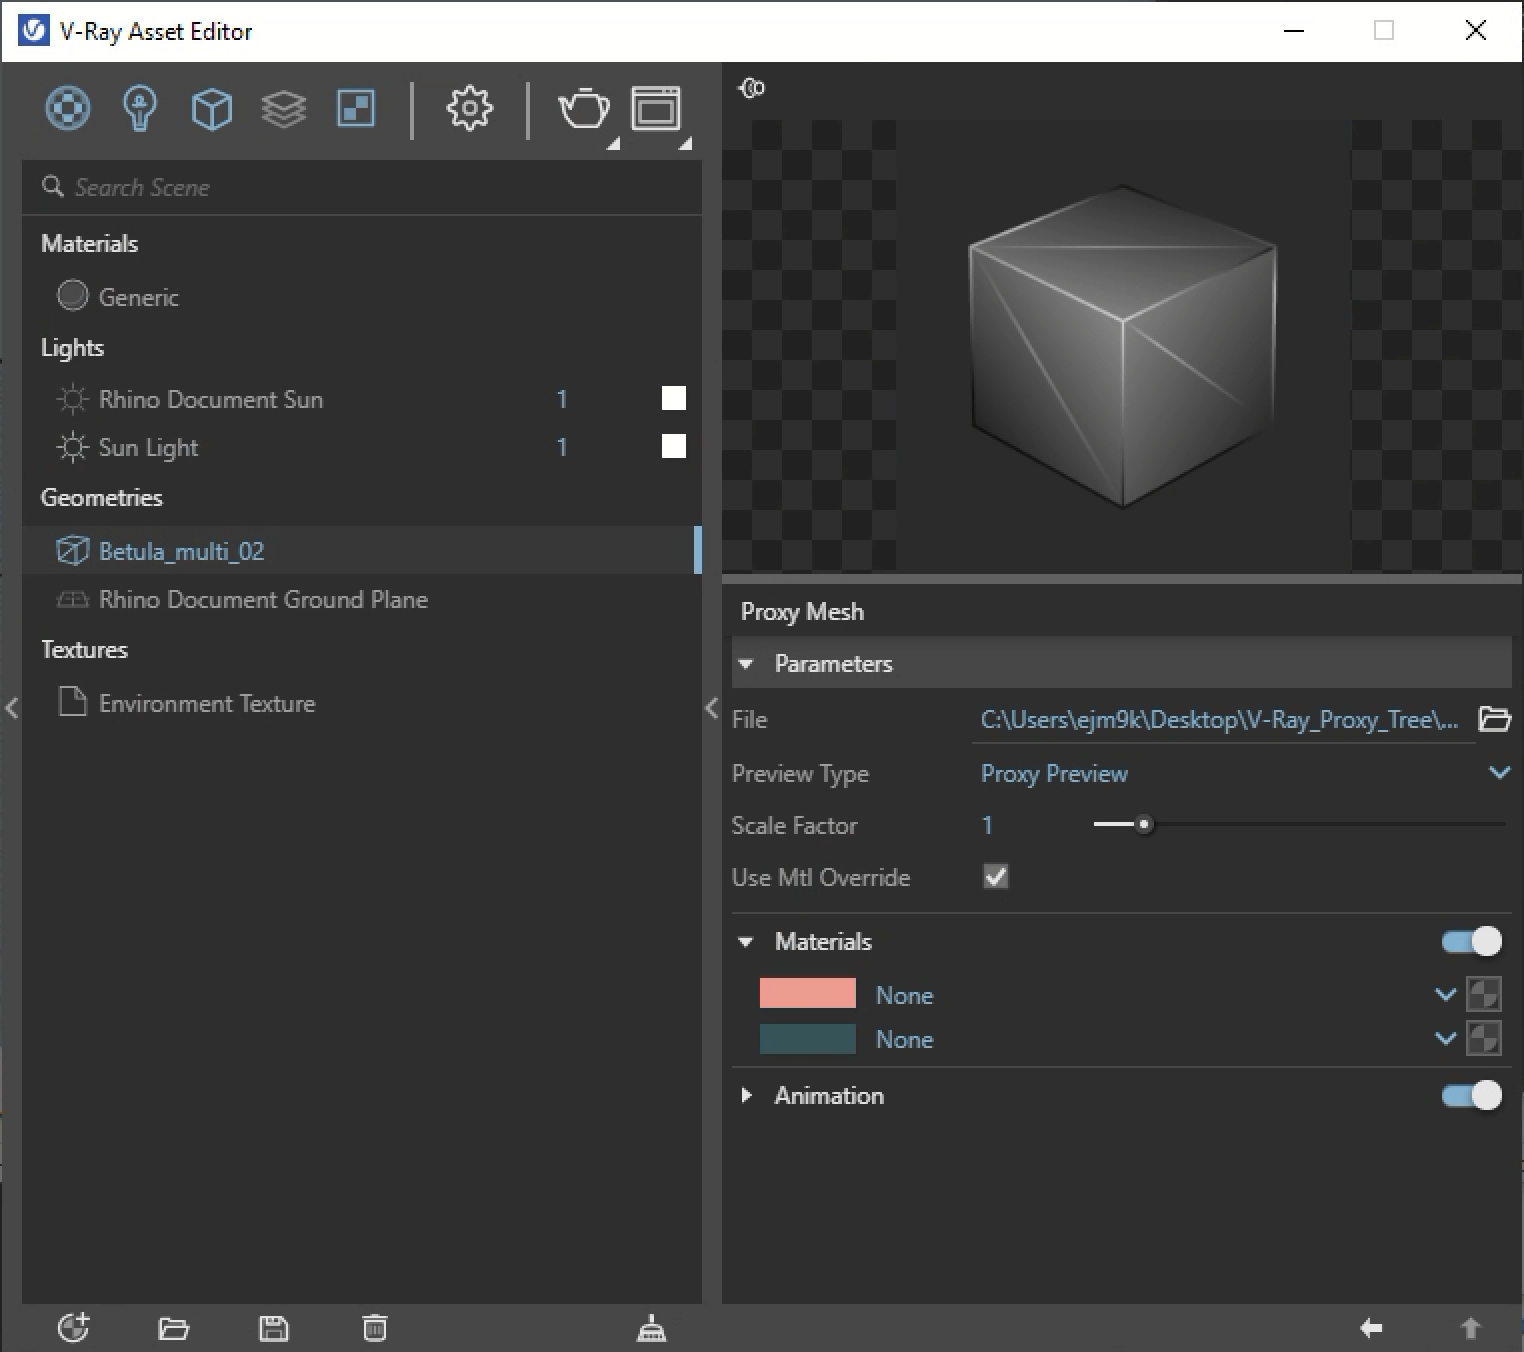
5. Now that the tree is appropriately placed in the Rhino model and scaled, the next step is to add textures. In the V-Ray Asset Editor and under the V-Ray materials palette under the Geometries tab (3rd icond from left in V-Ray Asset Editor) you will find the proxy file listed. On the right hand site its mateial colors are a symbolic majenta and green, not actual for the tree. They need to be correlated with the color of leaves and bark for the tree we are working with and then modified. However, at first we don't know which color corresponds to the leaves and which color corresponds to the bark.
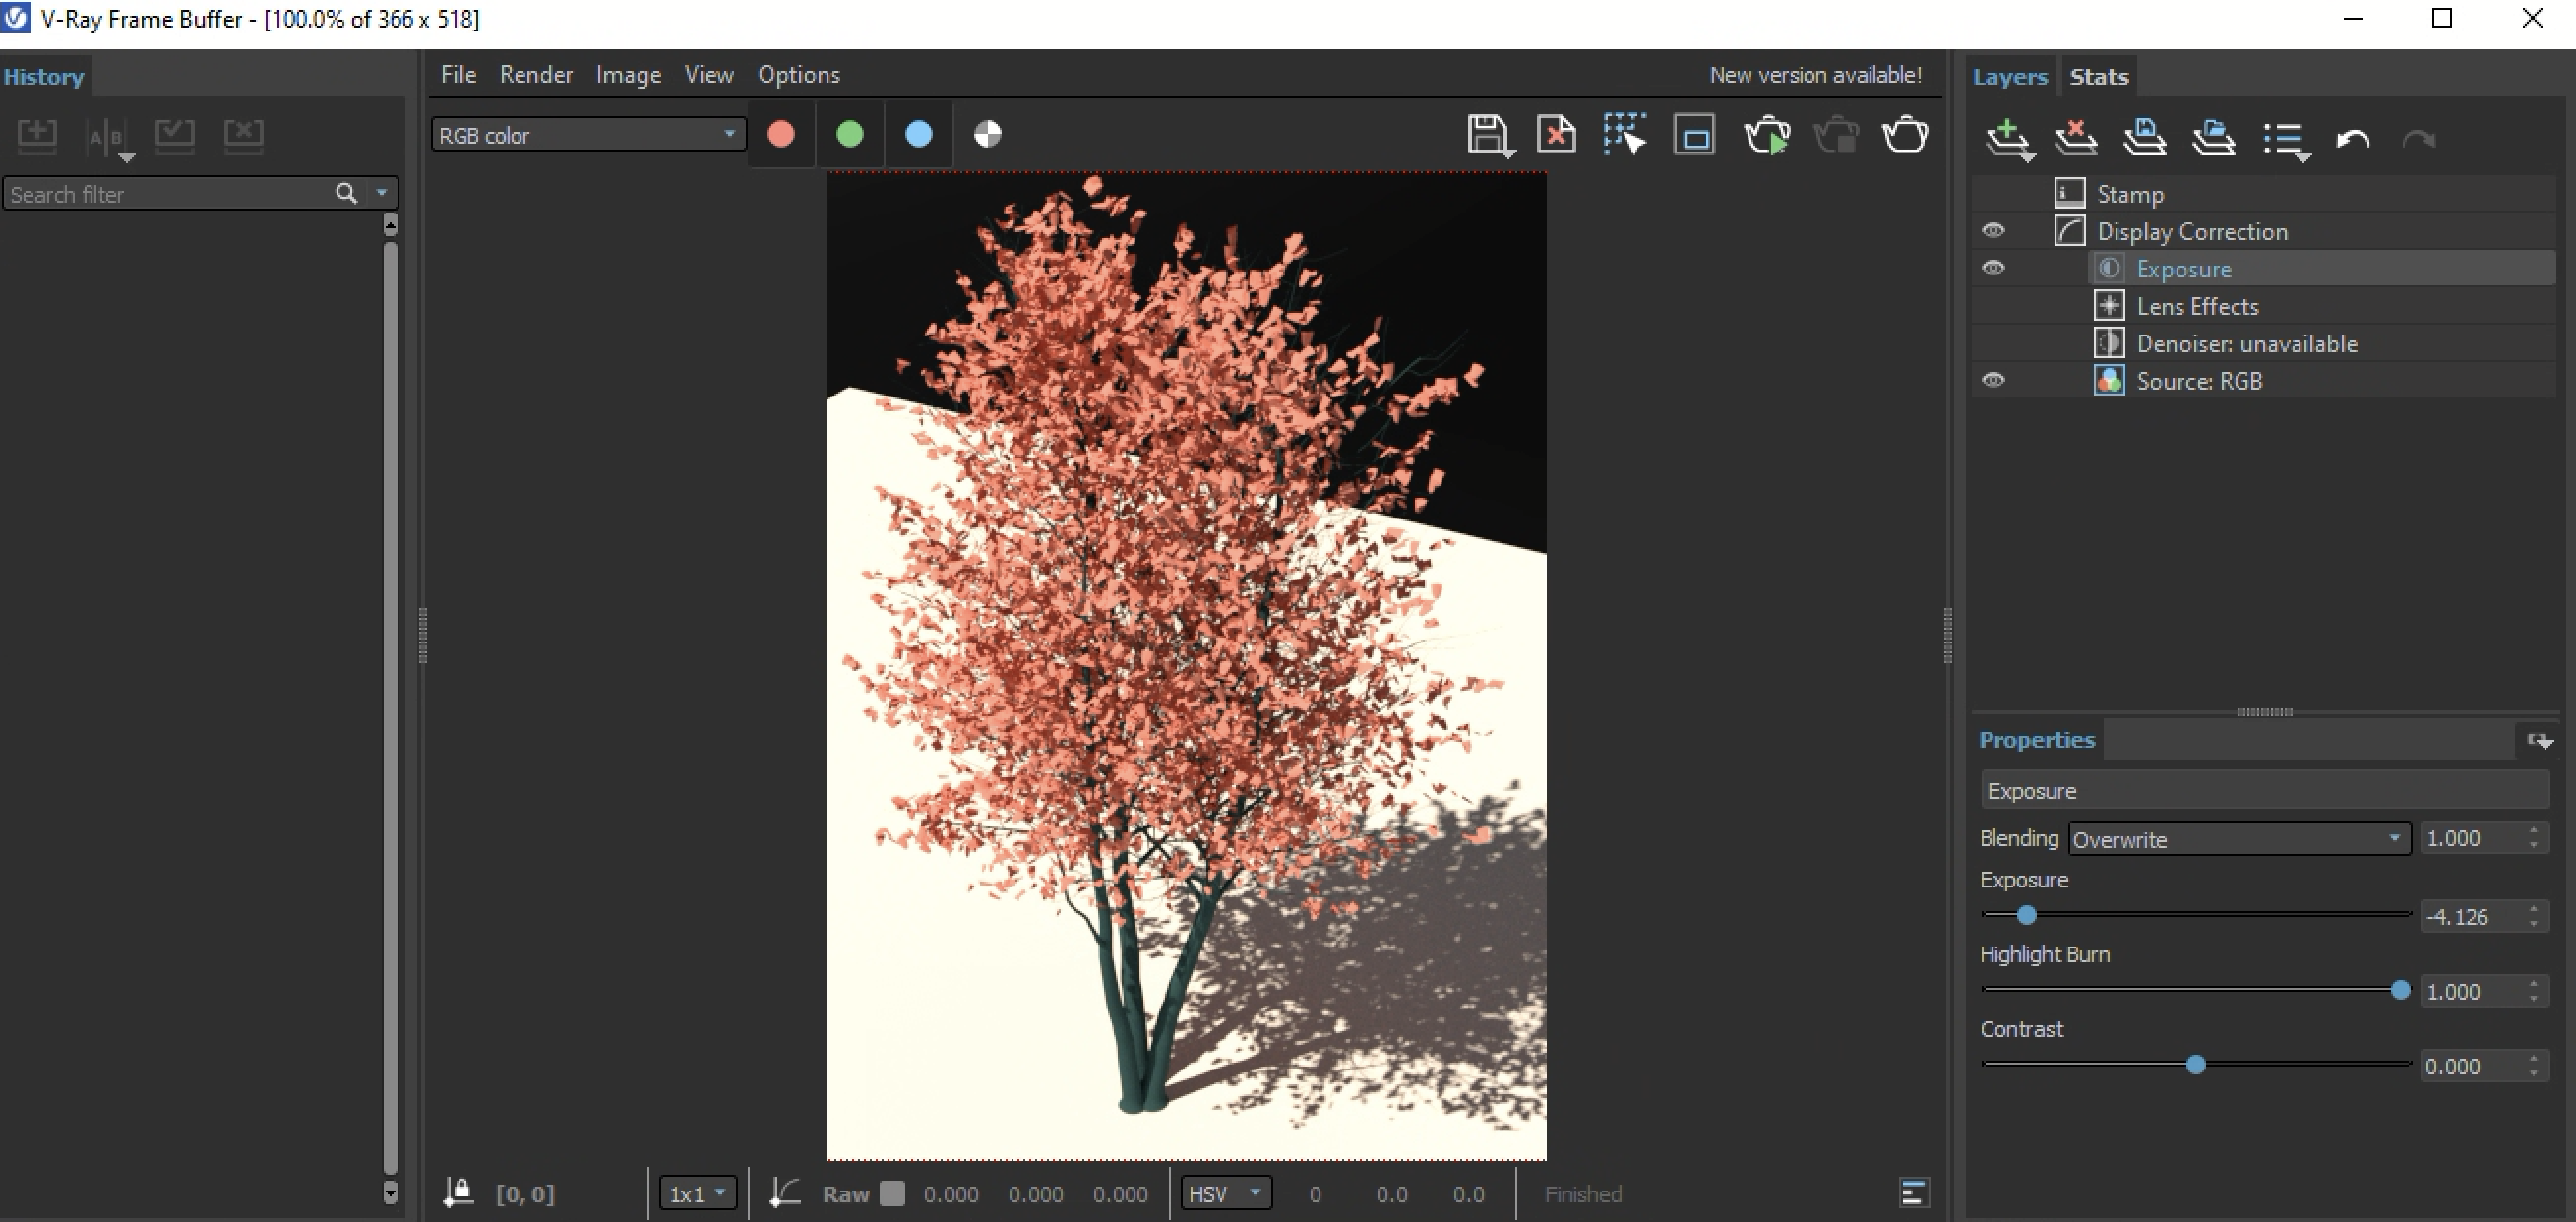
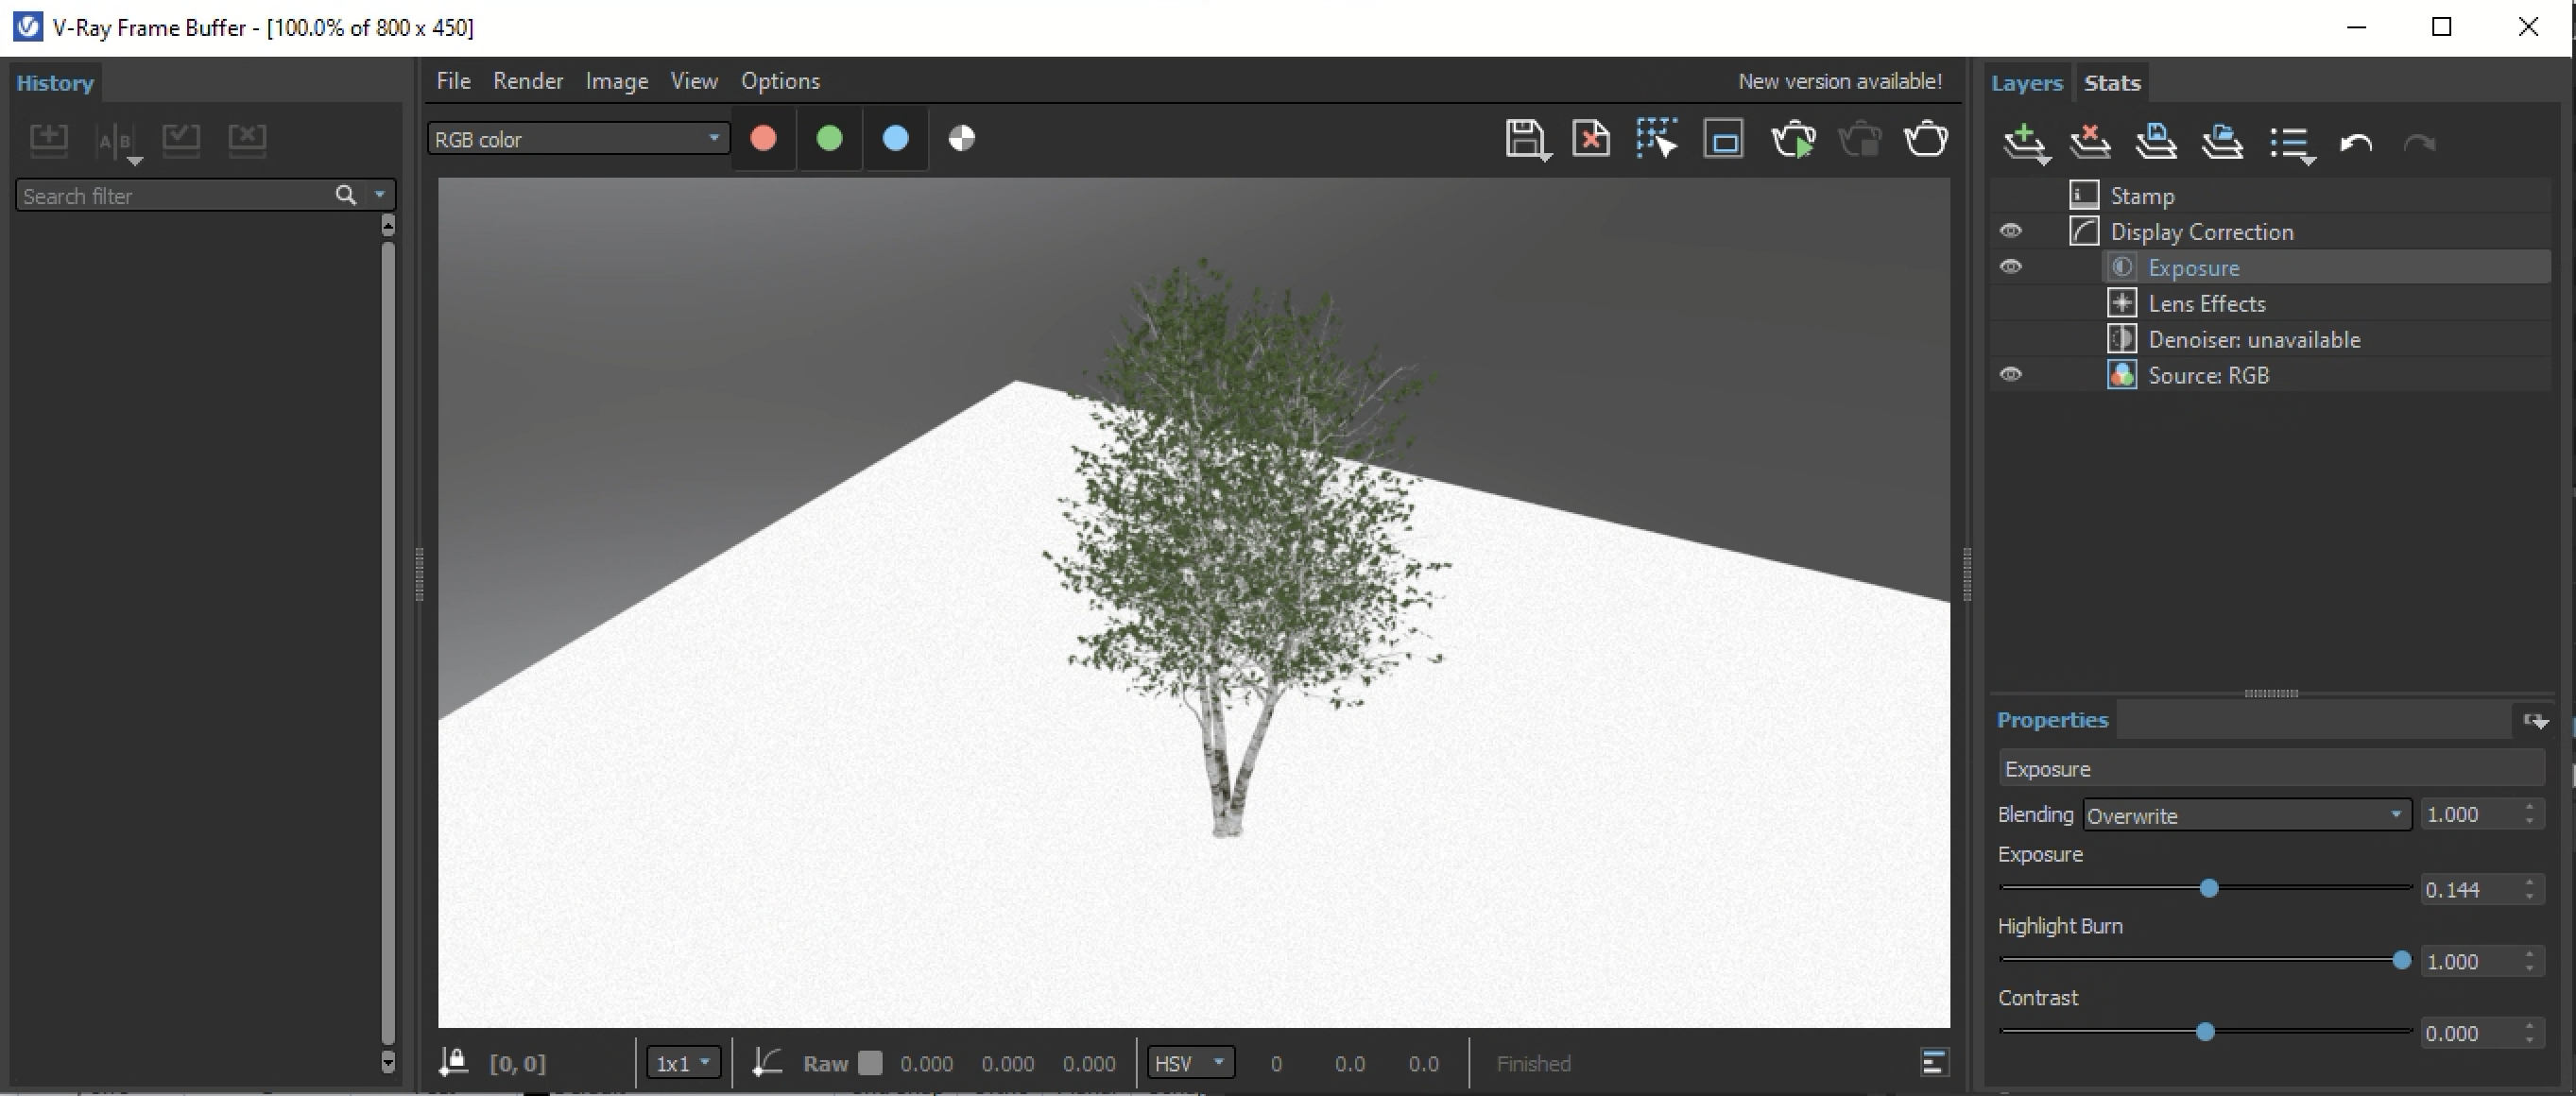
6. Iniitate a rendering in the V-Ray Frame Buffer to see which color corresponds to the leaves and which color corresponds to the bark of the tree.
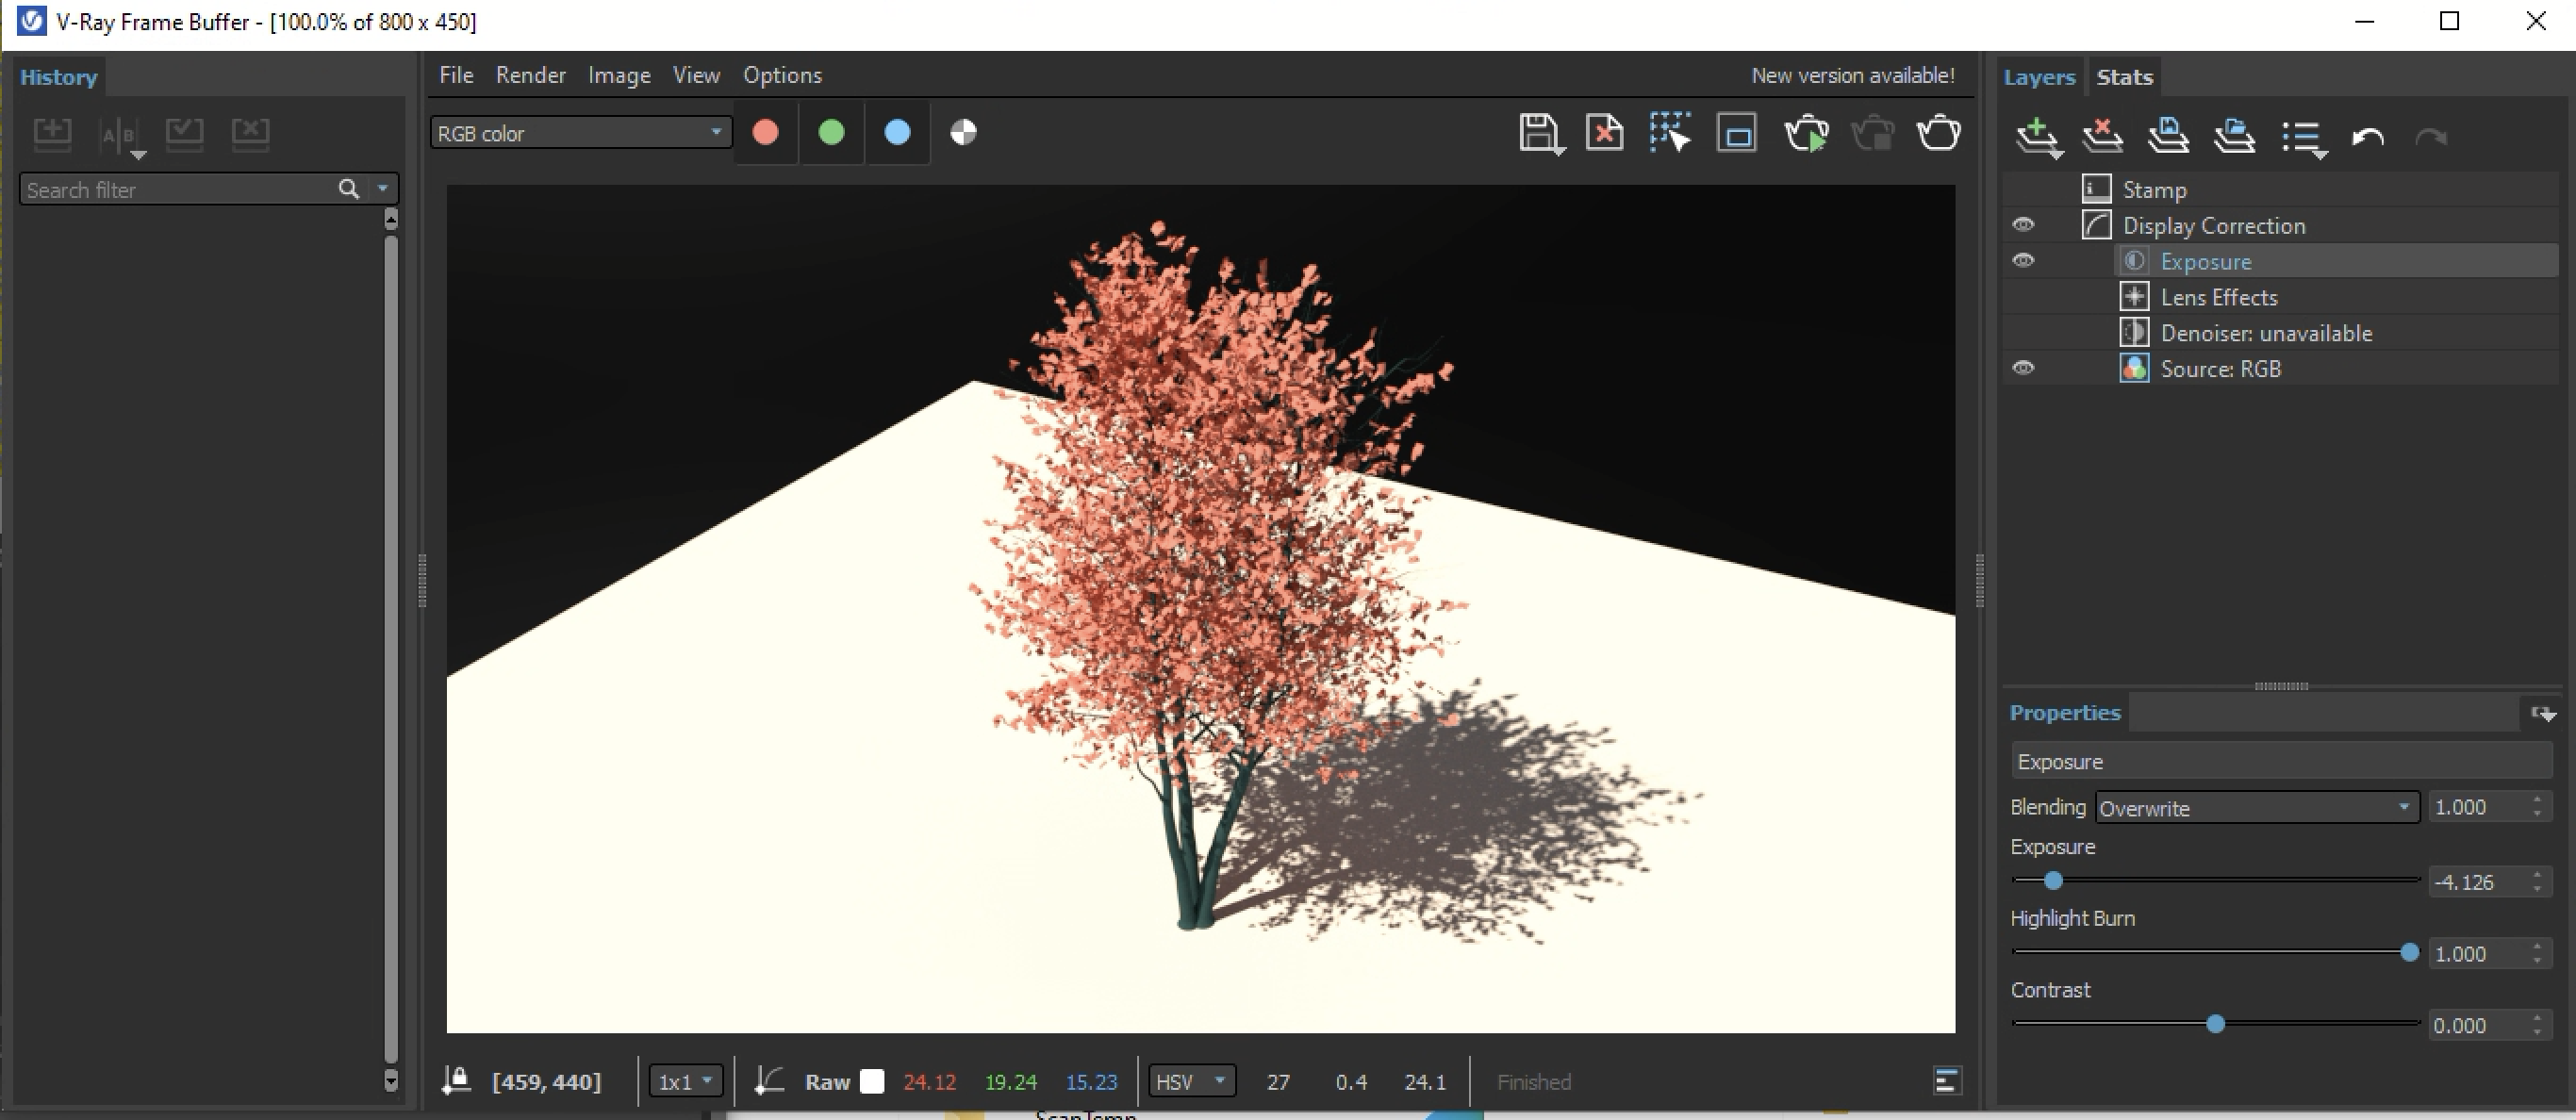
.
7. Alternatively, if you right-mouse-button click on the V-Ray tea kettle, you can draw a window over a portion of the screen to do a quicker test render.

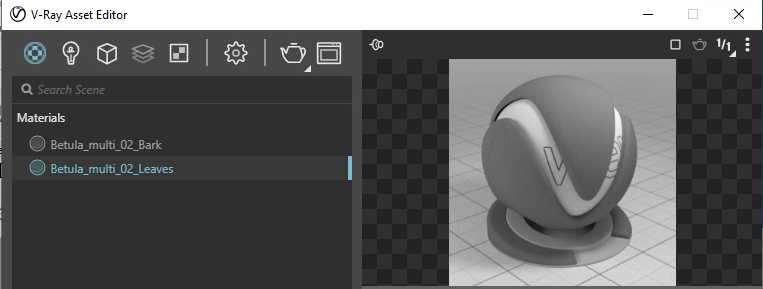
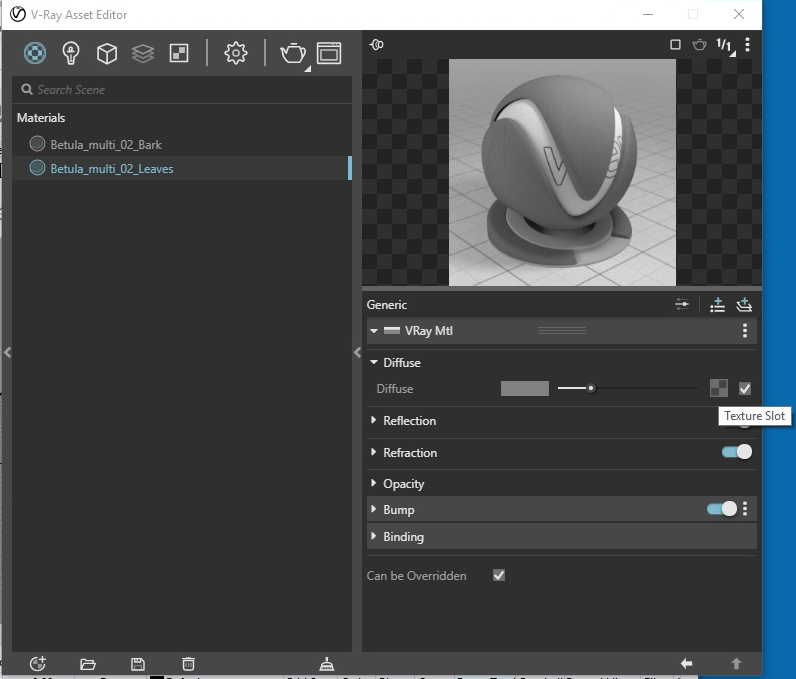
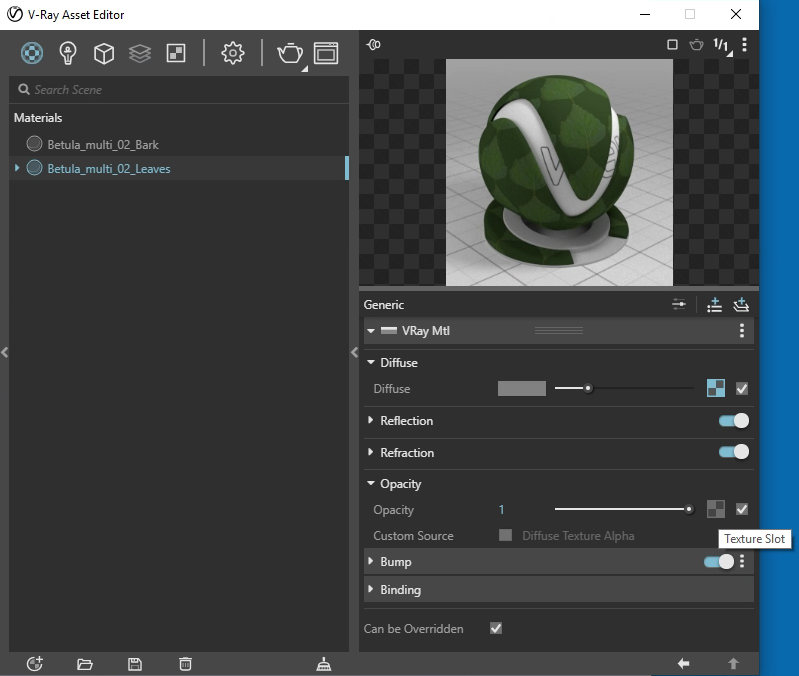
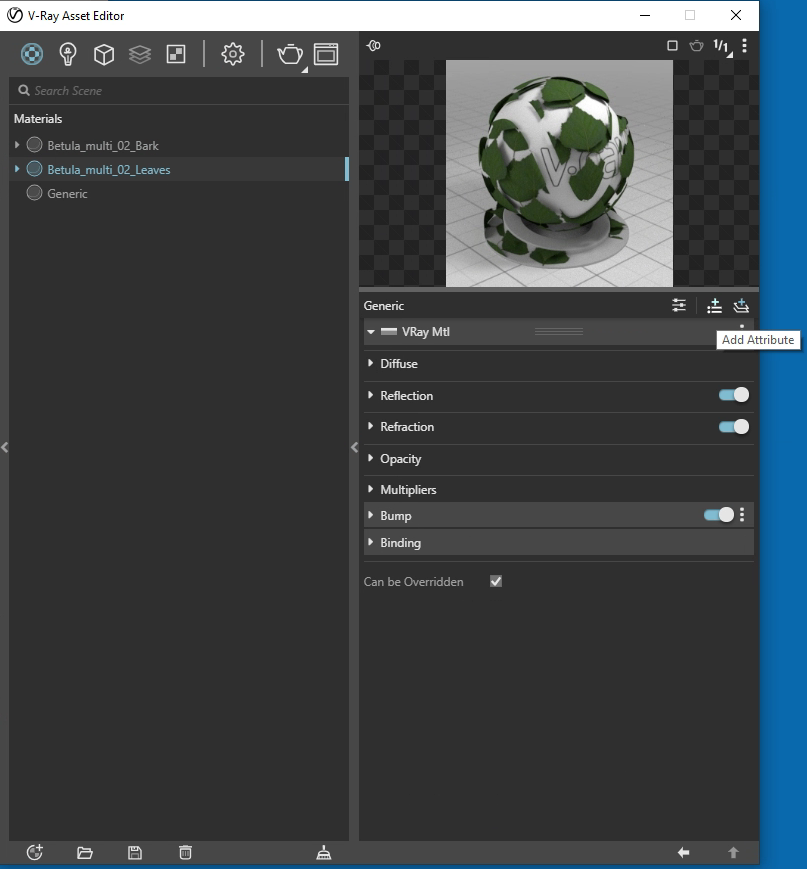
8. Once you've correlated the objects with the symbolic color of the rendering, we can modify the colors by adding two new materials with texture maps. Create and rename two generate materials in the V-Ray Asset Editor. In the illustration below, the materials now include a new generic material renamed "Betula_multi_02_Leaves" for the leaves and a generic material renamed "Betula_multi_02_Bark" for the bark. In this example, we start with the texture map for the leaves.
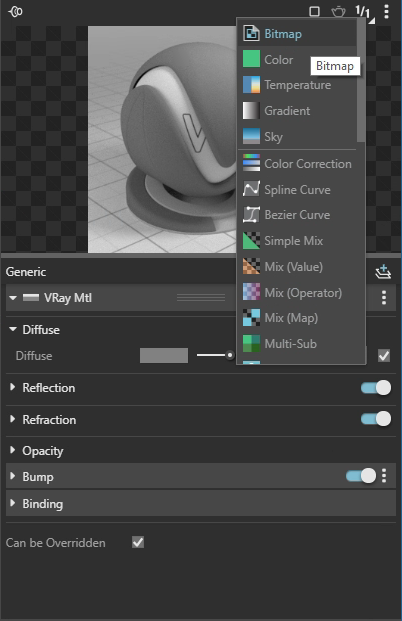
Adjacent to the Diffuse setting select the checkered box for the "Texture Slot.
Next, select the bitmap option.
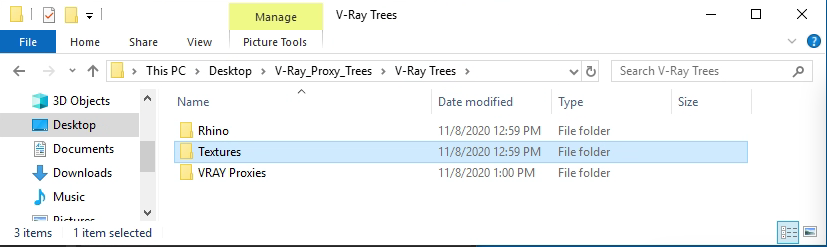
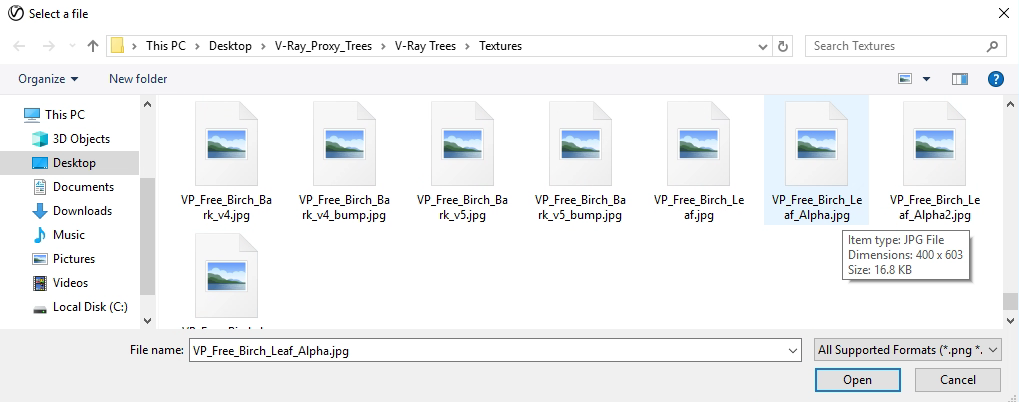
Next, go to the select the "Textures" subfolder folder of the "V-Ray_Proxy_Trees\V-Ray Trees" folder.
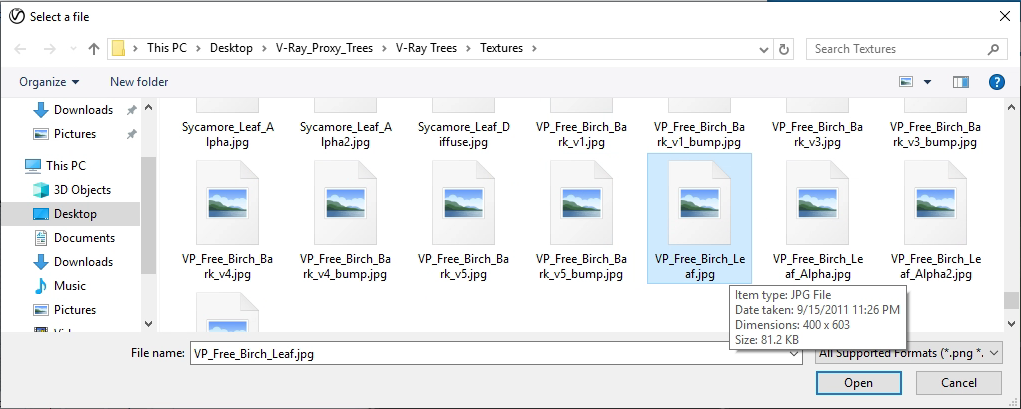
Next, select a leaf image texture of your choice that corresponds to the tree, such as the file "VP_Free_Birch_Leaf.jpg".
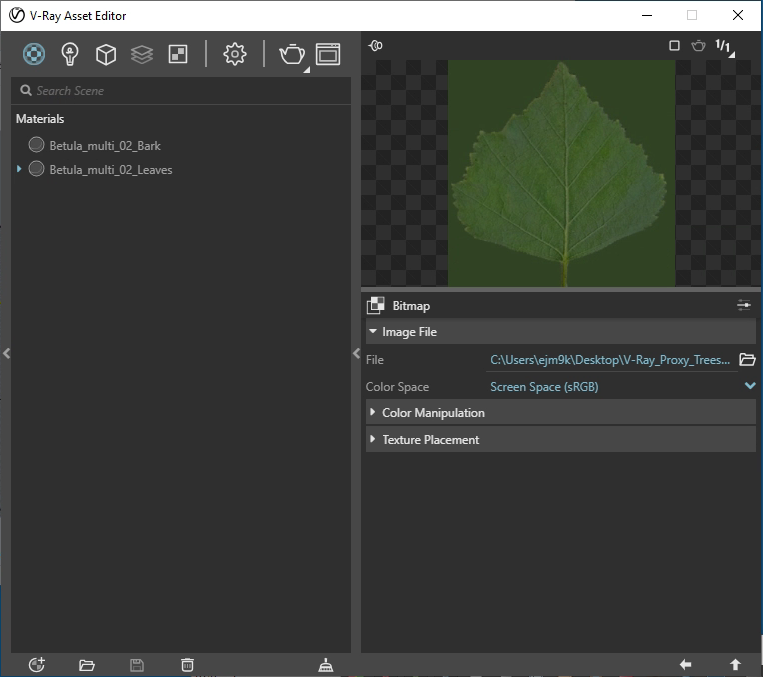
Check out the image of the leaf in the V-Ray Asset Editor.
Similarly, open the opacity tab for the material and select the opacity texture slot.
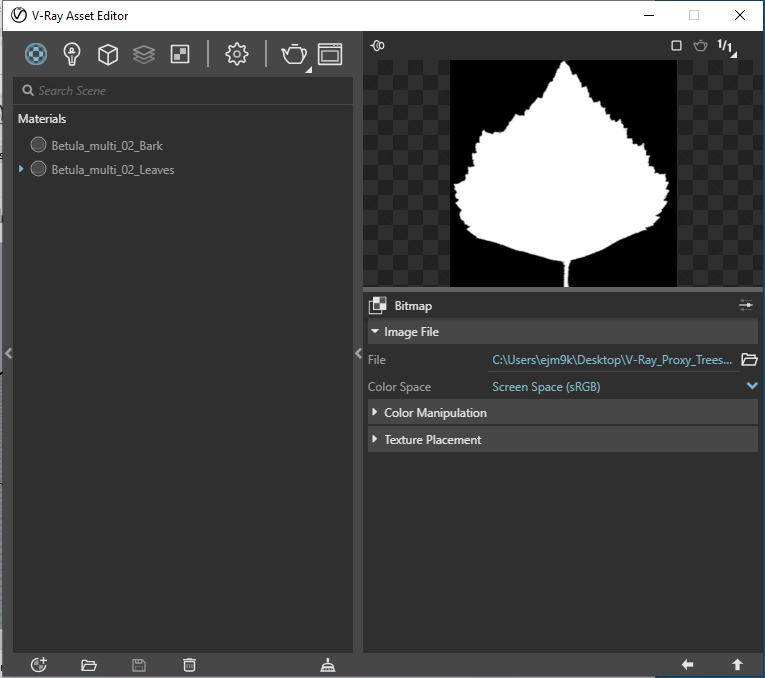
Select the image of a white leaf on black background for the same leaf, such as the file "VP_Free_Birch_Leaf_Alpha.jpg".
The V-Ray Asset Editor for the material renders the opacity map leaf as a filled white form over a black background.
The full material view in the matieral editor depicts the leaves on a transparent background.

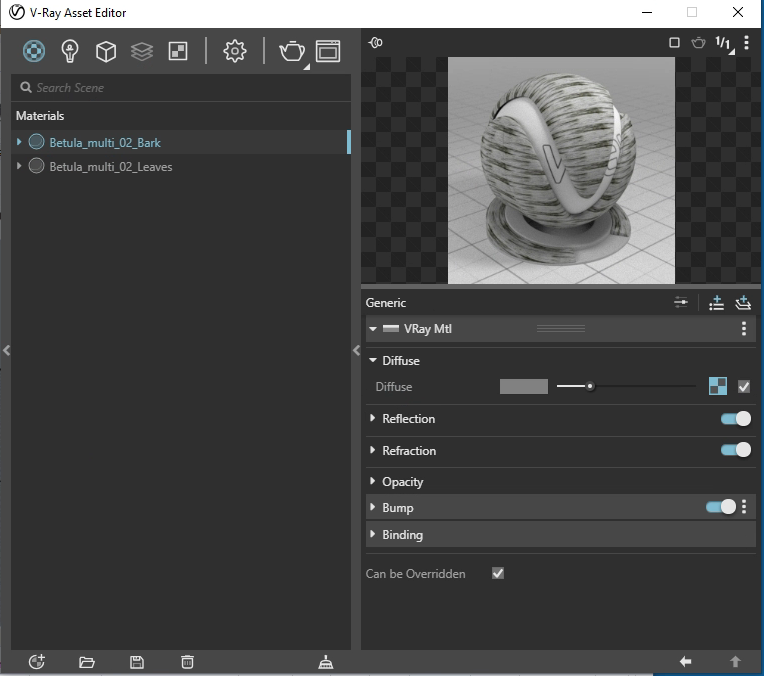
9. Similar to the last step, return to the V-Ray Asset Manger materials palette, and select a texture map for the bark of the tree, such as the file "VP_Free_Birch_Bark_V1.jpg". Here, you do not need to also add an opactity map.
11. Return to the Geometries tab in the V-Ray Asset Manager and use the pull down menu next to the magenta color to assign "Betula_multi_02_Leaves" material to it.
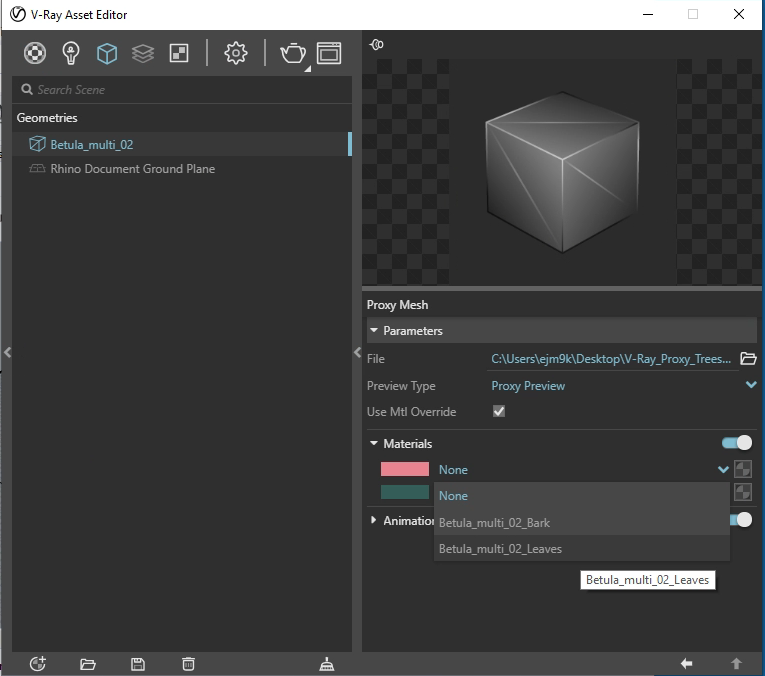
Similarly add the "Betula_multi_02_Bark" material to the green color material.
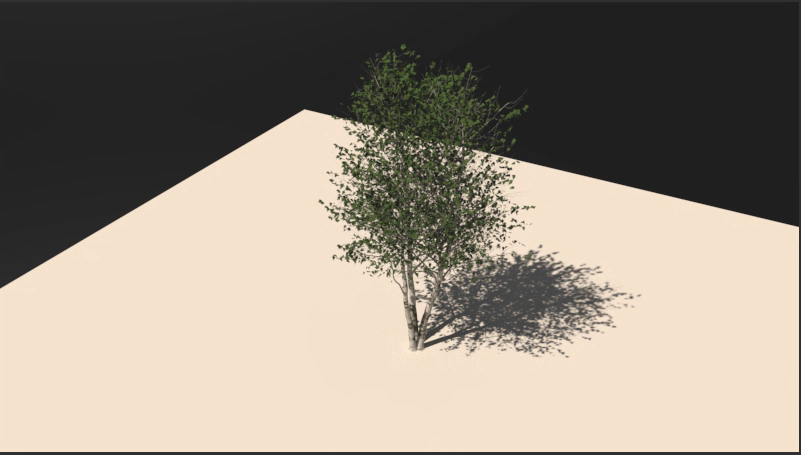
12. Render the tree in the V-Ray frame buffer as a final check.
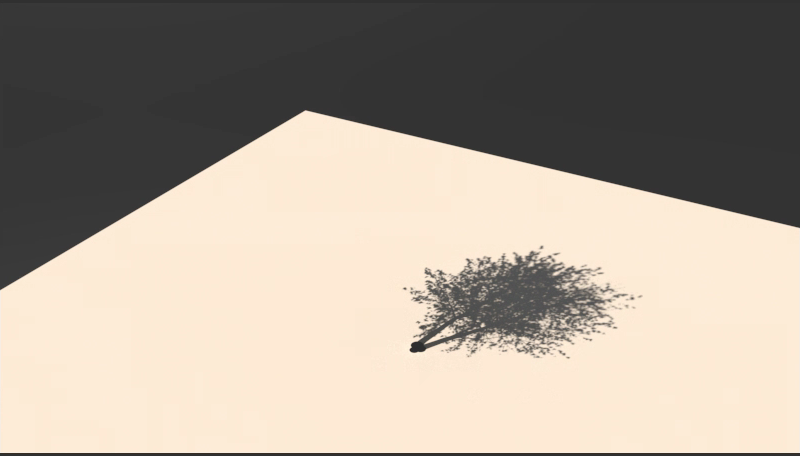
Test shadows by adding a V-Ray sun to the model and a light gray generic material to the surface on the ground.
11. Optionally, it's also possible to add an attribute so the the tree will be invisible and render with respect to its shadow only. This option allows you to hold off and add the trees more directly in Photoshop. It's a work flow technique that maybe relevant to studio presention, but it isn't necessary in our class.
For both the leaves and bark materials, use the Add Attibute opton.
Now, add the "Raytrace Properties" option to the material definition.
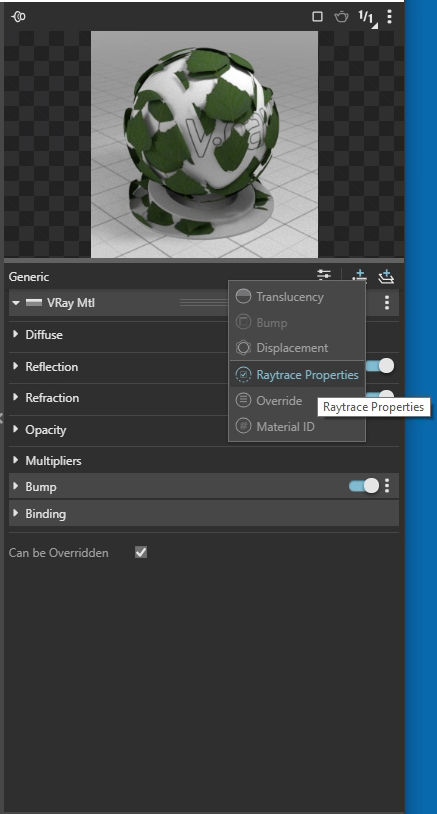
In the "Raytrace Properties" tab, turn off the check-boxes for all the options except for "Cast Shadows".
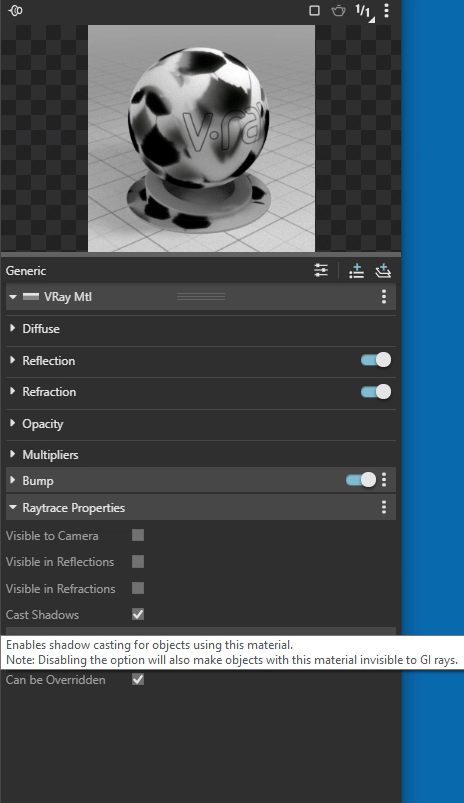
Repeat this "Raytrace Propoerties" step for the bark materials and the rendering will show the tree shadow only.
12. If the V-Ray Proxy tree in Rhino is referenced with a Geo component in Grasshopper, and the Geo component in turn is connected to V-Ray Proxy Mesh component in Grasshopper , then it can be incorporated in a time lapse sun study similar to workshop notes 12. The illustration below shows where the two components are added to the Grasshopper file covered in workshop notes 12. It also shows how V-Ray Proxy Mesh component is connected to the V-Ray Render component.
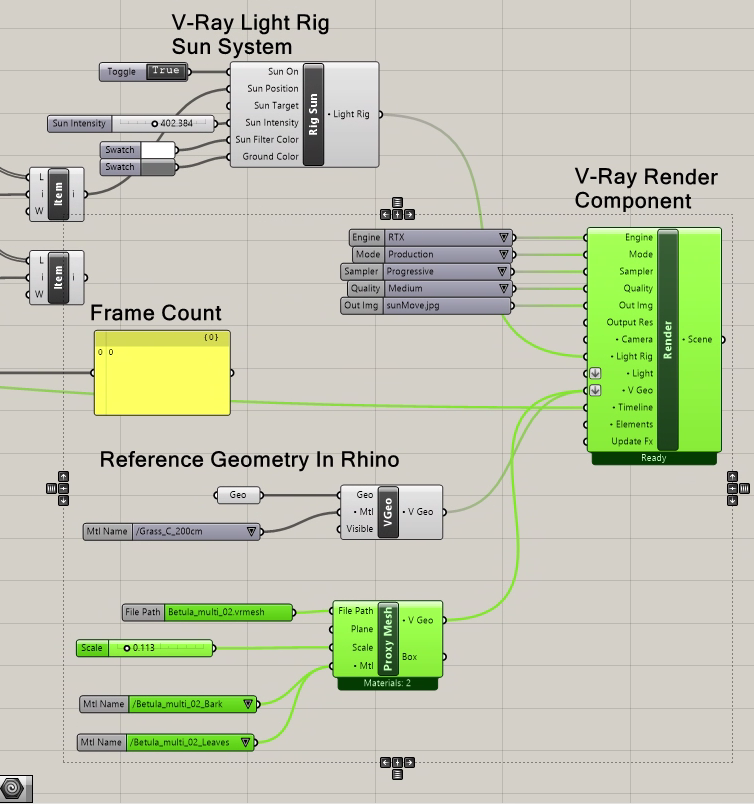
The animation below, which includes a grass texture applied to the ground surface, is based upon the Grassshopper script. It illustrates the complete movement of shadows throughout the day.
To create a VRay Proxy File from Rhino is a relatively straightfoward process. It involves exporting the geometry you wish to convert to a VRay Proxy vrmesh File and also exporting the materials that are associated with the geometry. This is illustrated on the Chaos Group web site:
https://docs.chaosgroup.com/display/VNFR/Proxy+Mesh
We will cover this method during the discussion sessions / workshop.