November 6, 2012 Workshop 15 Notes
Hinges, Springs and Hair
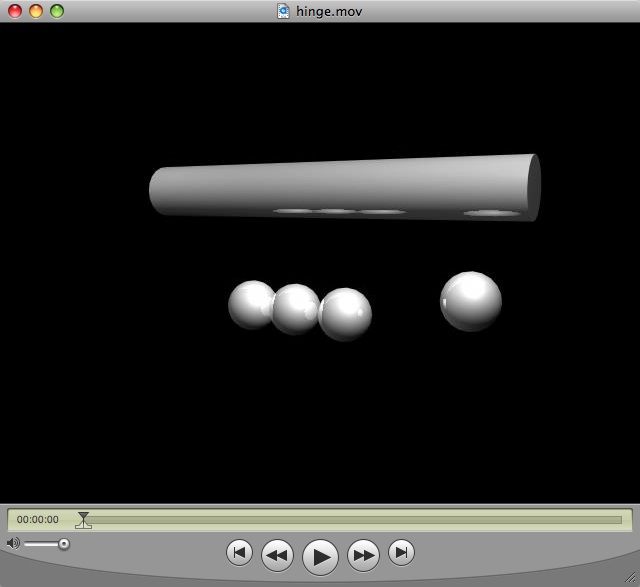
1. Hinges (see completed example hinges.mb)
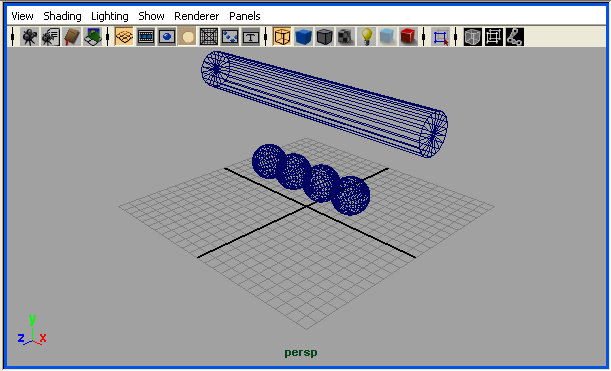
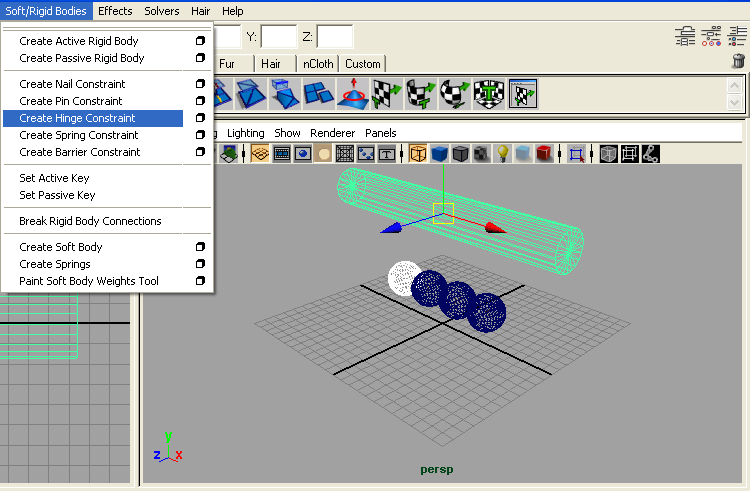
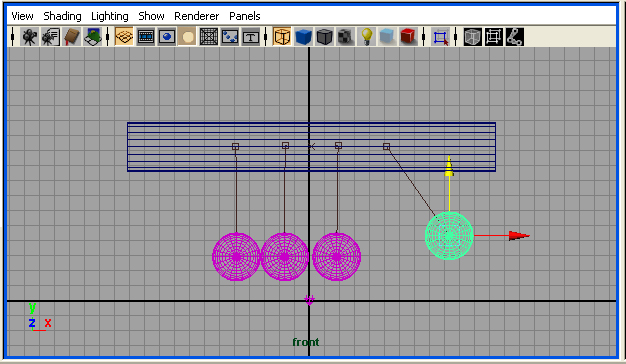
Create a horizontal cylinder polygon hovering above four equidistant sphere polygons as follows.
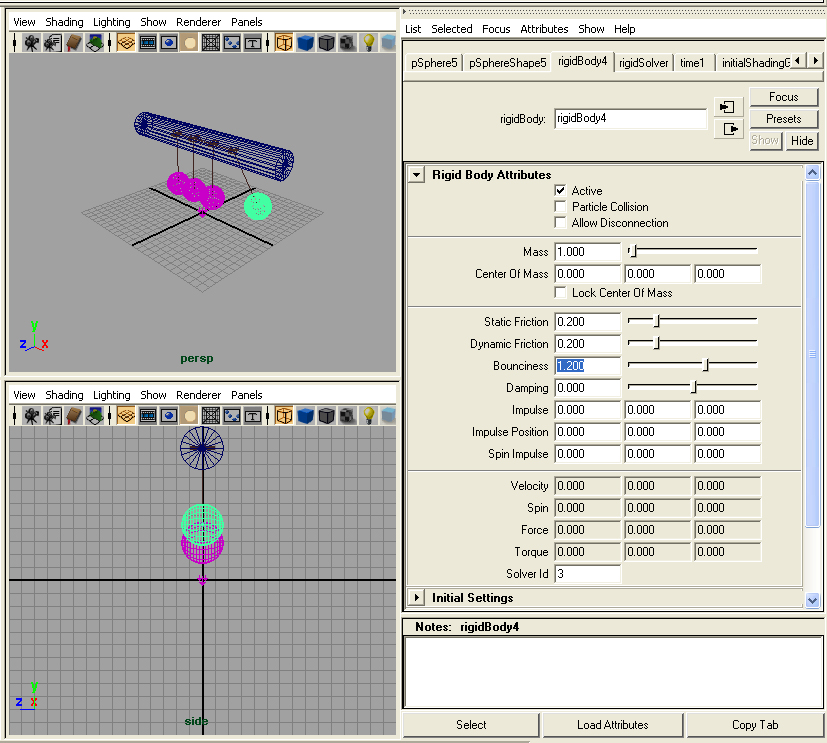
In the Dynamics module, under the "Soft/Rigid Bodies" menu, select all of the spheres and "Create Active Rigid Body"
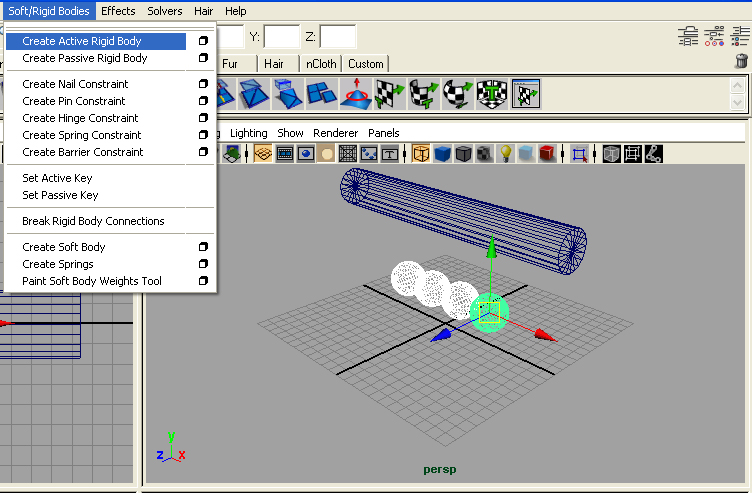
In the Dynamics module, under the "Soft/Rigid Bodies" menu, select the cylinder and "Create Passive Rigid Body"

Select a sphere and then the cylinder, and under the "Soft/Rigid Bodies" menu select the "Create Hinge Constraint" option.
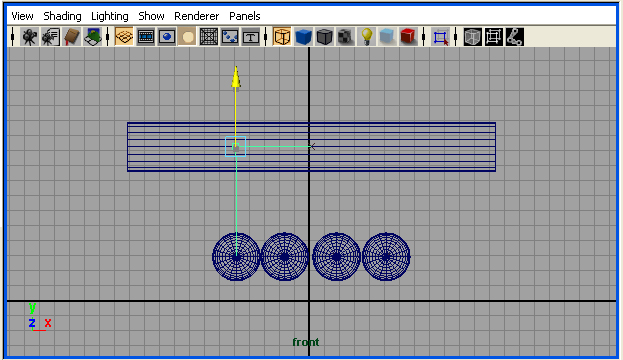
From the front view window, move the hinge symbol so that it is on the center axis of the cylinder and sitting directly above the sphere.
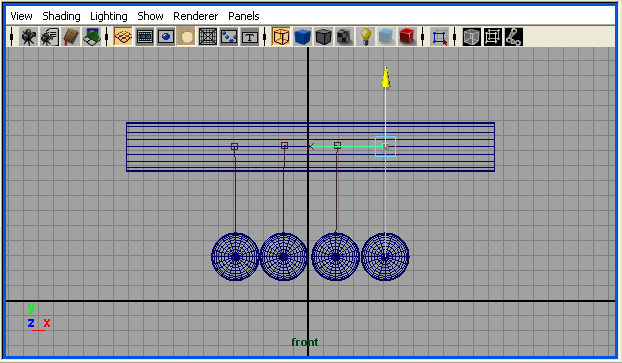
Do the same operation to create hinges for all the remaining spheres.
Select all the spheres and under the "Fields" menu apply a "Gravity" field.
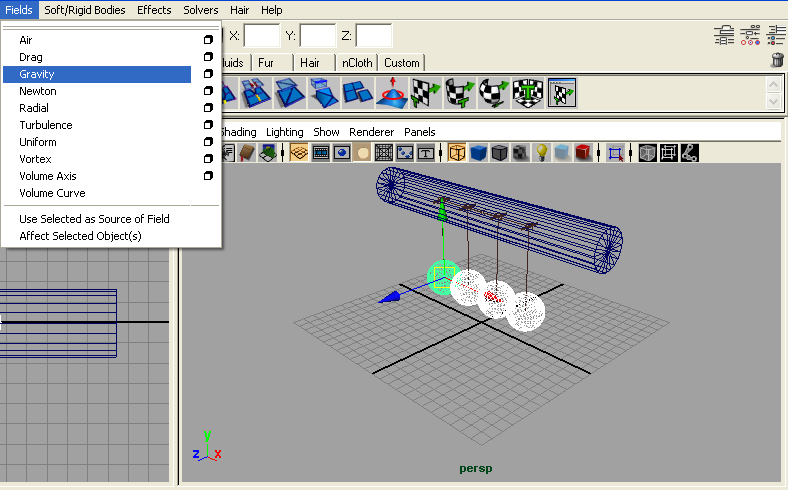
Assign reflective polished steel-like materials to the cylinder and spheres. Play the resulting animation.
2. Spring (see completed example spring.mb)
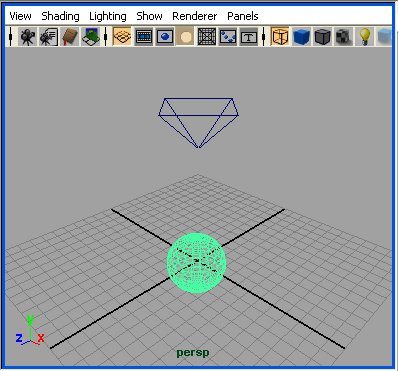
Create an upside down polygon pyramid sitting above the ground and a sphere sitting below it in a new scene file.
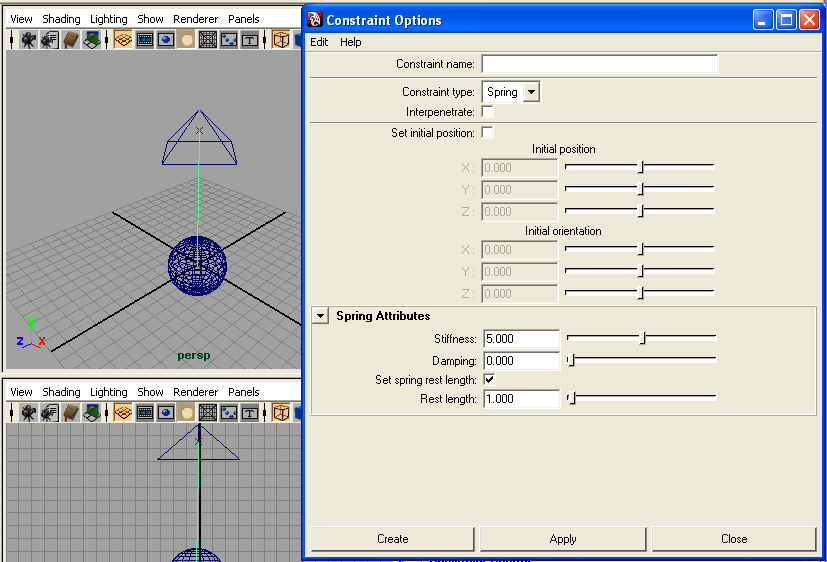
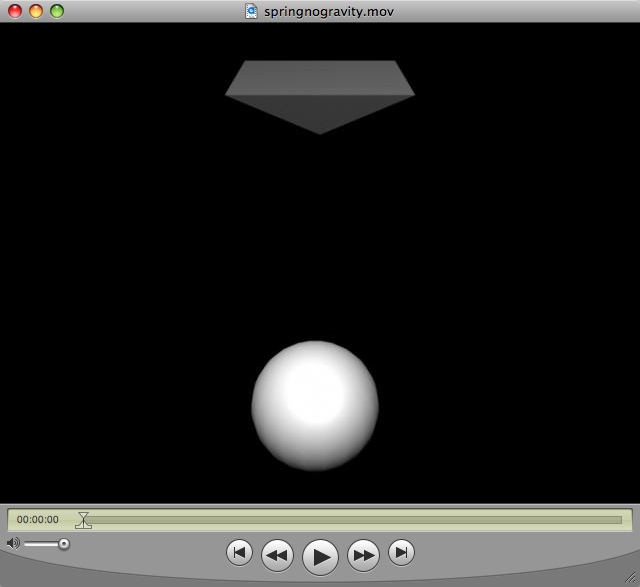
Select all the sphere and under the "Fields" menu apply a "Gravity" field. Change the "Stiffness" attribute of the spring to 2.0. Play the animation again and see the result.

PART
II: HAIR
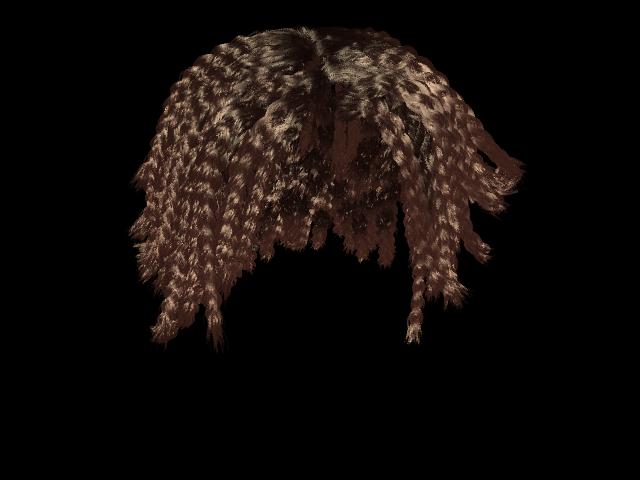
1. SIMPLE CASE. (Techniques
developed after those described in The
Secrets of the Pros, By Kundert-Gibbs and Dariush Drakhshani, Sybex
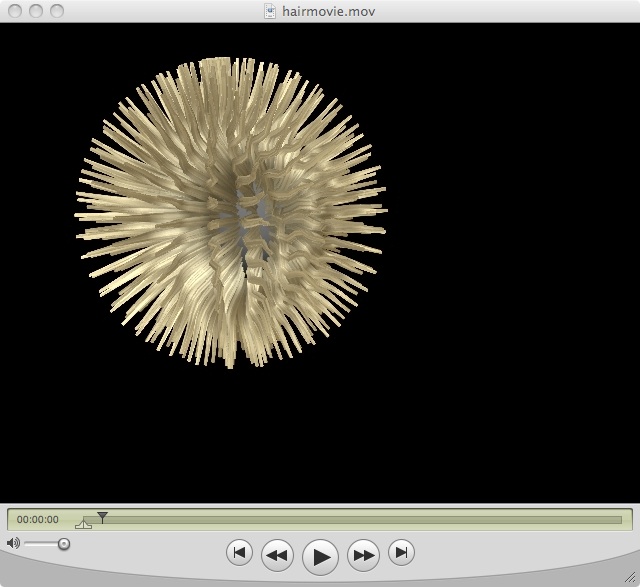
Inc. 2005) The resulting animation is contained in the scene file hairball.mb.
1. Create a NURBS sphere.
2. With the sphere still selected, choose Hair > Create Hair.
3. In the dynamics menu, select Solvers > Interactive PLayback.
4. Create 100 frames
5. Now give some movement to the sphere, keyframing it in two locations
at fame 0 and frame 30, and observe the hair performance.
6. Add keyframed scaling to the sphere surface. Keyframe it at a
different scale at frame 60, and observe the hair performance.
7. Add keyframe rotation to the sphere surface. Keyframe it at a
different rotation at frame 90, and observe the hair performance.
8. Select the hair and enter the attributes editor for HairSystemShape
node (e.g., HairSystemShape1).
* In Clump and Hair Shape, change hairs per clump to 20. (increases
strands of hair).
* In dynamics, under Solve, change Stiffness to 0.05 and replay the
animation. (lowering the number increases flex in hair).
* In dynamics, under Solve, increase iterations to 6 and replay the
animation (increases the iterations per time-step increasing accuracy
and render time).
* In dynamics, under Forces, increase drag to 0.1 (indicates drag on
hair relative to folicle. simulates friction with air - similar to
water). Play the result.
* Under multi-streaks, change multi-streaks to 3 and render the result.