November 11, 2013
Workshop 17
Notes
COMPOSITE EDITING
We review two examples. The first example,
depicted in parts IA and IB, uses a simpler overlay technique of adding
one animaiton rendering over the other animation rendering. The second
example, summarized in part 2, arrives at a composite animation by
using the "alpha channel" of one animation as to provide a transparency
for ovelaying it onto a second animation.
PART IA: Initiate the animation in Maya by
using render layers.
- Within Maya , go to the Surfaces module and create an plane
surface for
the ground and a cone.
- Add a spot light, go to the shadows Tab and turn on Raytrace
Shadow Attributes.
- Go to the Dynamics module and under the Effects menu, create a
“Fireworks” effect
placing the emitter above the cone.
- Go to the Channel Box/Layer Editor (upper right hand corner),
select the Render tab,
and create two render layers. Using the standard technique, place the
light, cone and
plane on the first layer, and place the emitter on the second one.
- Turn on the first render layer only.
- Go to the Render Settings Window and setup a Maya Software
rendering. Batch render
30 frames. Using QuickTime Pro, compile the movie file as
“baselayer.mov”.
- Turn on the second render layer only.
Go to the Render Settings Window and setup a Maya MentalRay rendering.
Batch
render 30 frames.Using Quicktime Pro, compile the movie file as
“fireworkslayer.mov”.
PART IB: Combine the two animations in Composite 2014.
- Open AutoDesk Composite . Select File/New and and initiate a
new
composition file
on a local temp drive on a Windows Computer under a folder created with
your name
(t:) or an Apple Computer (temp).
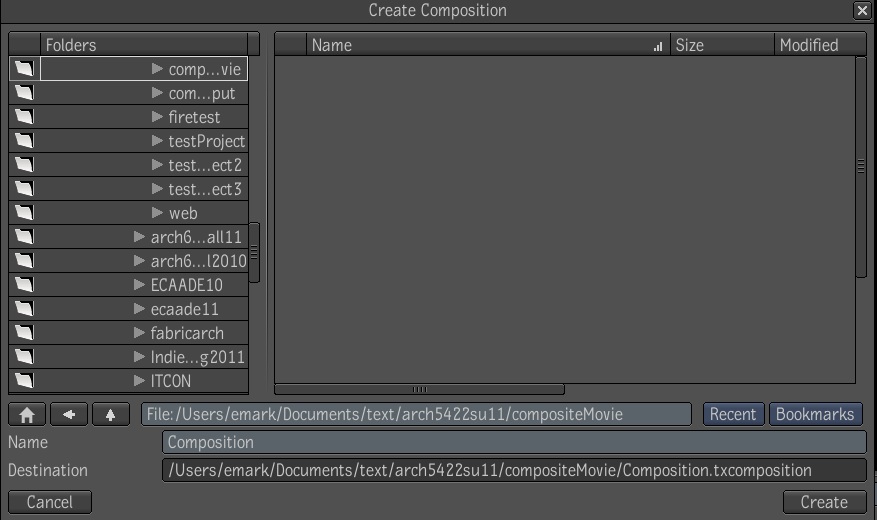
- Use the create button to build the project file.
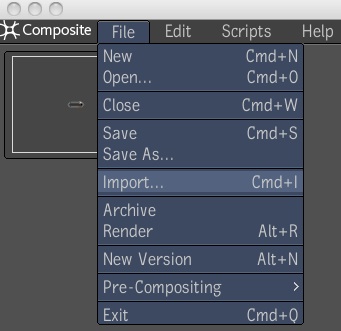
- Go to the File import tool and import the movie files for the
first and second render
layers, “baselayer.mov” and
“fireworkslayer.mov”.
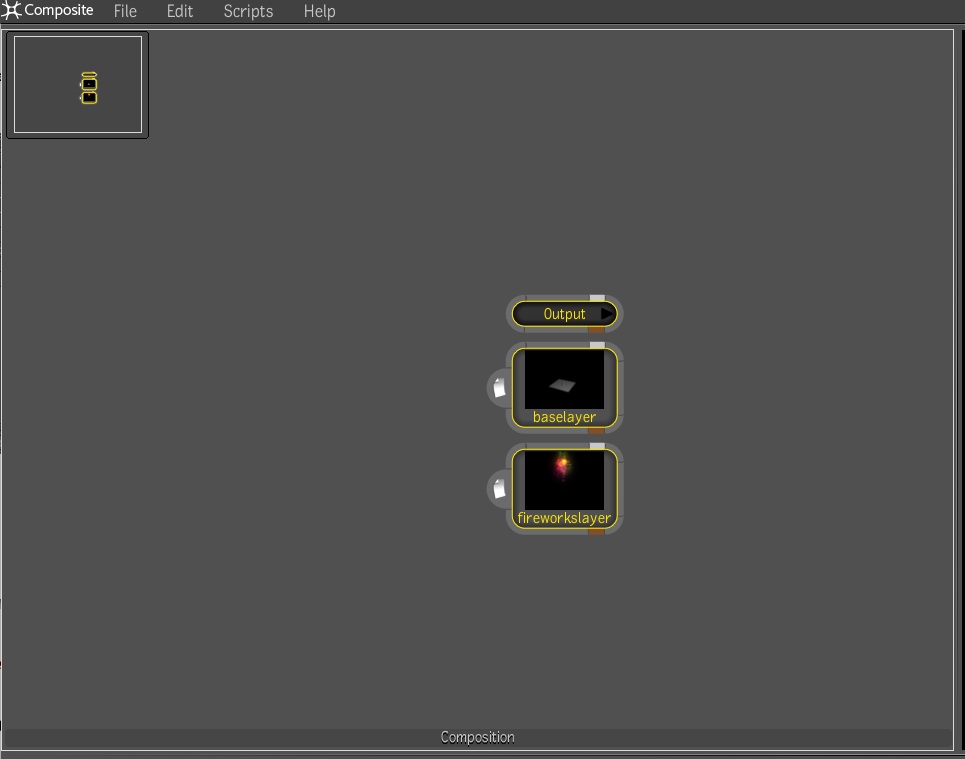
- In the dialog box, find the directory where the files are
located, select and import them
into the Composition window.
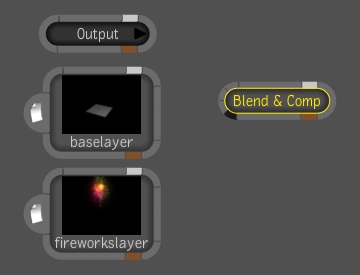
- Select the Output icon and the icons for the imported files, and
select the “L” key to
organize them within the window.
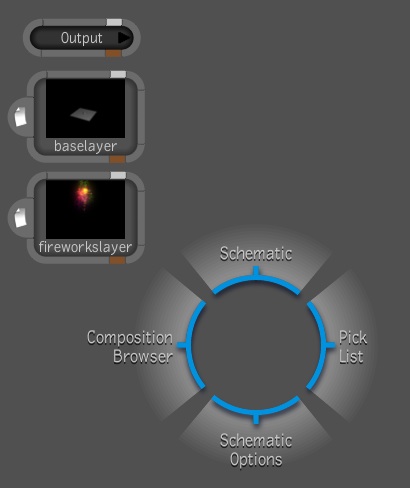
- Within the Composition Window, hold down the middle-mouse button
to launch the gate
menu and select the “Pick List” through the east gate.
- On the far right-hand side of the screen, go to the
“Composition” category and then drag
the “Blend & Comp” tool on the bottom of the dialog box
to the Composition Window.
- Re-arrange the icons and move the Blend & Comp icon to the
right of the baseLayer
icon, and draw a connection arrow to the “Back” input
channel.
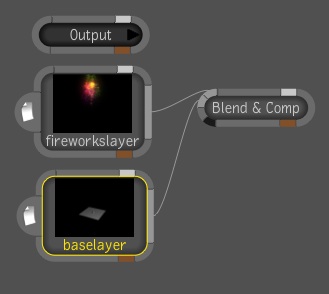
- Similarly, draw aconnection arrow from the fireworkslayer icon to
the “Front” input channel.
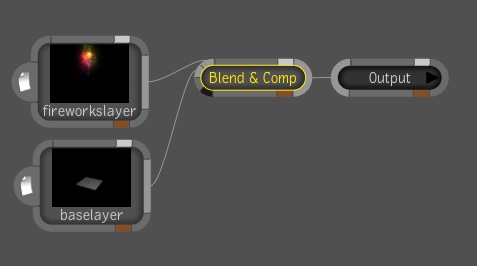
- Next, draw a connection from the Blend & Comp icon to the
Output icon, and note that
the fireworks only will be visible in the output image screen on the
right hand side.
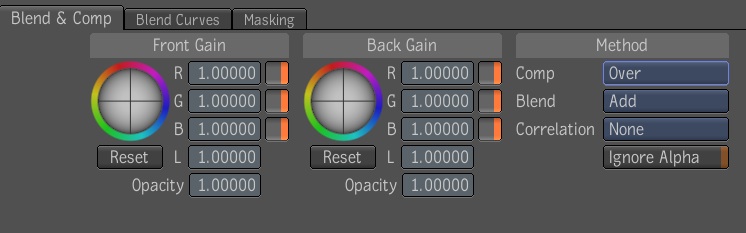
- Select the Blend & Comp icon, and in the lower-left hand
dialog box also select the
“Blend & Comp” tab. Go to the “Method” area
on the right-hand side and change the
Blend” type to “Add” and the “Comp” type
to “Over”.
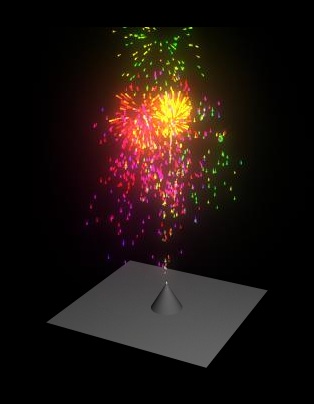
- Note that the Composition Output window now depicts the fireworks
over the ground
plane and cone.
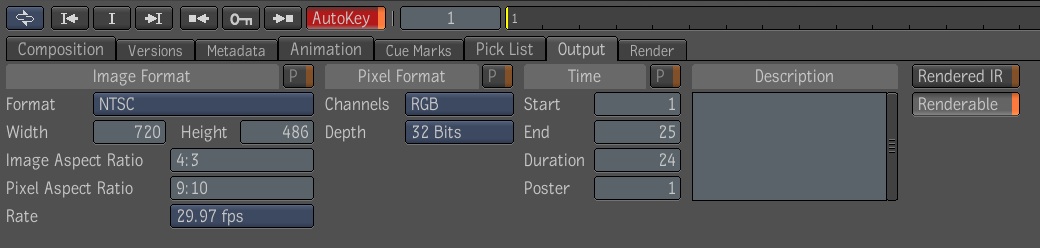
- Now select the Output icon, and in the lower dialog box go to the
Output tab, and select
the desired format (try NTSC for practice).
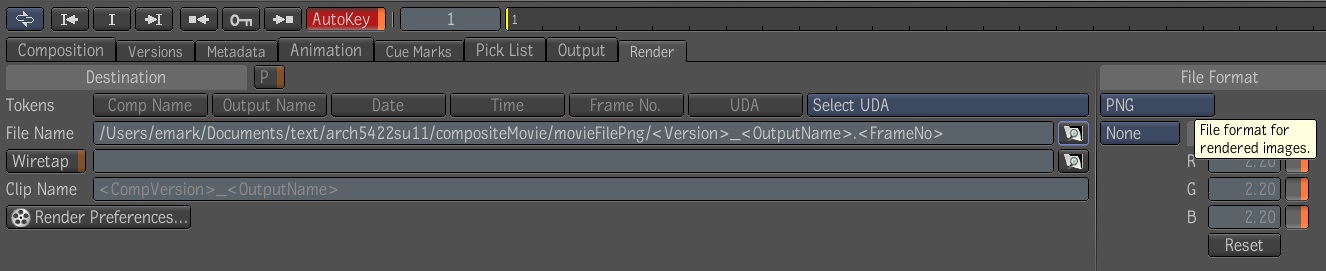
- Next select the Render tab in the same dialog box, and through
the “File Name” option
determine the pathway to the render output files. Also, change the File
Format to “png”.
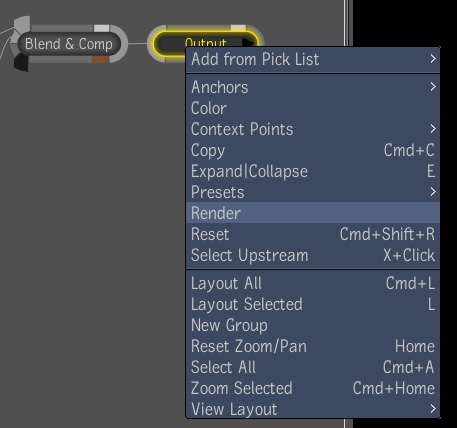
- Finally, right-click on the Output icon and choose the
“render” option, and then the
“Start” button to generate the “png” files.
- Finally, open QuickTime Pro and compile the PNG files into a
single QuickTime movie.
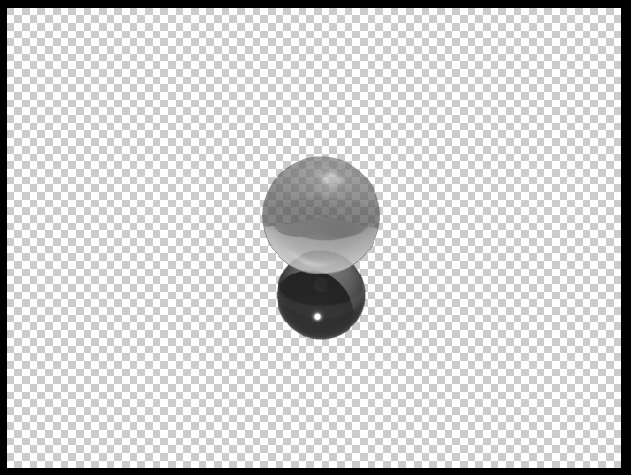
PART II: Using the Alpha Channel to blend to separate renderings.
- Create a scene with a ground plane, two spheres, a spot light and
an ambient light. Apply transparent materials to the spheres. Set the
camera attributes environment background to grey.
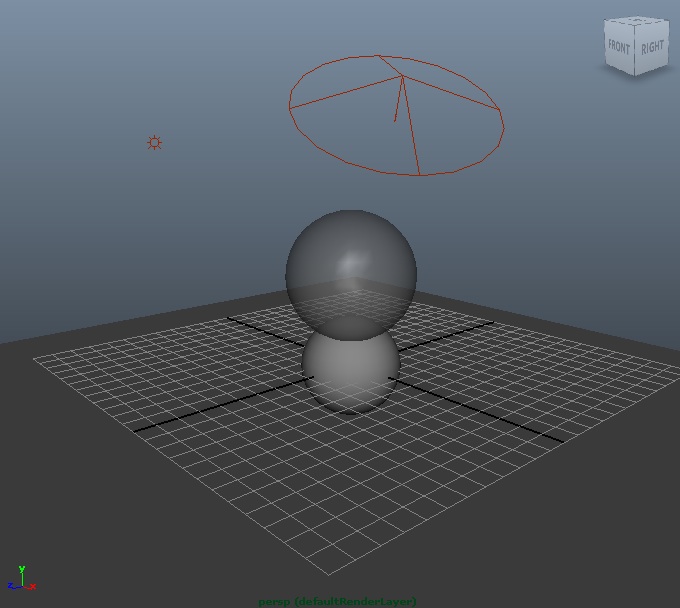
- Key -frame the spheres moving vertically over 48 frames
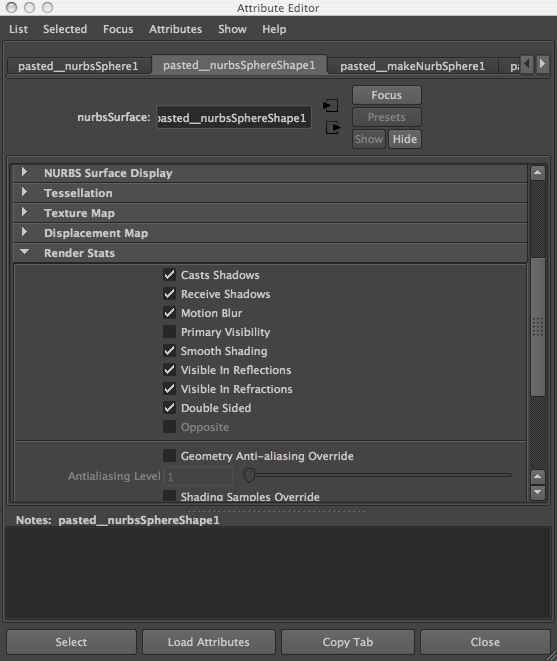
- For each sphere go to the attributes editor, go the
"nurbsSphereShape tab" and "Render Stats" sub-tab and turn off "Primary
Visibility".
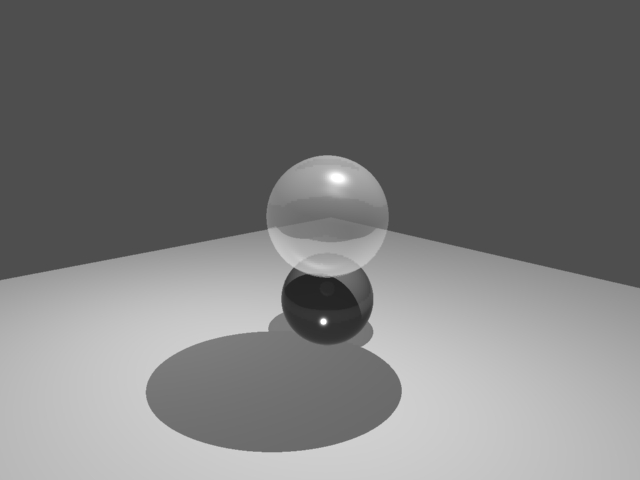
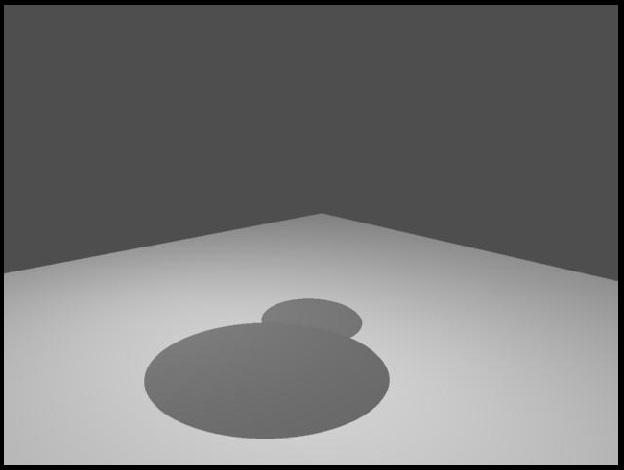
- Render out the scene as a jpg series (which will not record an
alpha channel), and compile as a QuickTime movie. This rendering will
show the ground plane and sphere shadows, but not the spheres.
- Now, turn back on visibility for the ground spheres, and turn it
off for the ground plan, ensure that the "alpha channel" check box is
turned on in the Render Settings common tab, render the scene out as a
series of "targa" files, and compile as a QuickTime movie.
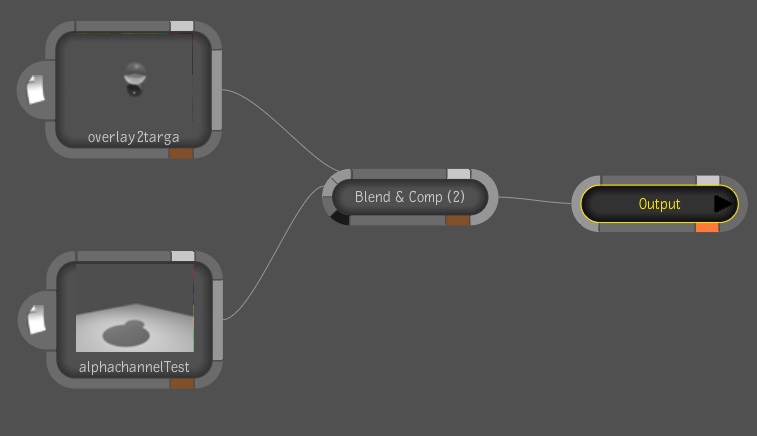
- Go to the Composite 2014, load the two animations and connect
them to the "Blend and Comp" icon as in the fireworks example.
Note that the animation of the two spheres are connected to the
"front" input port on the upper left-hand of the "blend and comp" icon
and that the
animation of the ground plane is connected to the adjacent "back" input
port of
the "blend and comp" icon (see figure below).
- Select the icon for the animation of two spheres and note that
the background is transparent in the output image preview. This is the
result of using an "alpha channel" in the original Maya rendering.
- Select the icon for animation of the ground plane and not that
the
backgrond isn't transparent since no "alpha channel" had been used in
the original Maya rendering.
- Double-click on the "Blend and Comp" icon, and set the Method as
follows:
Comp : Over
Blend: Normal
Correction: None

- Creat the output file format and render out the animation as
perviously for producing the animation (see part IB steps 1, 13, 14,
15, 16 above).