November 11, 2014 Workshop 14
Notes
CLOTH AND
CONSTRAINTS
- We begin by creating a cloth surface from a polygon and
animating it. We will then vary some of the constraints cloth that will
impact how it moves. Note that we use polygons for generating cloth
objects in this workshop.
- Create two arcs in order to make the first cloth.
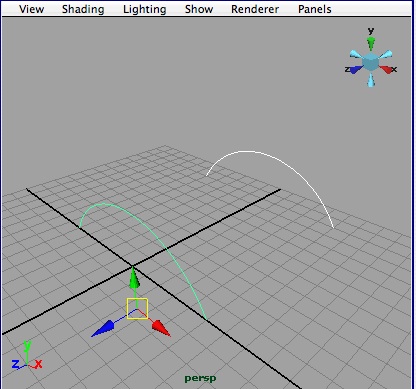
- In the surfaces module, use the loft tool to generate a
polygonal mesh between arcs. Note the loft tool allows for the
specification of a polygon rather than nurb object. Set section
spans to 6 in the loft dialog box.

- Now, working from the front view and then in the perspective view
window, create a cylinder from the polygons shelf tool.
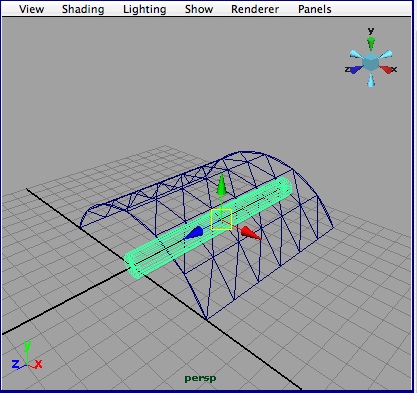
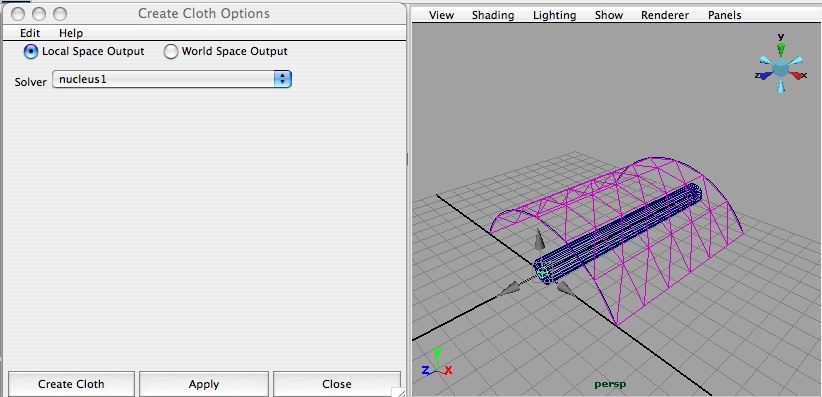
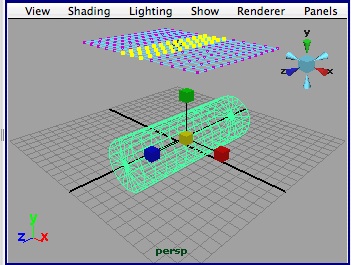
- Go to the nCloth module , select the cylinder, and choose
nCloth/Create Passive.
- Select the lofted polygonal mesh, and choose nCloth/Create
nCloth, using the default options.
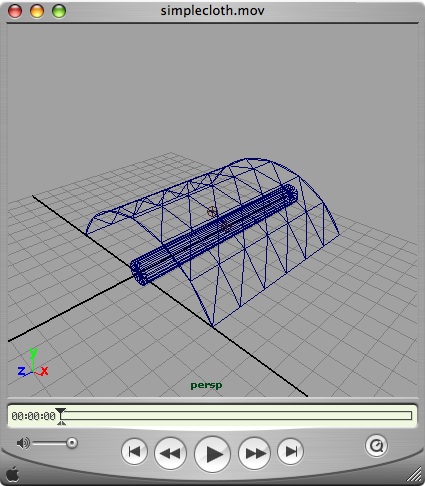
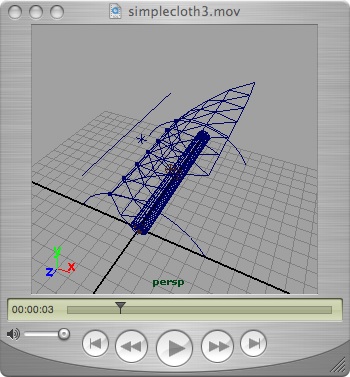
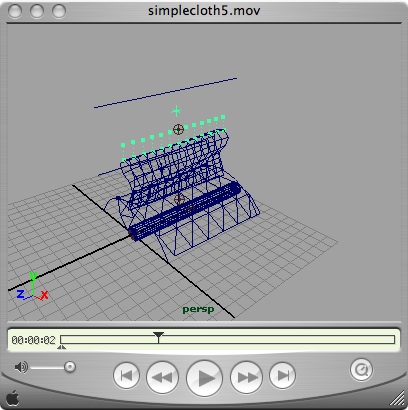
- Create 200 frames and play the animation. The results should
approximate the following movie (select image to load movie).
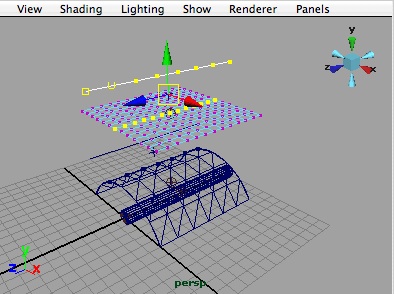
- Lets add some constraints to the cloth, such that it is pinned
along a line. That is, add a line (a 1 degree curve) to the model
running parallel to the cloth along the z-axis. Initiate the line in
the top view, holding down the "x" key to snap points to the grid every
two squares such that it has multiple vertices.
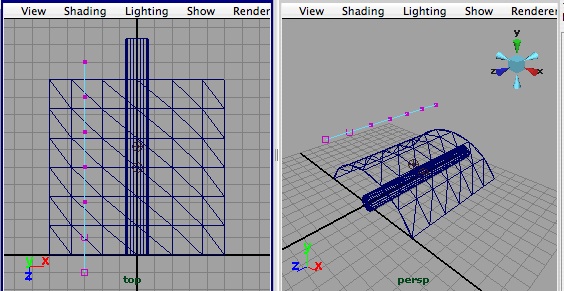
- Using the "Select by Components" mode, and from the
perspectiveview, select thenew line and shift-select the cloth. Next
used the selection tool and the shift key from the front view to select
the vertices of the line and a parallel set of vertices on the cloth.
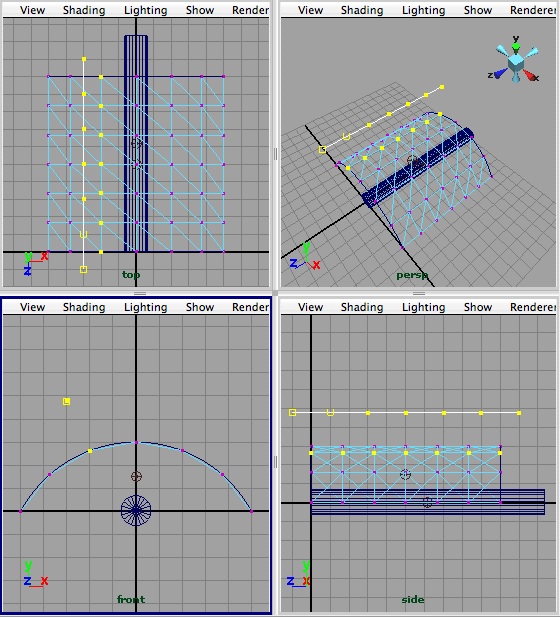
- Select nConstrain/Transform and Apply. Go back to the 1st
frame, and play the animation. See how the movement of the cloth is now
constrained by the line as if it was a clothing line.
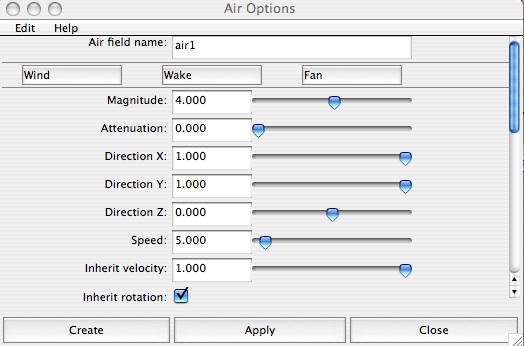
- Go to Field menu, and add a Wind Field, name it air1, while
selecting the cloth. Set direction to X = 1, and Y = 1. Set
attenuation to 0. Leave magnitude at 4.
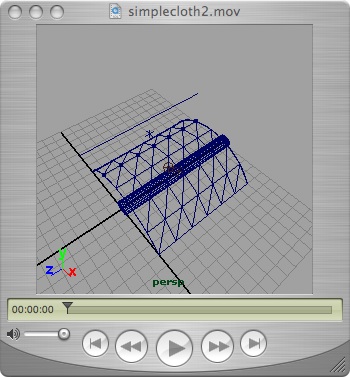
- Go back to the first frame, and try playing animation. Note that
the cloth is barely impacted by the wind.
- Now select the wind field, and set its attribute for "magnitude"
to 50. Replay the animation.
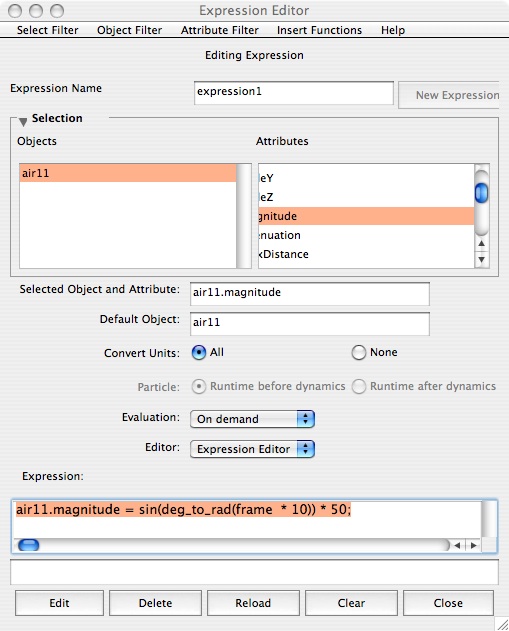
- Go to the air attribute editor, right-click on magnitude and
enter the following expression (the name "air11" was used in this
example to create this wind field):
air11.magnitude = sin(deg_to_rad(frame * 10)) * 50;
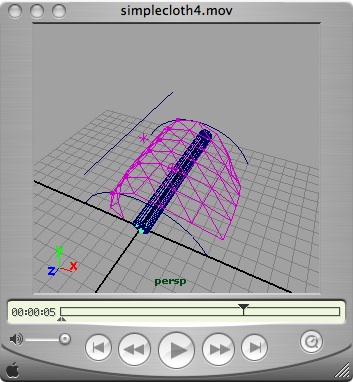
- Go back to frame 1 and replay the animation. Note the oscillation
pattern due to the wind magnitude oscillation.
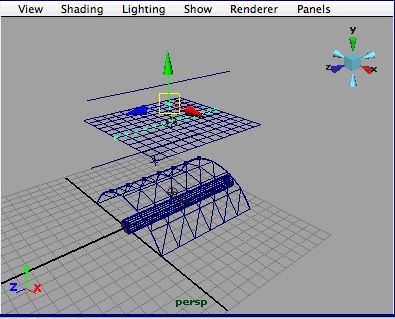
- Create a 12 x 12 polygon mesh, convert to nCloth, and constrain
it to a multiple vertices on a 1 degree curve (a segmented line) at
some
arbitrary height above the x-z plane, similar to how this was done with
the preceding cloth.
- In object mode, select one line of newly constained vertices on
the cloth such that you are able to see dynamic constraints (e.g.,
dynamicConstraintShape2) appear in the channels box. Change over to the
Attributes Editor
- In the Attributes Editor, note that the there is a check-box
adjacent to the word "Enable". To get to the expression editor, you are
unable to Right-click directly on the word "Enable"; however, you can
right-click on the attribute "Constraint Method" just below it, and
open the expression editor. Once you've entered the expression editor,
use the object and attribute "dynamicConstraintShape2.enable"

- Place the text "dynamicConstraintShape2.enable" in the text box
"Selected Object and Attribute""
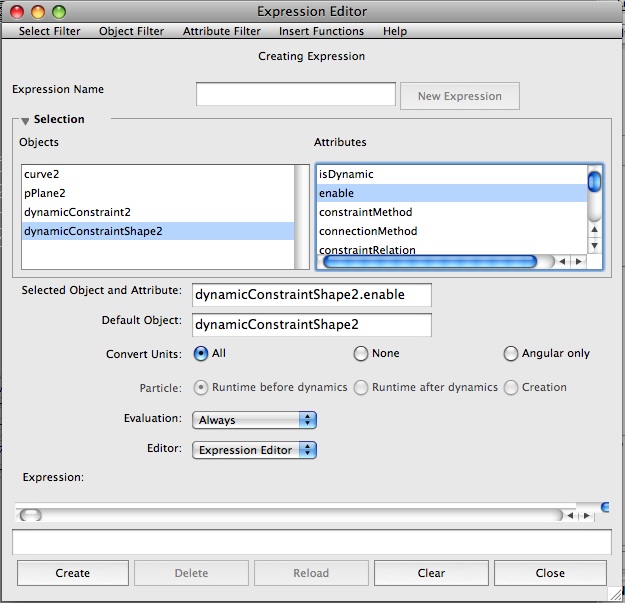
- Following the step above, enter "dynamicConstraintShape2.enable"
into the Expression editor window and create the following expression:
if (frame < 50) {
dynamicConstraintShape2.enable = on;
}
else
{
dynamicConstraintShape2.enable = off;
}
- Play back the animation and note the temporary constraint
placed on the cloth, which causes it to fold, before dropping and
colliding with the second cloth.
- In a new scene file, create a 12 x 12 divided polygon
surface and place it above the ground . Make the polygon
surface into a nCloth object. Create a cylinder polygon with 12
"height" subdivisions and make in a passive nCloth object.
Play an animation of 200 frames and observe the behavior.
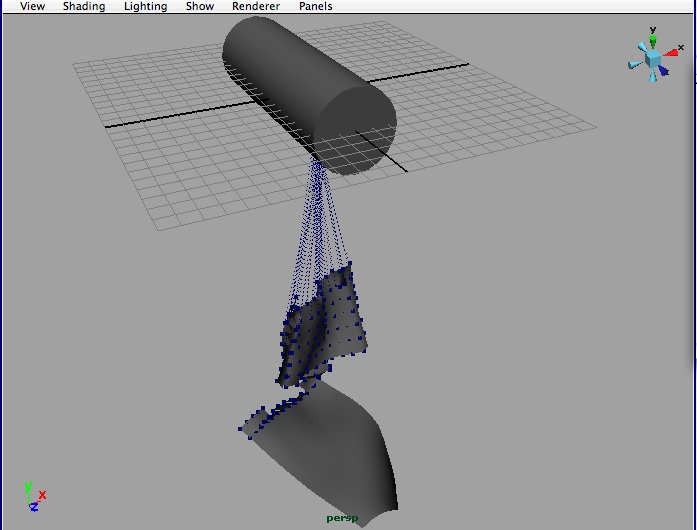
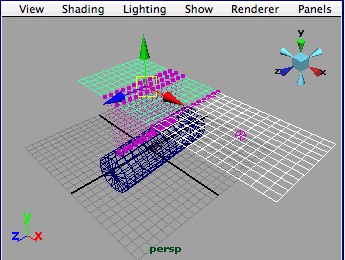
- Next, right-click on the 12x12 flat polygon surface. Choose
"vertex" and select the middle vertices of the polygon surface as
indicated in the image below. Shift-select the cylinder. Select the
menu item "nConstraint/Slide on Surface".
- Play back the animation and observe the result. The shape of
the cylinder is reflected in the cloth as it slides along it at a
constrained distance.
- Go to the channels box for the cylinder's y rotate value, open
the expression editor, and enter "pCylinder1.rotateY = frame * 5;" (use
the name of the cylinder if it is not pCylinder1.rotatey.
- Play back the animation and observe the result.
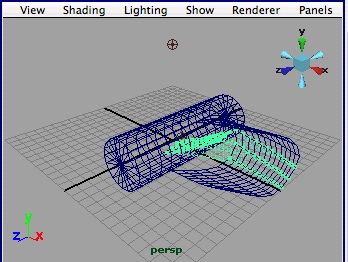
- Create a polygonal 12 x 12 mesh, convert to nCloth, and
placeit alongside the existing polygon such that the edges touch
as shown in the image below. Under the nConstraint menu choose "Weld
Adjacent Borders". Play back the animation and observe the result.
- Finally, select the first 12 x 12 polygon, and under
nConstraint, select "Make Tearable Surface". Play back animation.
The strength of this surface is adjustable under the attributes
editor.