IMPORTING MOVIE FILES, EDITING AUDIO AND VIDEO CLIPS IN IMOVIE
Note the following screen shots are based upon the class tutorial. For a more compete description of the process see the getting started documentation on iMovie which can be found on the following web site: http://manuals.info.apple.com/en_US/iMovieHD_Getting_Started.pdf
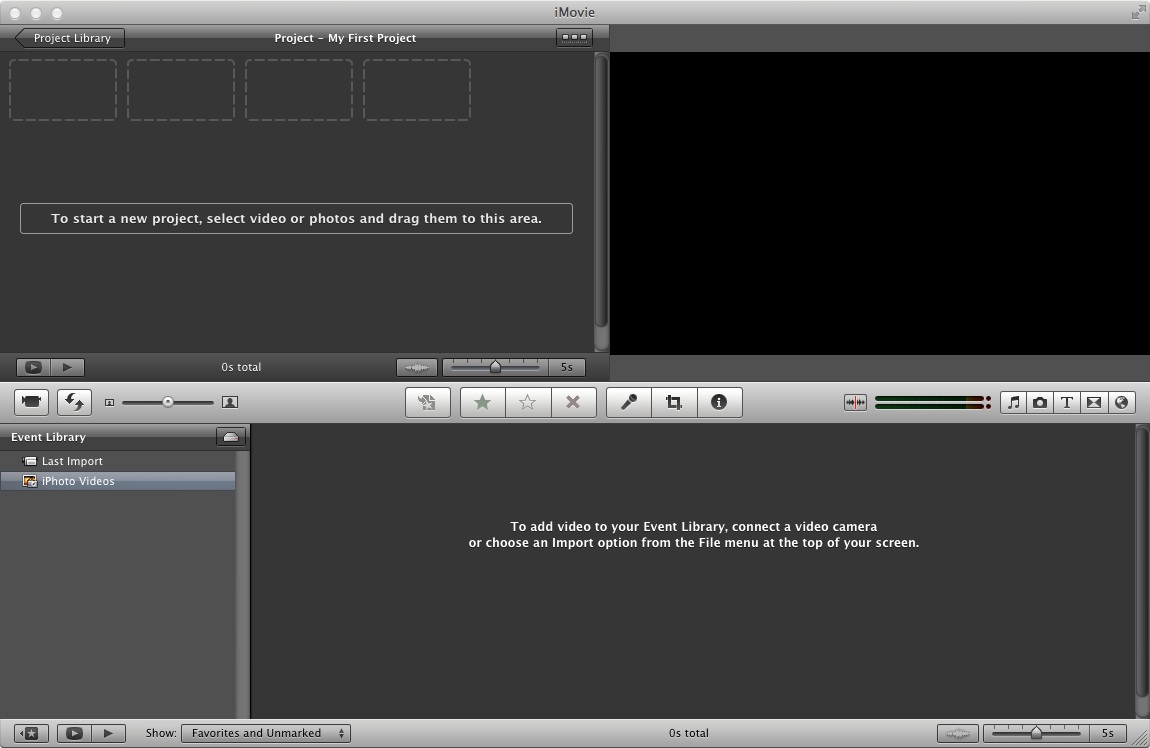
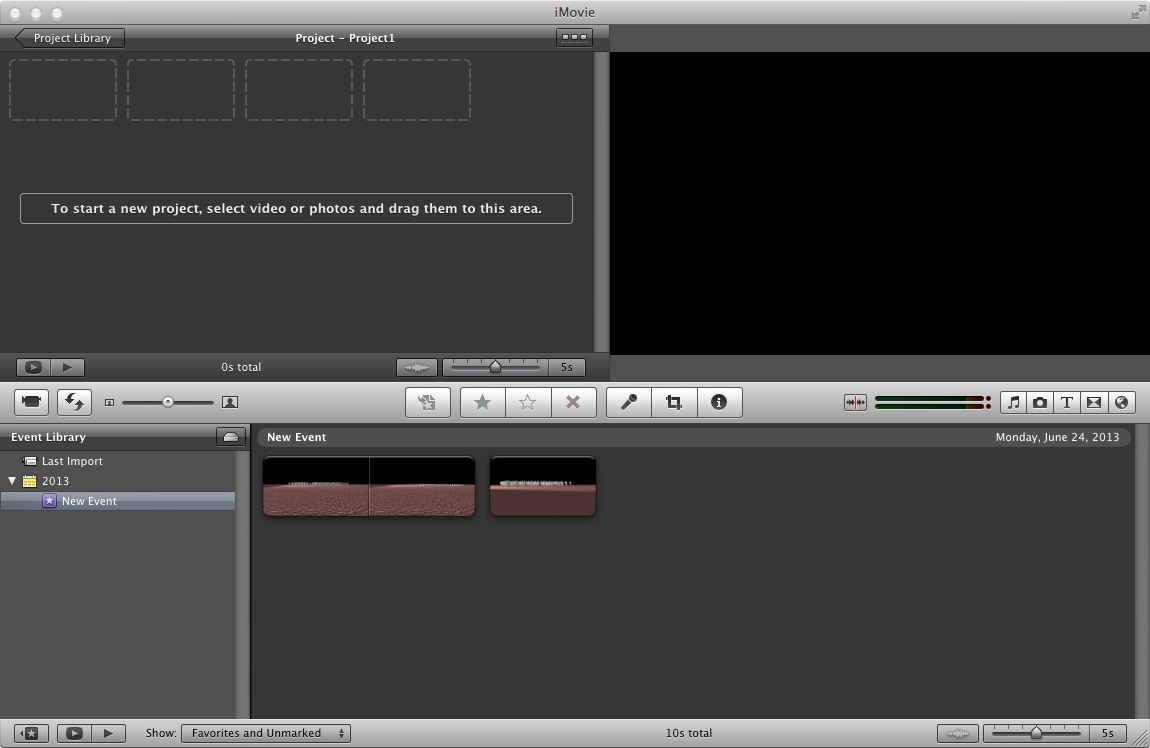
1. Open iMovie from within the Applications folder on a Mac.
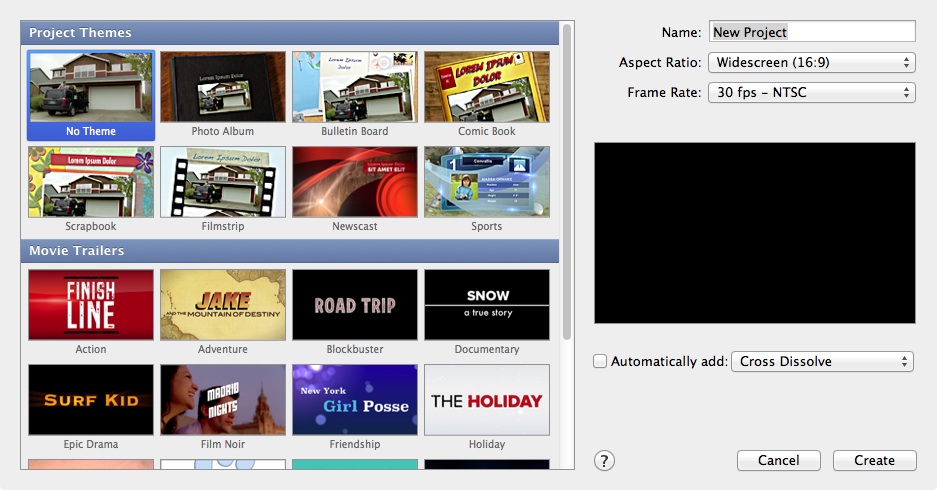
2. Create a new project at the desired aspect ratio (i.e., 16:9 or 4:3).
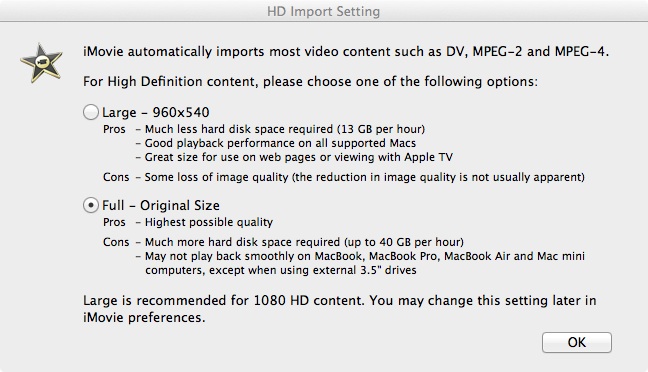
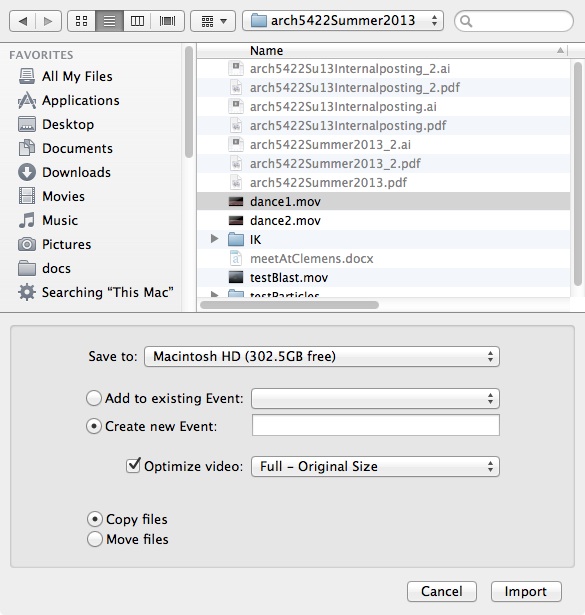
3. Import the movie file at the appropriate setting ("Original Size" will provide highest quality).
The movie now appears in the library inside iMovie

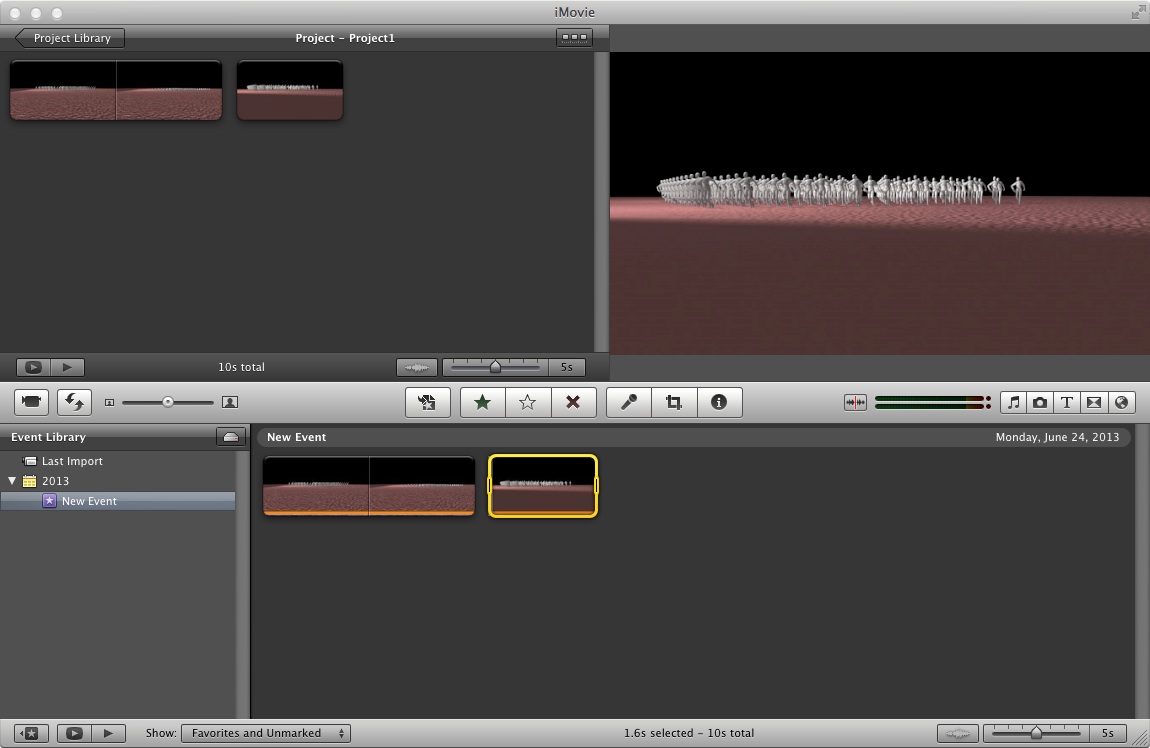
4. Import and add additional movie files as needed.
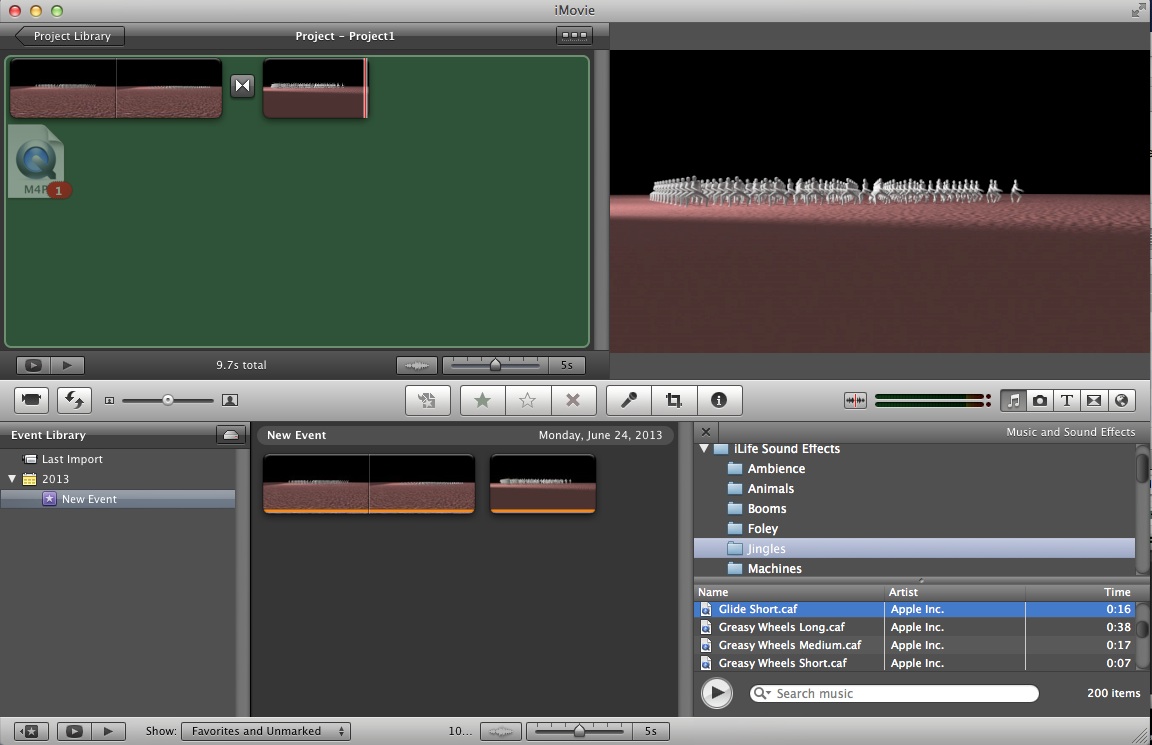
5. Drag the movie file from the library into the editor in the upper left hand corner.
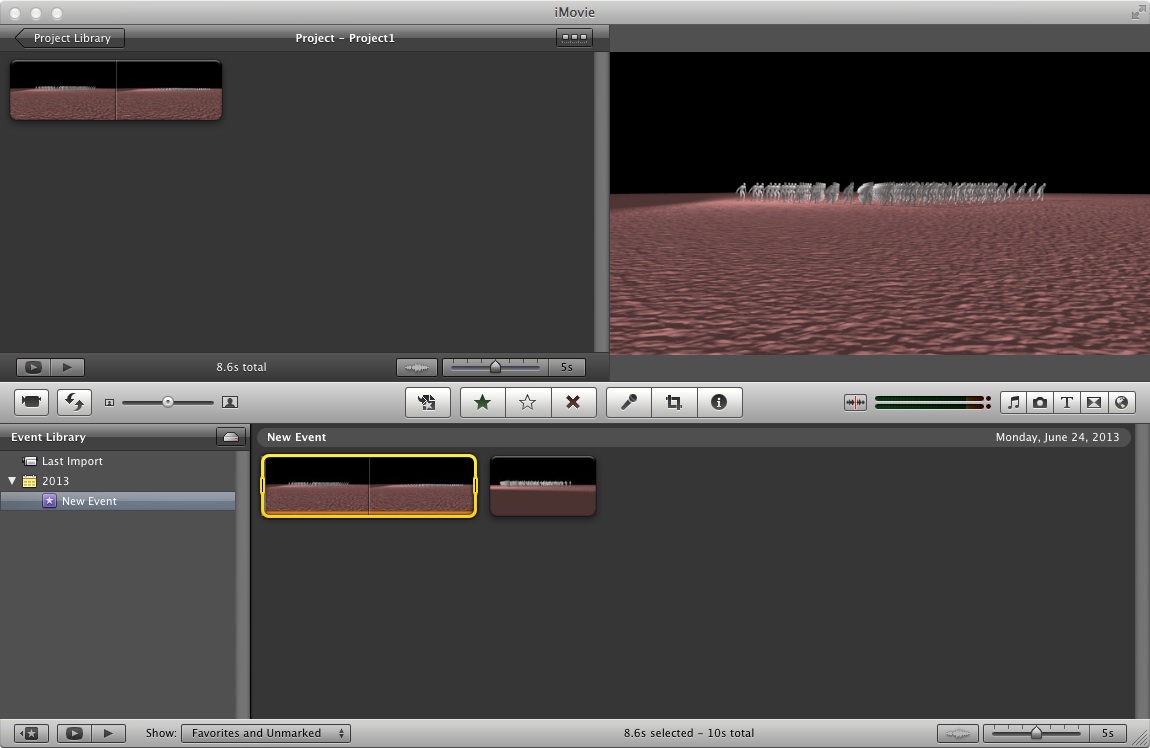
6. Repeat for additional movie clips as needed.
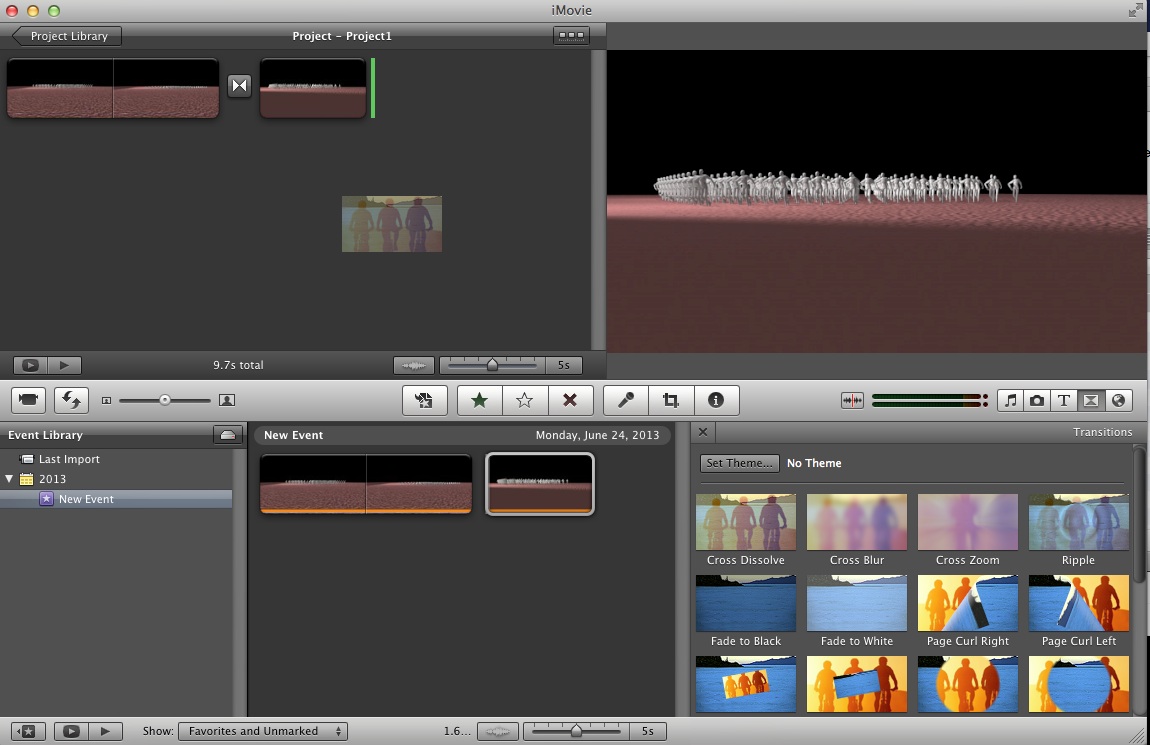
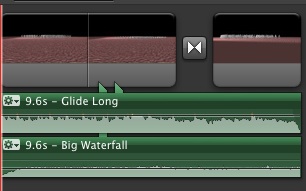
7. Go to transitions icon on the right of screen (selected below), add transitions if and as needed between movie clips. For example, the "Cross Dissolve" transition is placed between the first two animation clips in the image below:
8. Go to music icon on the right of screen, drag a new
sound file from an external folder into the editor or drag one of the library files into the
editor.
Note that by dragging the sound track toward the bottom of the video
track, it is embedded into it (see alternative option in step 10 below).
9. Select the inspector in the upper left-hand corner of the sound track to control the equalizer or to make other audio modifications.
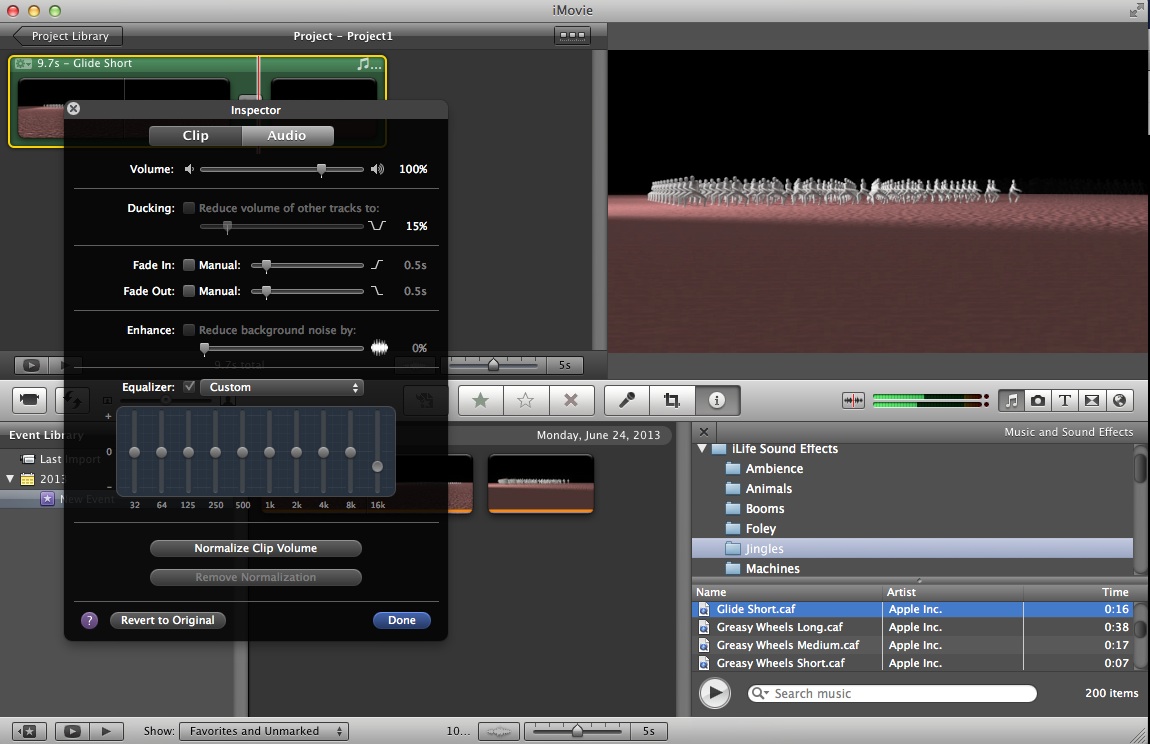
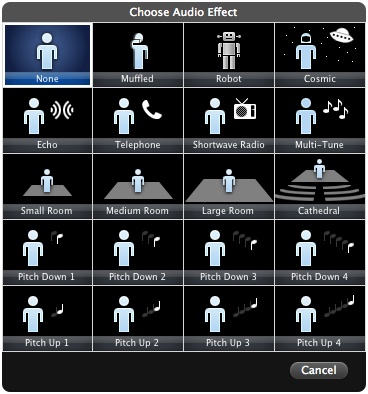
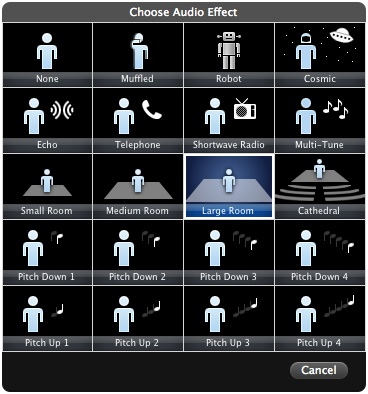
Editing the clip / clip effect in the inspector dialog box enables you to apply a number of clip-wide accoustical filters, such as going from audio effect none to audio effect large room creating a different spatial sound:
10. Alternatively, dragging one or more sound tracks to a point directly on top of the video clip causes them to be editable as separate tracks.
Each of the tracks is separately editable via the pull-down menu in the upper left-hand corner.
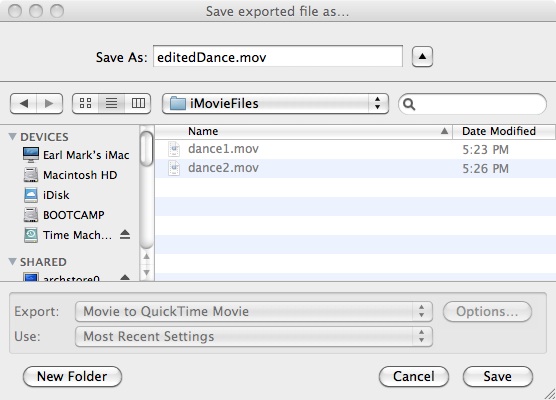
11. When editing is completed, go to"Share / Export Using Quicktime " to compile the movie to the Quicktime mov file format.
11A. Select the "Options" button to specify the file compression format, quality and other effects.
11B. Include the check-box for any audio.
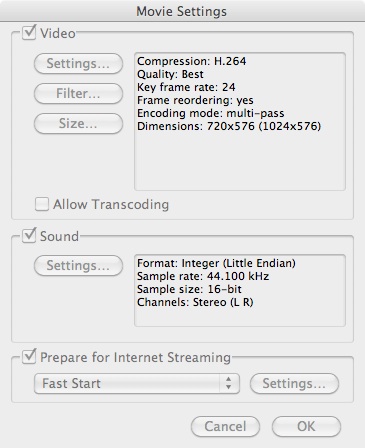
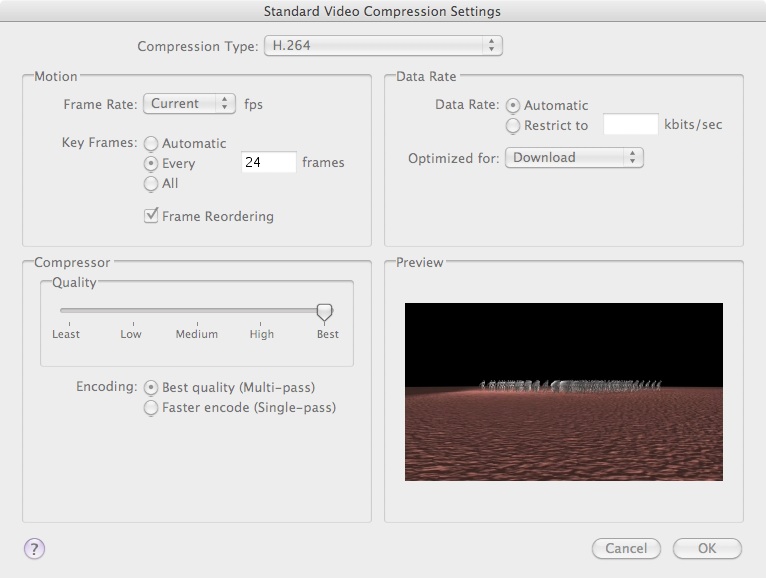
11C. Select the "Settings" button (see figure 11.B) to add H.264 compression and determine quality. In the settings dialog box that follows, either try for "high" quality(some file compression, sub-optimal quality) or "best" quality (less file compression, best quality).
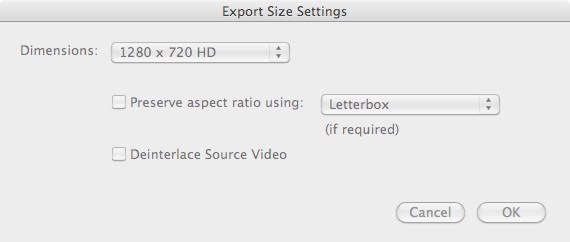
11D. Select "Size" button in figure 11.B to customize image resolution. In the "Export Size Settings" dialog box, choose the dimensions appropriate to the source material. In this case the dimensions chosen at 1280 x 720 HD
12. Use the Quicktime player to playback the Quicktime mov file to confirm quality.