IMPORTING MOVIE FILES, EDITING AUDIO AND VIDEO CLIPS IN IMOVIE
Note the following screen shots are based upon the class tutorial.
For a more compete description of the process see the
getting started documentation on iMovie which can be found on the
following web site:
https://help.apple.com/imovie/mac/10.1/
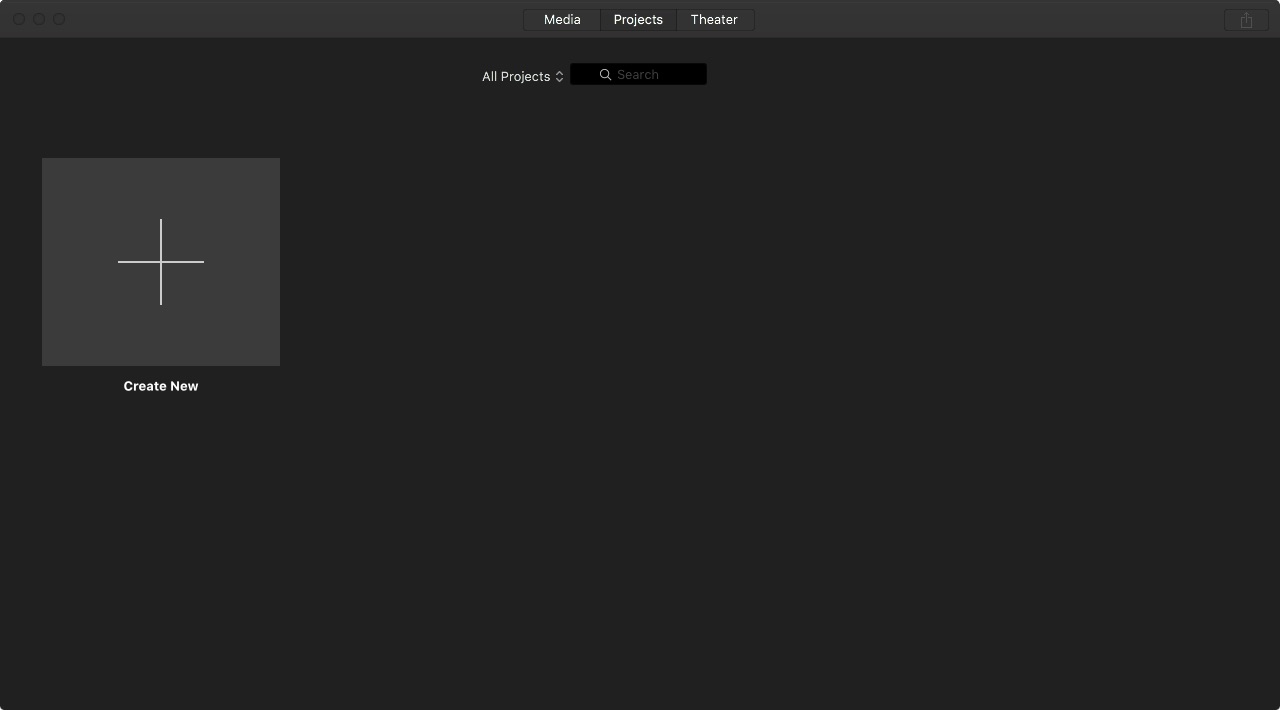
1. Open iMovie from within the Applications folder on a Mac.
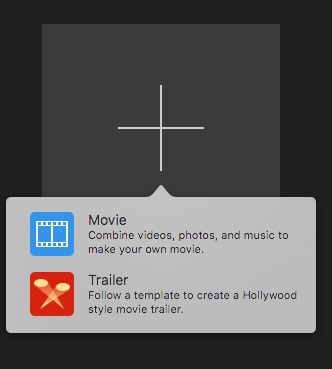
2. Select the "Create New" button above and choose the "Movie" (blue icon) option below.
3. The movie editor and project window now opens.
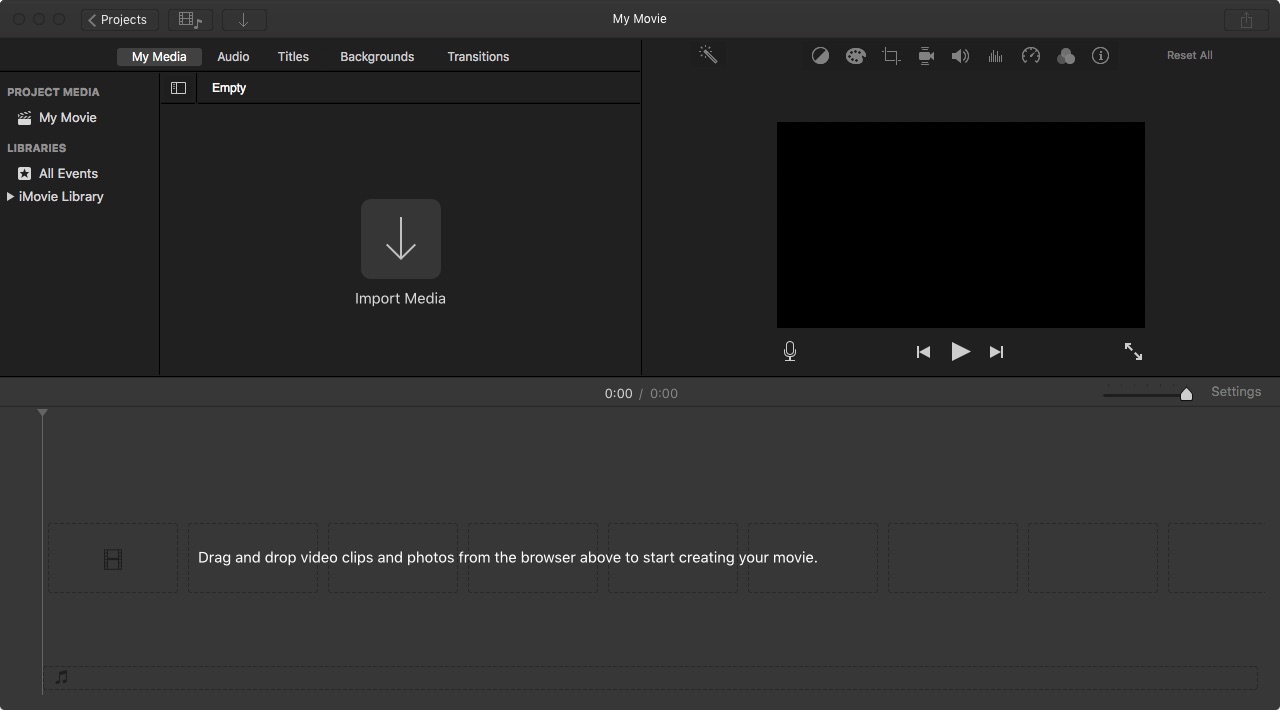
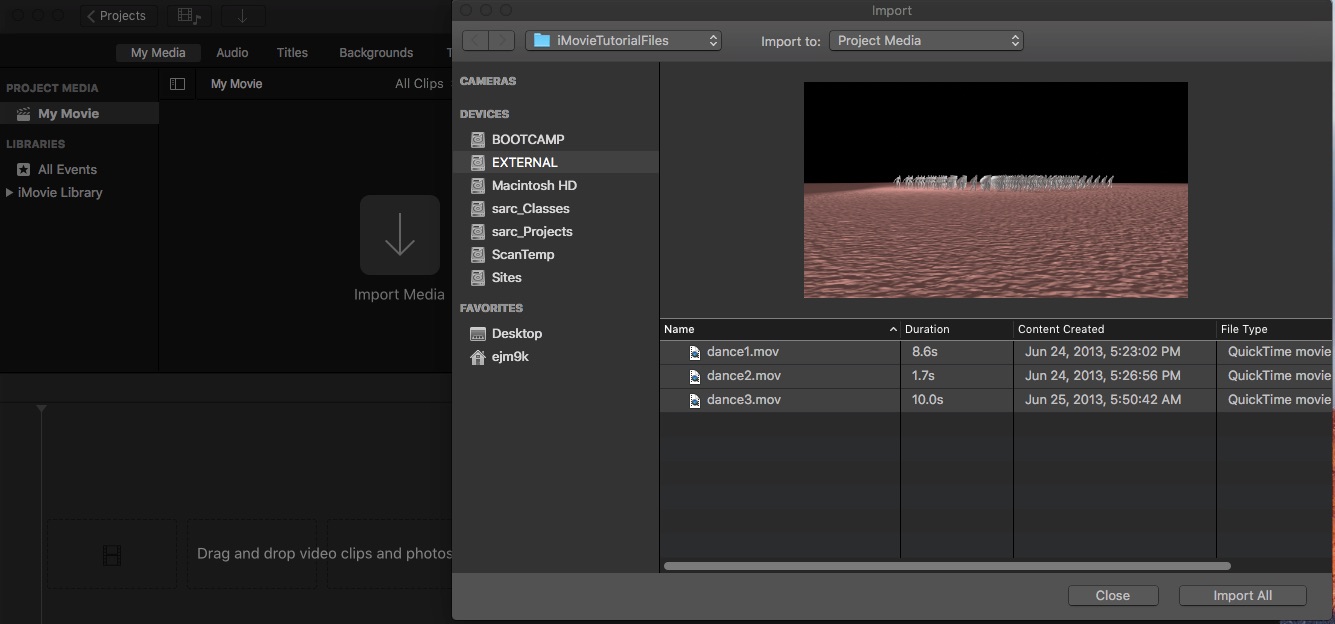
4. Import media to the browser browser window in the upper left-hand corner using the down arrow with the "import media" label in the image above and selecting the movie files in the dialog box that follows below.
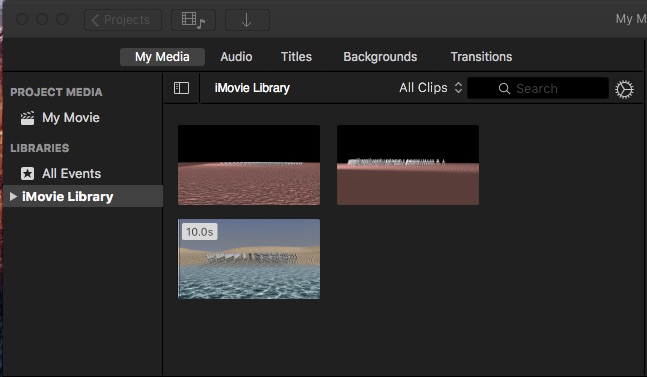
5. The media will then appear in the media browser window in the upper left corner of the iMovie Dialog box as shown in the following image.
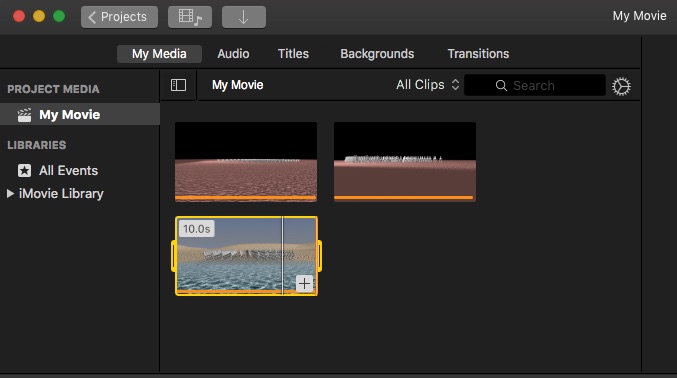
6. Note that when selecting a movie clip from the browser, drag the mouse through the portion of the movie clip desired so that it highlights in yellow as depicted below before dragging it to the timeline.
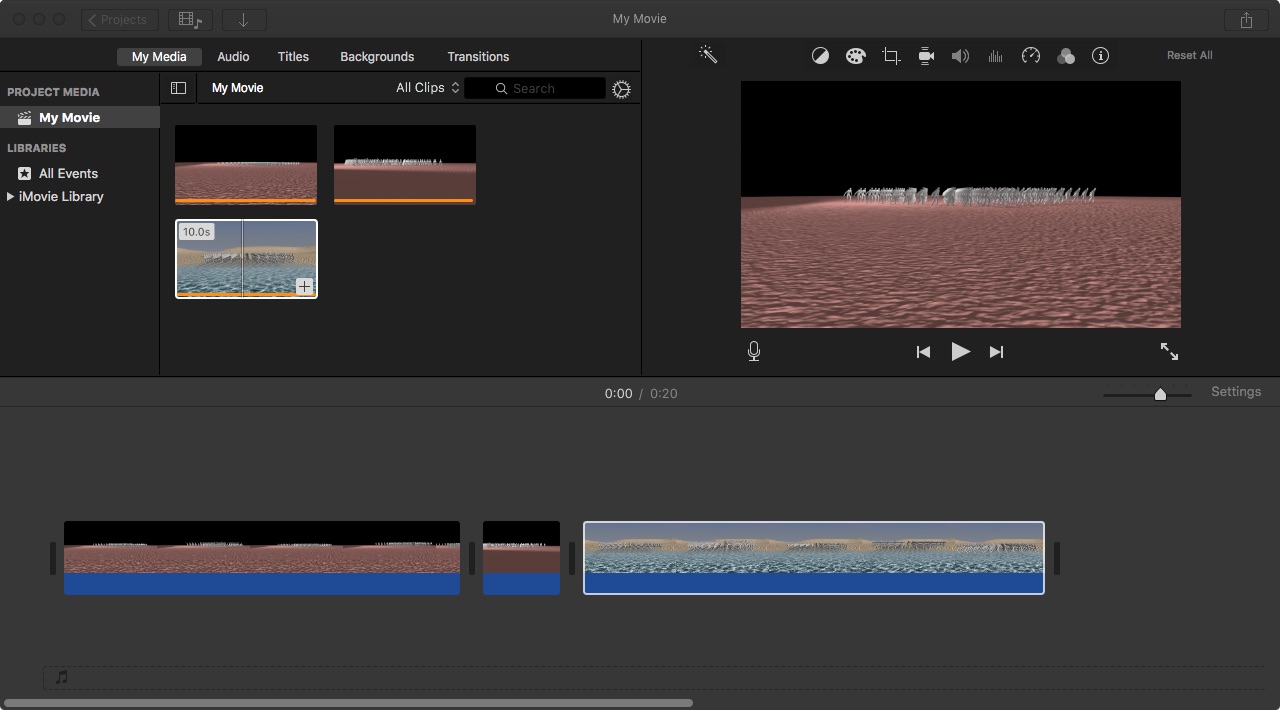
7. Drag and drop the media files into the timeline below and in the sequence desired. Next, use the right pointing arrow in the window in the upper right corner of the application window to play through the resulting rough assembly.
8. Note that it is also possible to mport and add additional movie files as needed through the "file /import media" menu item rather than via the "import media" symbol used in step 4 above.
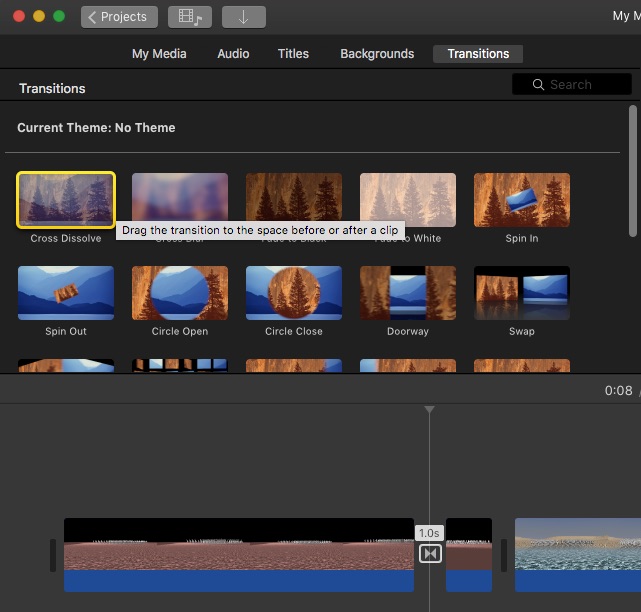
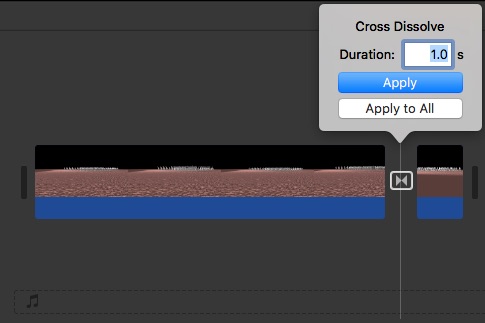
9. Go to transitions tab on the upper left side of the view window, and then add transitions if and as needed between movie clips. For example, the "Cross Dissolve" transition is placed between the first two animation clips in the image below:
10. Double-click on the with the left mouse button on the cross-dissove icon to be able to adjust the time length of the transition.
11. Similarly, go to the "TItles" tab from the same menu to overlay a title on the video or place it in its separate slot on the timeline (this technique is not shown here).
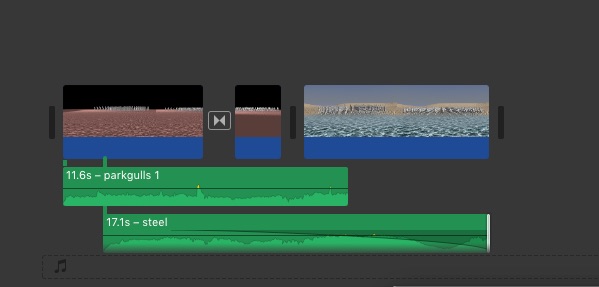
12. To add sound, drag a sound mp3 file from an external folder into the editor and place it in the timeline below the video track. The length of the sound track can be adjusted by clicking on the right hand edge with the left mouse button and sliding to the desired length.

13. Add an additional mp3 file sound track below or to the right of the first sound track.
14. Select the inspector "i" symbol in the upper right hand corner of the iMovie window to make additional time length adjustments.

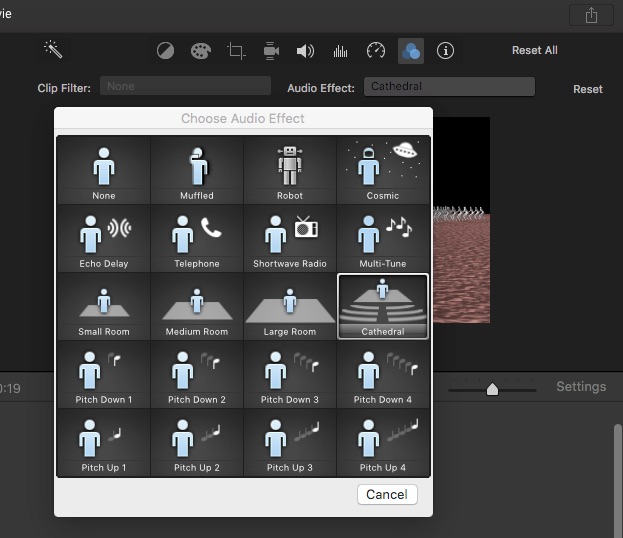
15. Select the three dot icon in the upper right hand corner and just to the left of the "i" symbol to add an audio effect.
 1
1
16. Select the vertical bars icon in the upper right hand corner to apply a preset equalizer effect (adjusts the apparent audibility of different sound frequencies). The "Flat" equalizer effect is chosen in the case depicted below.

Note that each of the sound tracks is separately editable via techniques 9, 10, and 11. above.
17. When editing is completed, go to the "File/Share / File " to compile the movie to the mp4 file format, select resolution and quality(high).
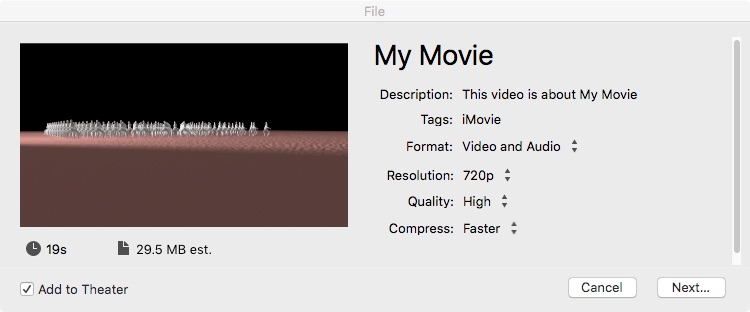
18. Select the "Next" button, name the file, and select the folder where to place it. Note that the mp4 format is automatically created as a result and the suffix "mp4" is added to the file name (e.g. "myMovie.mp4").

19. Use the Quicktime player to playback the mp4 file to confirm quality.