October 20, 2016 Workshop 13 Notes
NON-LINEAR
DEFORMERS AND SOUND SYNCRHONIZATION IN MAYA
1. Nonlinear deformers allow surface geometry to be treated non-uniformly with respect to some modifications, either for the purpose of constructing geometry or for the purpose of keyframing a transforming object.. These deformers are available under the animation module.
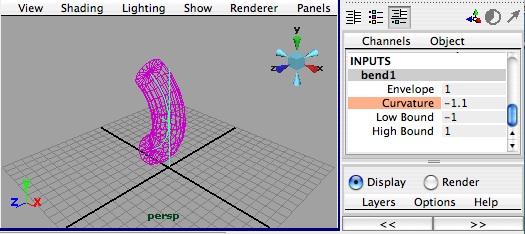
CASE 1: DEFORM>CREATE NONLINEAR > BEND DEFORMER Build a cylinder, 8 subdivisions axis and 8 subdivisions height, use channels box to modify it
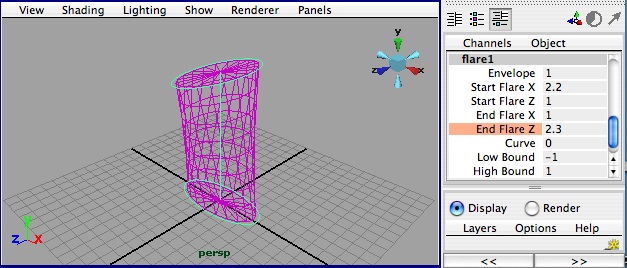
CASE 2: DEFORM>CREATE NONLINEAR > FLARE DEFORMER Build cylinder as in previous example;
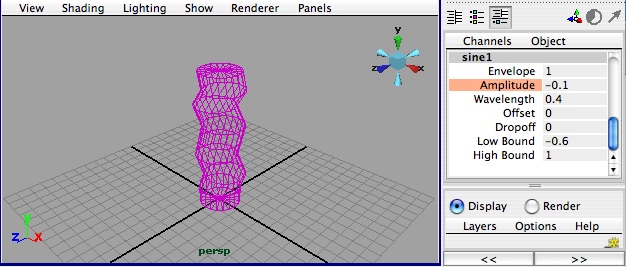
CASE 3: DEFORM>CREATE NONLINEAR > SINE DEFORMER Build cylinder as in previous example;
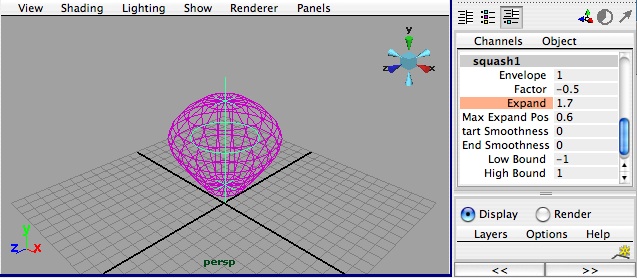
CASE 4: DEFORM>CREATE NONLINEAR > SQUASH DEFORMER Build cylinder as in previous example;
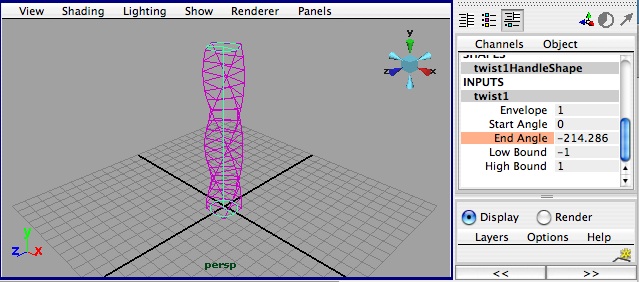
CASE 5: DEFORM>CREATE NONLINEAR > TWIST DEFORMER Build cube similar to previous example;
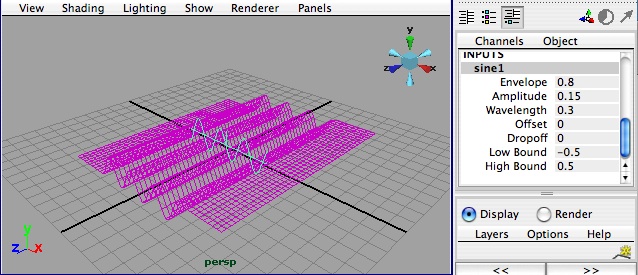
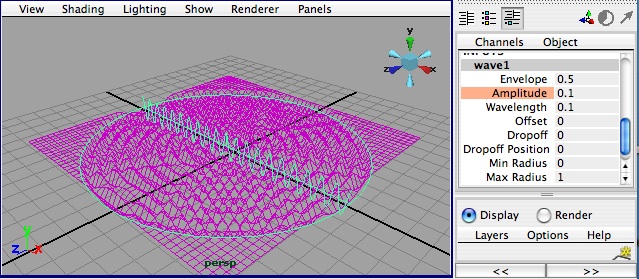
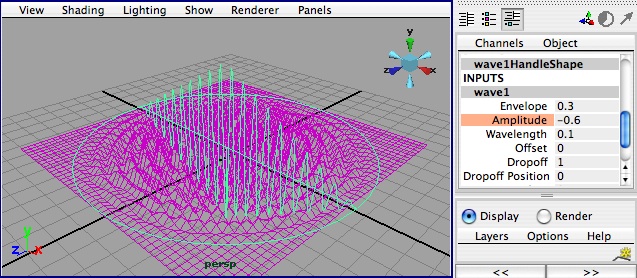
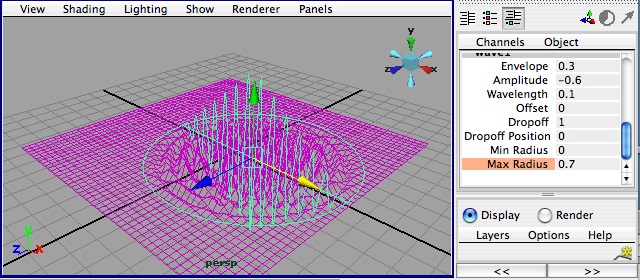
CASE 6: DEFORM>CREATE NONLINEAR > WAVE DEFORMER Build flat surface 100 x 100
2. Loading Sound Revisited: We have already seen in workshop 5 that sound can be imported into Maya for timing a animation and exported into a movie file through the playblast utility. Final rendered frames are then syncronized separately through sound editing software Sound Edit or Quicktime Pro.
You can’t import sound files into Maya some formats. However, you can use Quicktime Pro convert your sound files to Windows and Apple compatible file formats like aff. To convert a sound file in Quicktim Pro:
1. Load the sound into Quicktime Pro through the file open sequence.
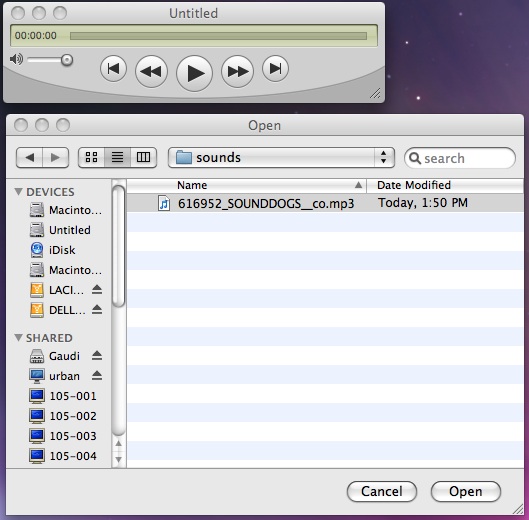
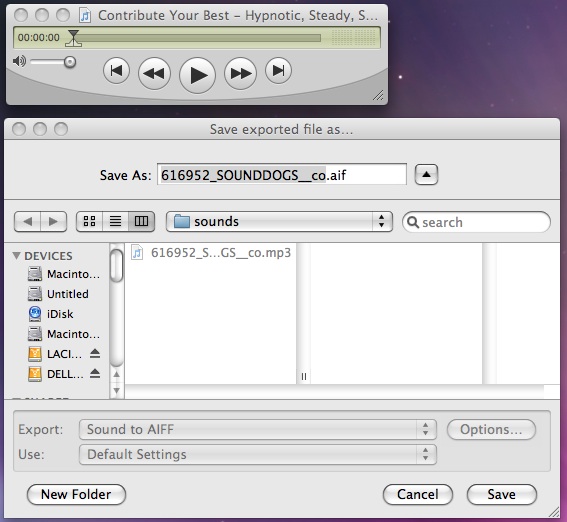
2. Save the file to aif format.
To load an audio file into your scene (the instructions below are abbreviated from the Maya help documentation and offer a different approach than the drag and copy method described in workshop 5):
1. Use
File > Import. A file browser lets you select the name of the
sound file to import.
To display sound on the Time Slider:
1. Right-click the Time Slider.
A pop-up menu appears.
2. In the pop-up menu, select the audio file you want to hear from
Sound > audio file.
The audio file’s waveform appears in the Time Slider and it
plays during playback.
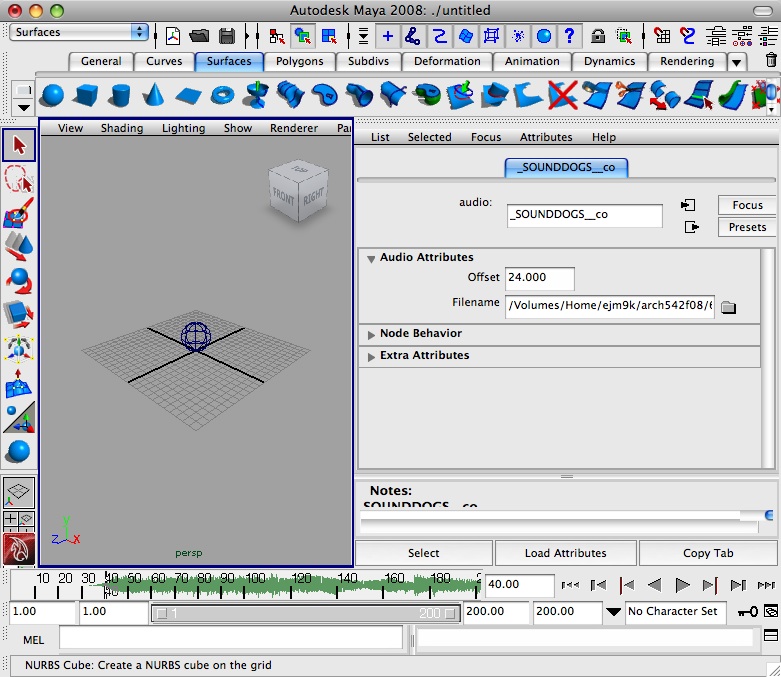
3. To change the start time for the sound. Select Display >
Sound > NAME OF SOUND
TRACK >and change the
Start Time (Offset #) to the frame number at 24 frames per second.
(frame 48 = 2 seconds at the default Time Unit of 24 frames per
second).
You will now see the sound waves representing the sound appear in the
Time Slider starting at time 48.
4. To play your animation with sound, open the Animation Preferences
window and ensure that Playback Speed is set to Real-time (24 fps) and
click Play. The sound begins at 2 seconds (or time 24 on the Time
Slider).