December 5, 2017
Workshop 18
Notes
COMPOSITE EDITING WITHIN OPEN SHOT
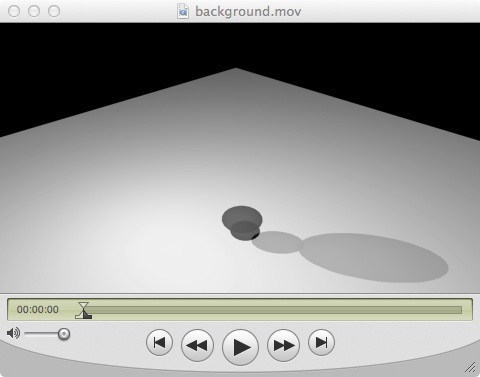
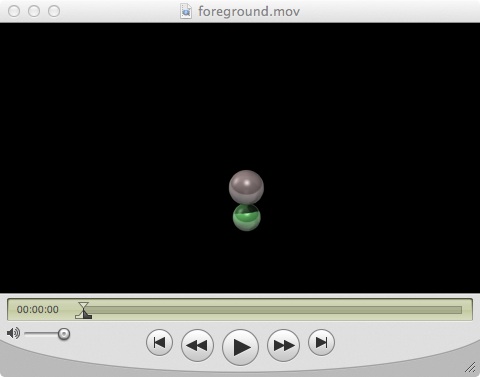
These notes provide a relatively simple technique for overlaying separate renderings of the same scene and from the same camera. A backround movie file is created in jpg format, and an overlay movie file is created using an alpha channel in either tga or png format.
The notes a are organized in three parts. In Part I the process used to create the background and foreground images is summarized along with compiling them in Quicktime Pro. In Part II, as an alternative to Quicktime Pro, the option to compile the animation frames and also create the composite movie is summarized using Chaos Group's PDPlayer. In Part III, the public domain software OpenShot is used to composit the two movies.
To obtain a copy of openshot for Mac or Windows see openshot.org. Open shot is availble free or for a nomincal donation. Note, however, that OpenShot has a number of limitations:
1. In order to work around a limitation within OpenShot with respect to targa files (.tga) files, we initially compiled animation frames in Quicktime Pro (illustrated here in PART I)
2.. Launch the software normally under the name "OpenShot" in computer labs 105 or 107 on the first floor. In effect OpenShot is fully compatible with the computers in these two labs.
3. However, launch the software the under the updated name "OpenShot in Cambell 302 or 304" in the labs on the the third floor. In effect OpenShot will appear to launch normally, but invisibly it will be reconfigured to use 1 rather than 2 CPUs in this room.
Using the Alpha Channel to blend to separate renderings.
PART 1: Create the source image sequences.
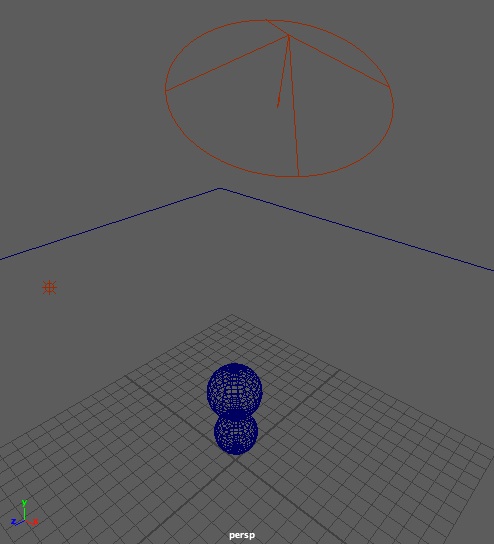
- Create a scene with a ground plane, two spheres, a spot light and
an ambient light. Apply phong shader materials to the spheres.
- Key -frame the spheres moving upward from the ground along the plus Y axis (vertically) over 48 frames.
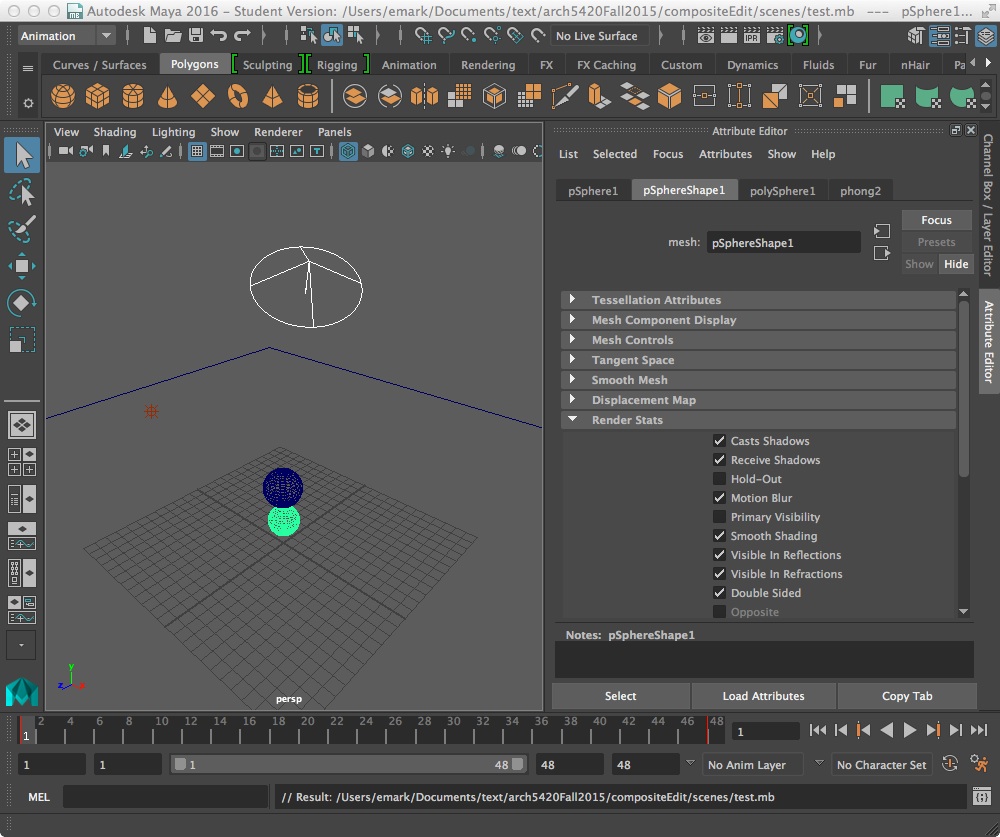
- For each sphere go to the attributes editor, go the
"nurbsSphereShape tab" and "Render Stats" sub-tab and turn off "Primary
Visibility".


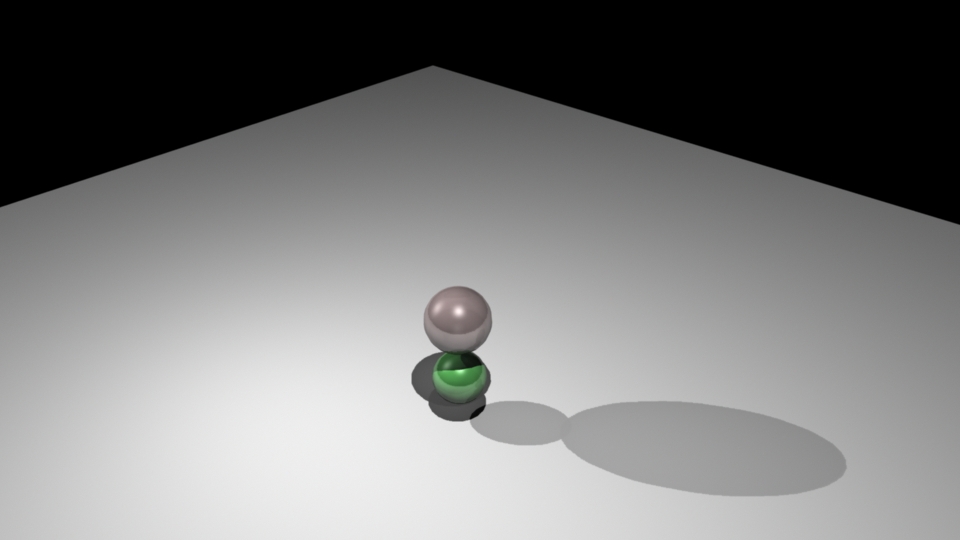
- Render out the scene as a jpg series (which will not record an
alpha channel), and load the images into the QuickTime Pro movie player. This rendering will
show the ground plane and sphere shadows, but not the spheres. Save the frames within QuickTime pro to a self-contained files such as background.mov.

- Now, turn back on visibility for the ground spheres, and turn it
off for the ground plan, ensure that the "alpha channel" check box is
turned on in the Render Settings common tab, render the scene out as a
series of "targa" files, and compile them withinQuickTime Pro, and save the movie to a file such as foreground.mov.

PART 2: Composite Sequence with Chaos Group PDPlayer
With Chaos Group's PDPLayer, its possible to both compile the two animations as well as do thecomposited
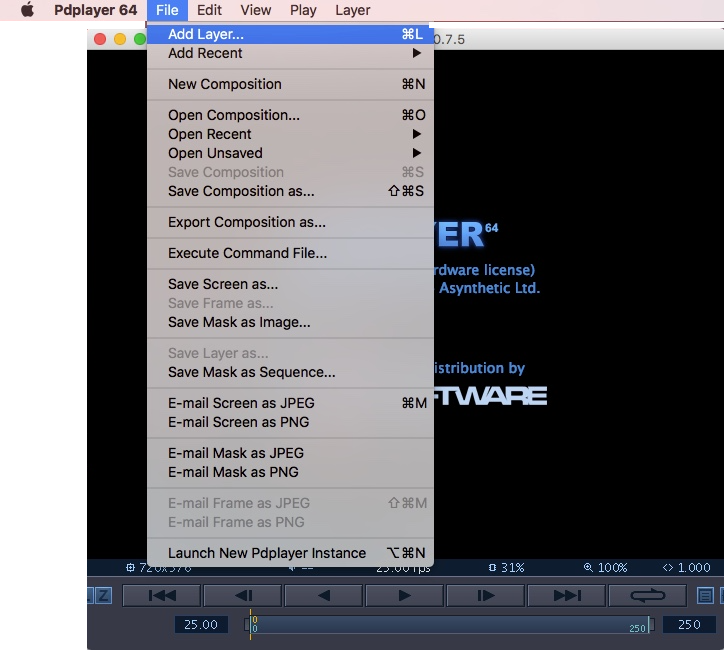
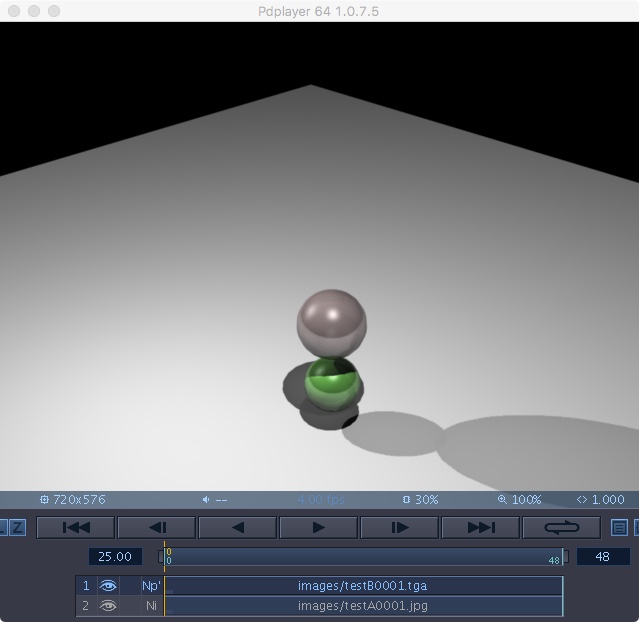
animation without needing to use OpenShot. PDPLayer provides for the import of the two sequences on different layers. Begin with the menu item "File/Add Layer". For more detail, see Documentatio on the Chaos Group web site. The full manual is availble in pdf format.

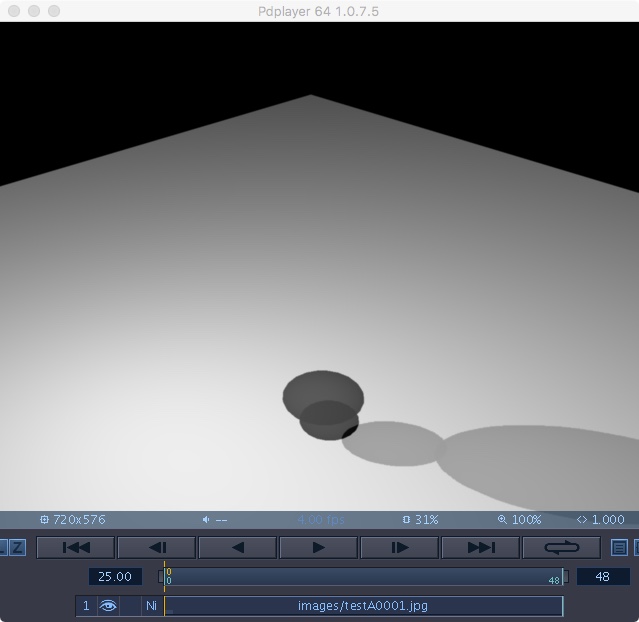
- Use the "Add Layer" tool to load in the backgound "jpg" image sequence by selected the frame number 0000 first.

- Next, similarly, load in the foreground "jpg" image sequence second.

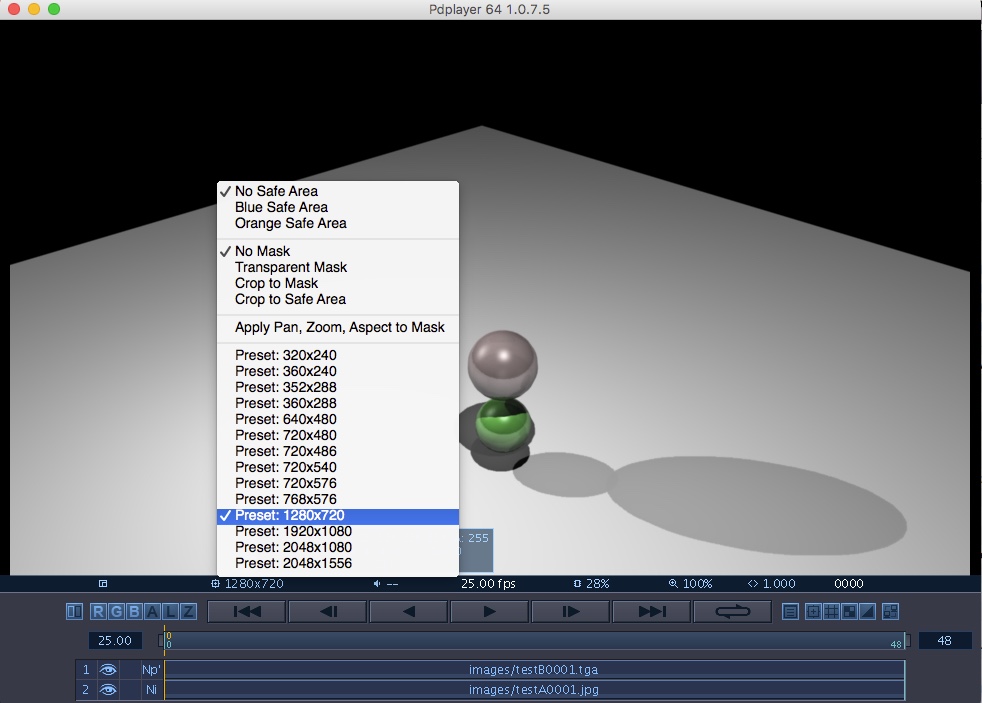
- Right clock on the resolution specification (the number "720 x 256" above) just to the lower left of the image to specify the output resolution. This will typically be already set to the resolution of the rendered images.

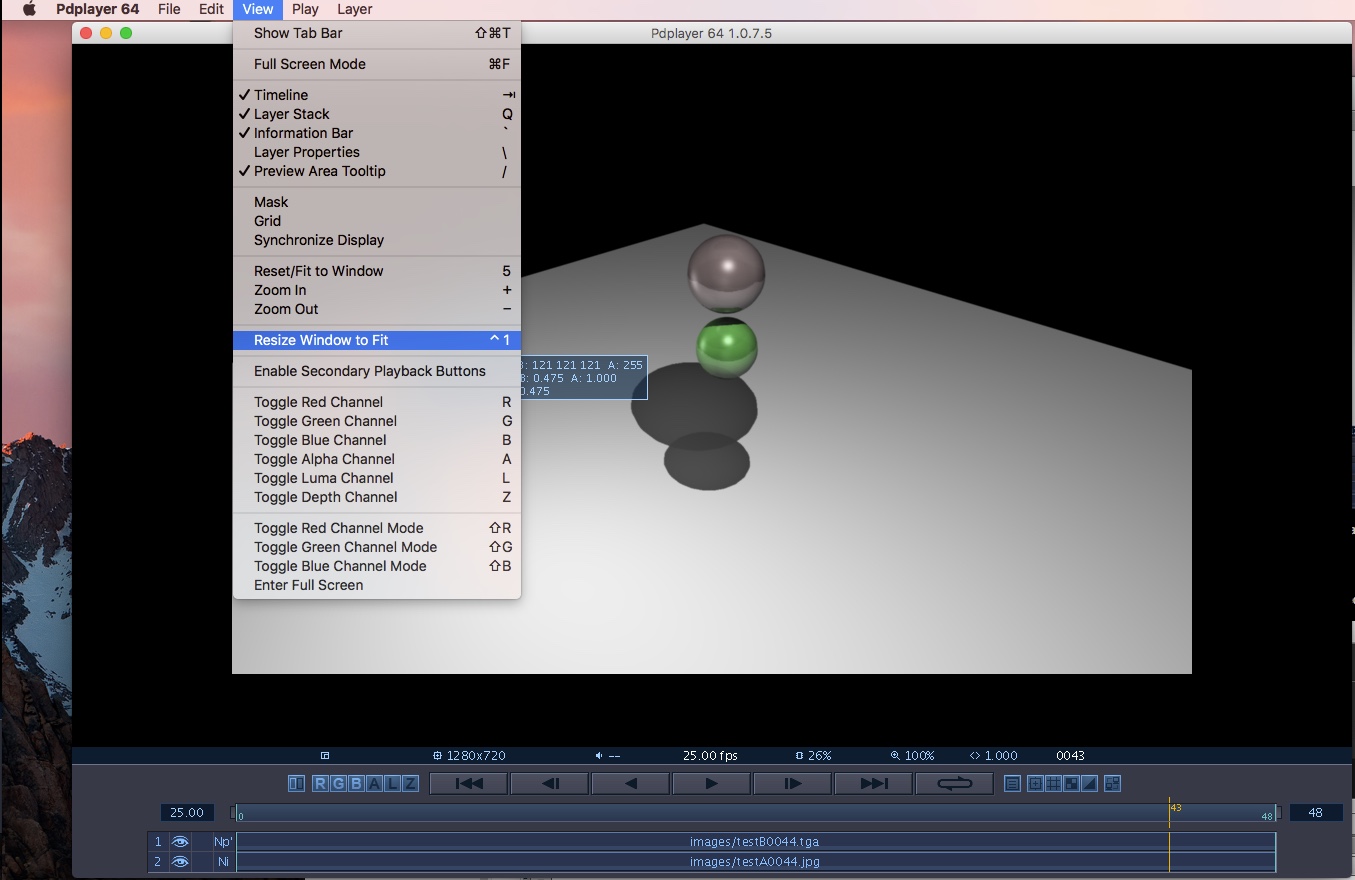
- The menu item "View/ResetWindow to Fit" ensures that any discrepancies between the desired resolution and the source resolution of the original images is corrected such that the final movie file doesn't add on a border area.

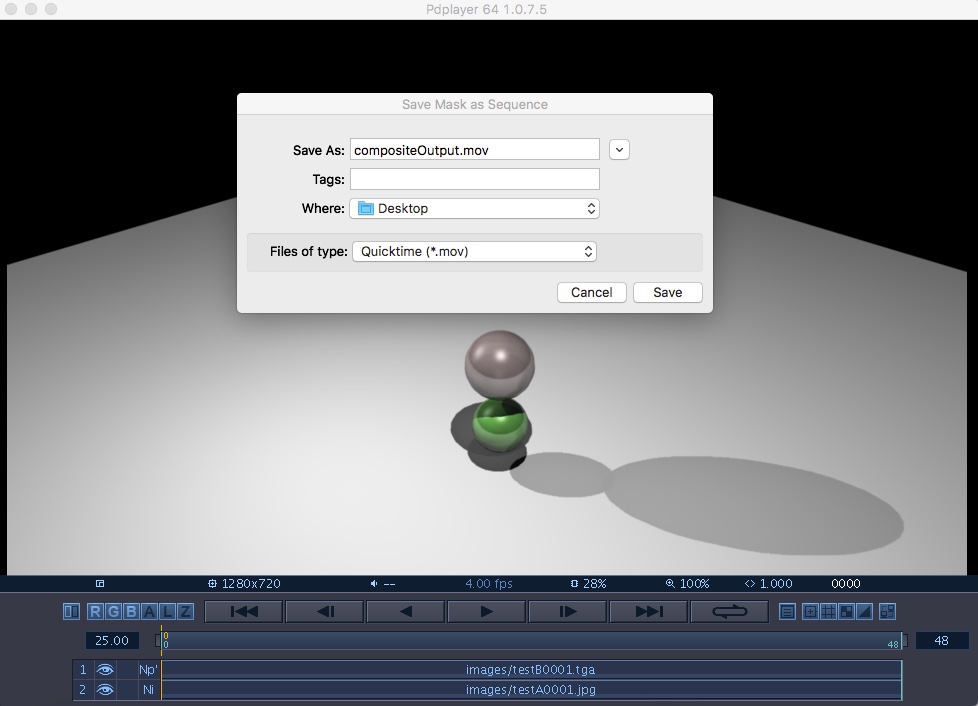
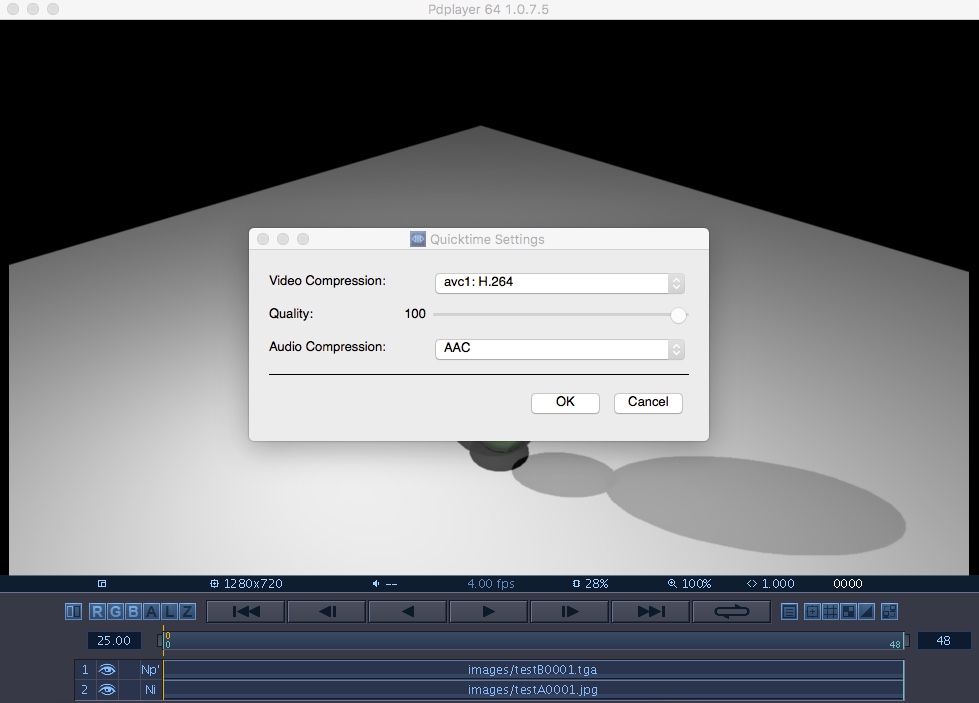
- To complete the edit, use the menu" File/SaveMaskAsSequence"

- Next, choose an appropriate video compession format (e.g., avc1: H264).

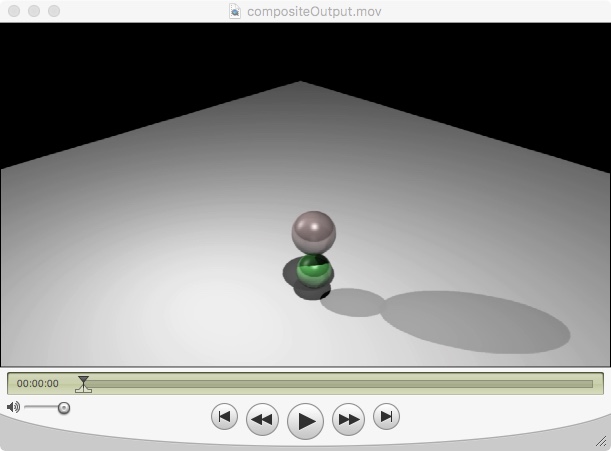
- Open the composite video and playback.

PART 3: Create the composite video with OpenShot
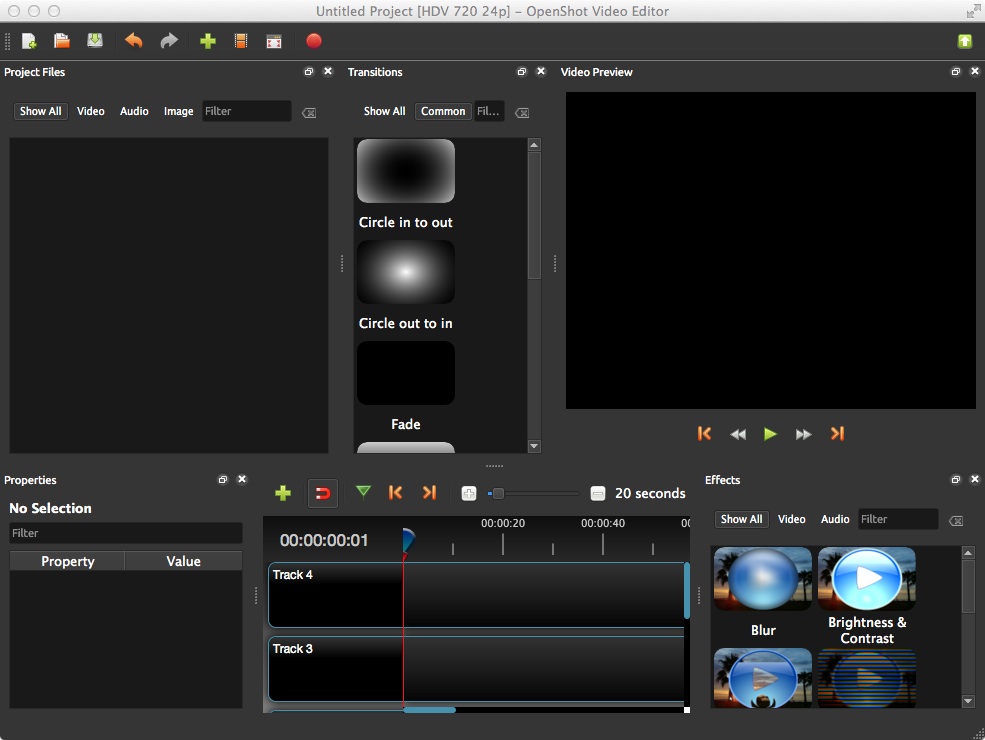
- Open the OpenShot video editor to begin the composite edit.

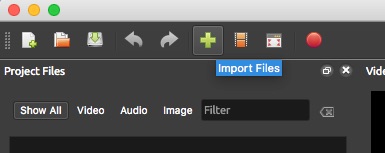
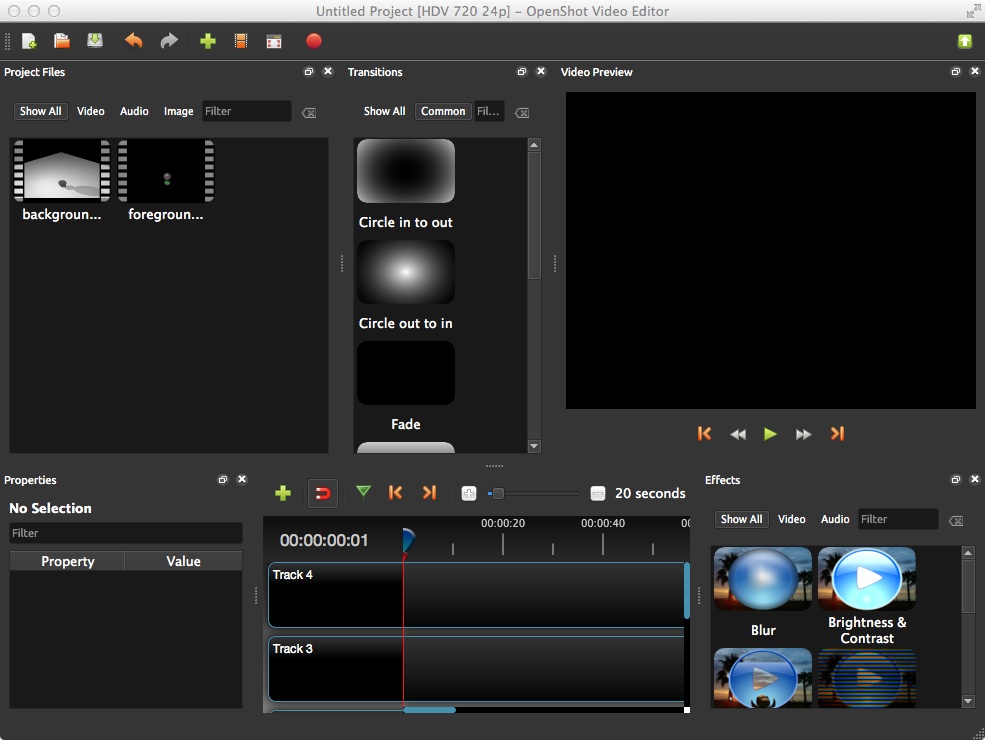
- Use the import tool to import both movie files.

- Or simply drag the movie files to the upper left "Project Files" window from their folder on the computer's hard drive within the OpenShot video editor.

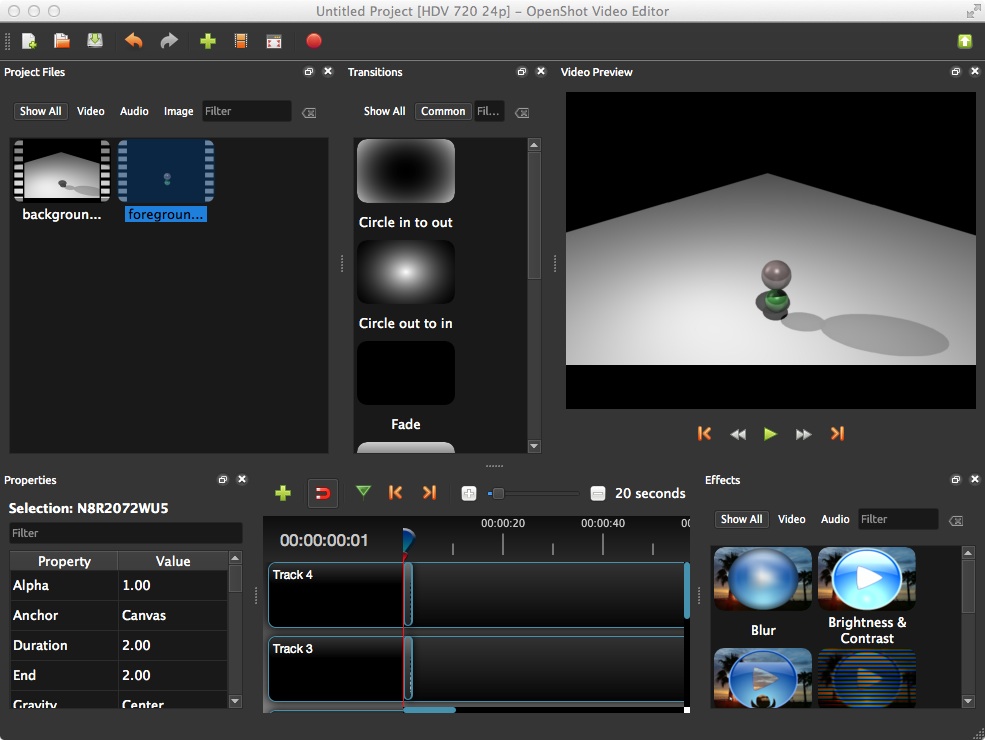
- Drag the background movie to "Track 3" and the foreground movie to "Track 4". Use the green right play arrow in the Video Preview window to preview the result.

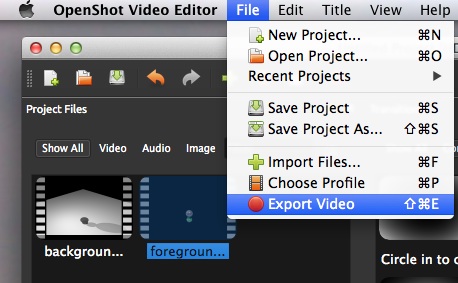
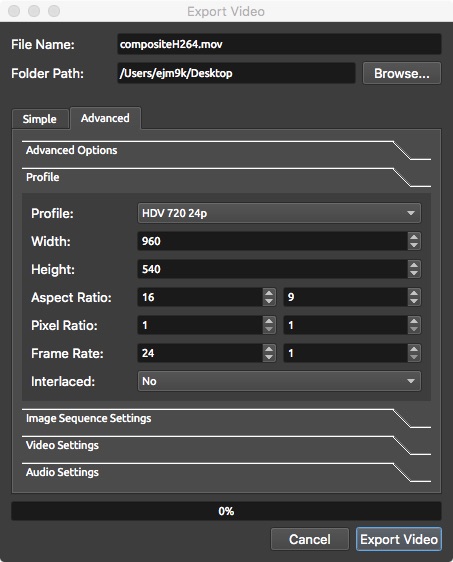
- Export the movie file with File/Export Video menu.

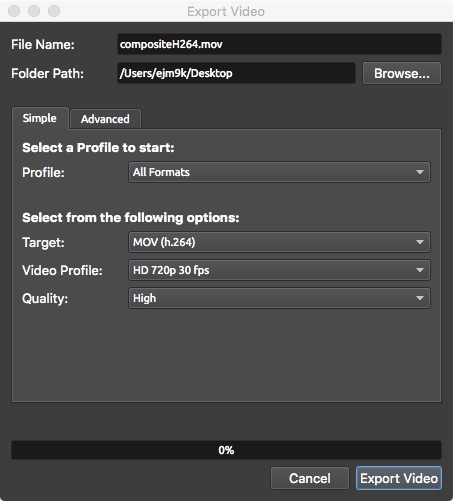
- Next, pick the '"mov(h.264)" or alternative format on the "simple" tab and name the file "compositeH264.mov".

- In addition, set the desired resolution on the "advanced" tab and select the button "export" to create to composite movie.

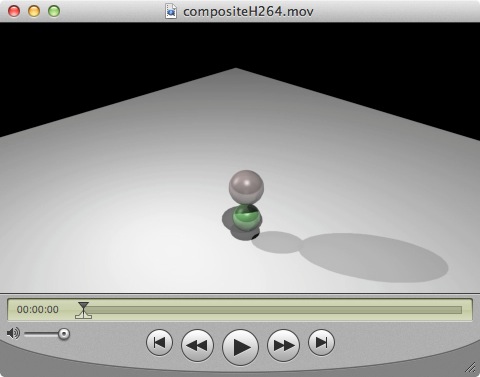
- The resulting movie file compositeH264.mov is now compressed with a single video track.
