November 20,
Workshop 18
Notes
COMPOSITE EDITING WITH IMOVIE OR OPEN SHOT
These notes provide a relatively straighforward technique for overlaying separate renderings of the same scene and from the same camera. A backround movie file is created in jpg format, and an overlay movie file is created using an alpha channel in either tga or png format.
The notes are organized in three parts. In Part I the process used to create the background and foreground images is summarized along with compiling them in FCheck, Photoshop or Quicktime Pro. In Part II the process to composite the two movies together is demonstrated with iMovie HD. As an alternative, in Part III the open source software "Open Shot" is used.
Using the Alpha Channel to blend to separate renderings.
PART 1: Create the source image sequences.
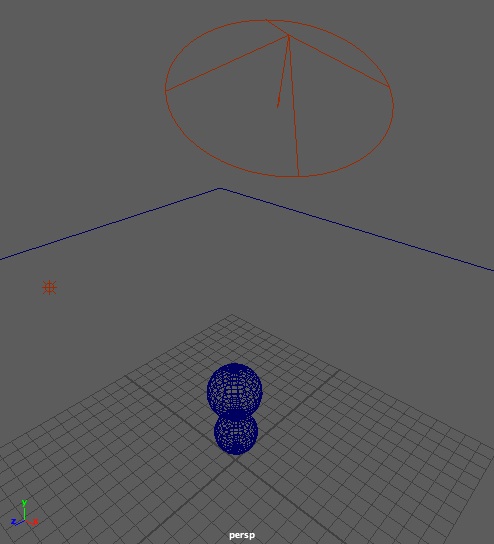
- Create a scene with a ground plane, two spheres, a spot light and
an ambient light. Apply phong shader materials to the spheres.
- Key -frame the spheres moving upward from the ground along the plus Y axis (vertically) over 48 frames.
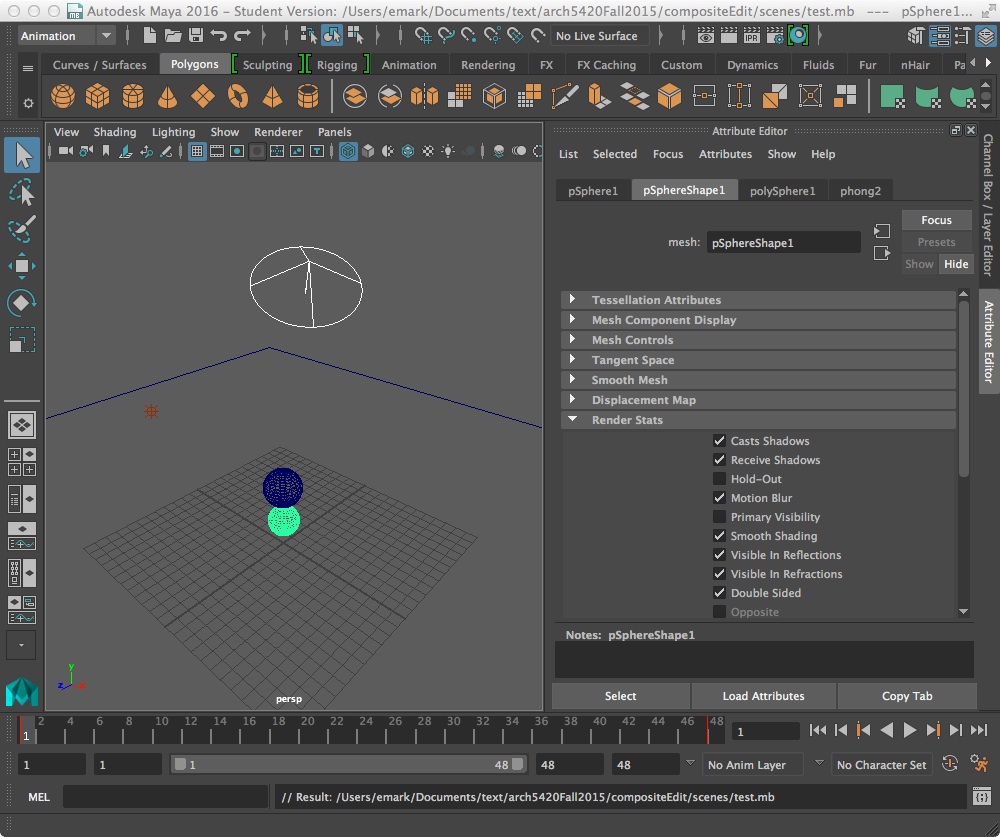
- For each sphere go to the attributes editor, go the
"nurbsSphereShape tab" and "Render Stats" sub-tab and turn off "Primary
Visibility".
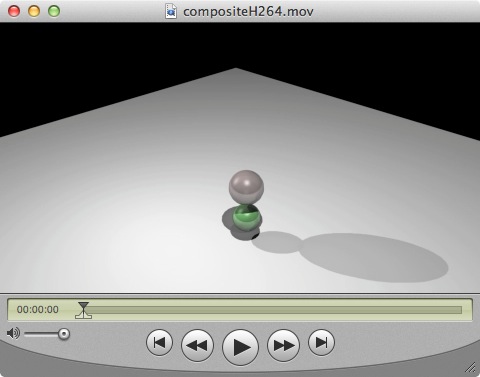
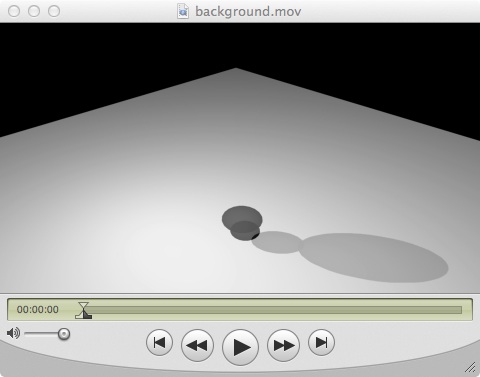
- Render out the scene as a jpg series (which will not record an
alpha channel), and load the images into the QuickTime Pro movie player. This rendering will
show the ground plane and sphere shadows, but not the spheres. Save the frames FCheck, Photoshop, or Quicktime to a self-contained files such as background.mov.
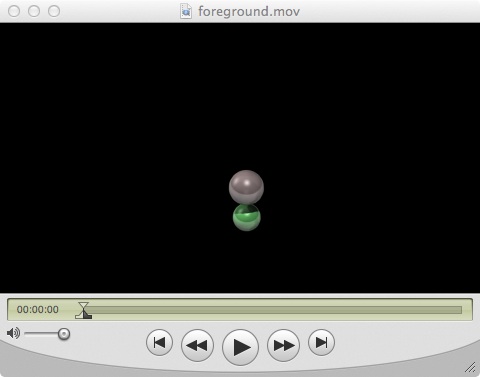
Now, turn back on visibility for the ground spheres, and turn it
off for the ground plan, ensure that the "alpha channel" check box is
turned on in the Render Settings common tab, render the scene out as a
series of "targa" files, and compile them withinQuickTime Pro, and save the movie to a file such as foreground.mov.
PART 2: Composite Sequence with iMovie HD
- Begin with a new movie event.
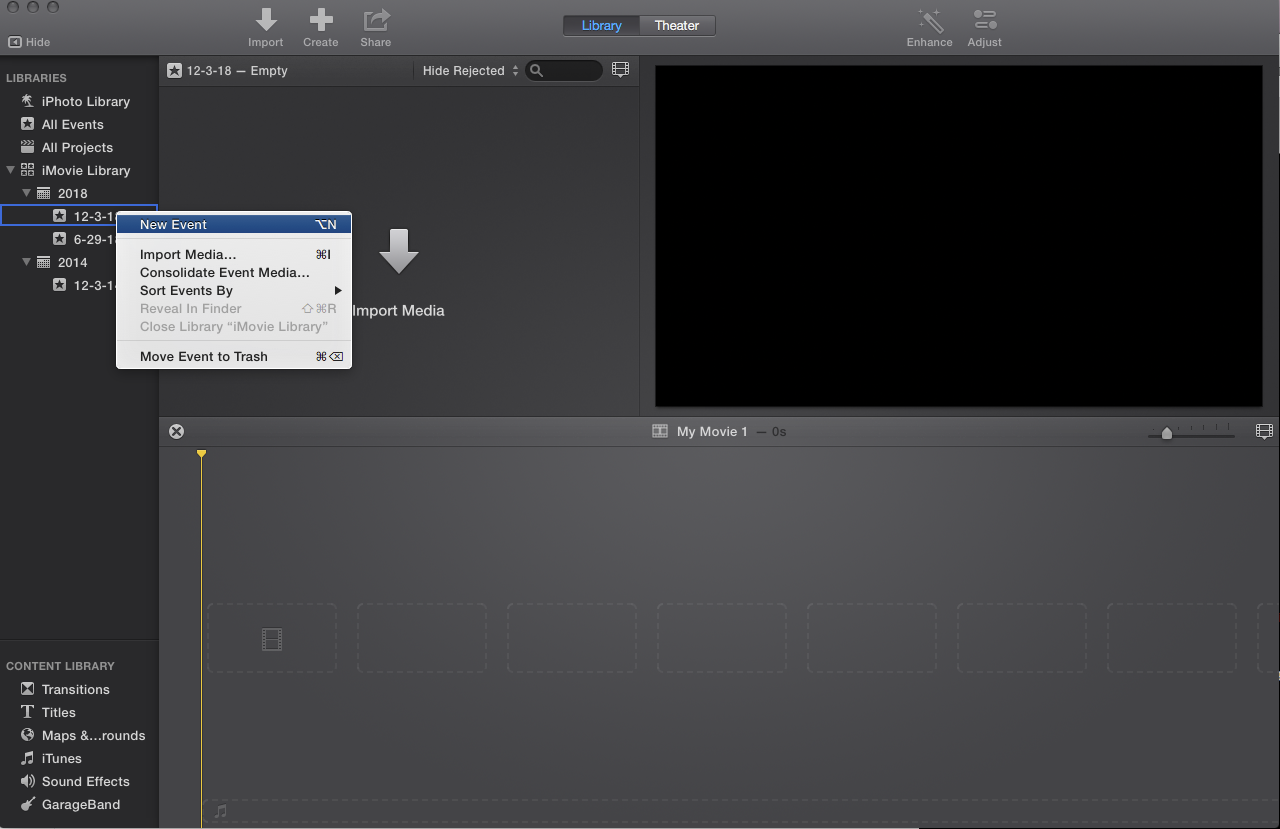
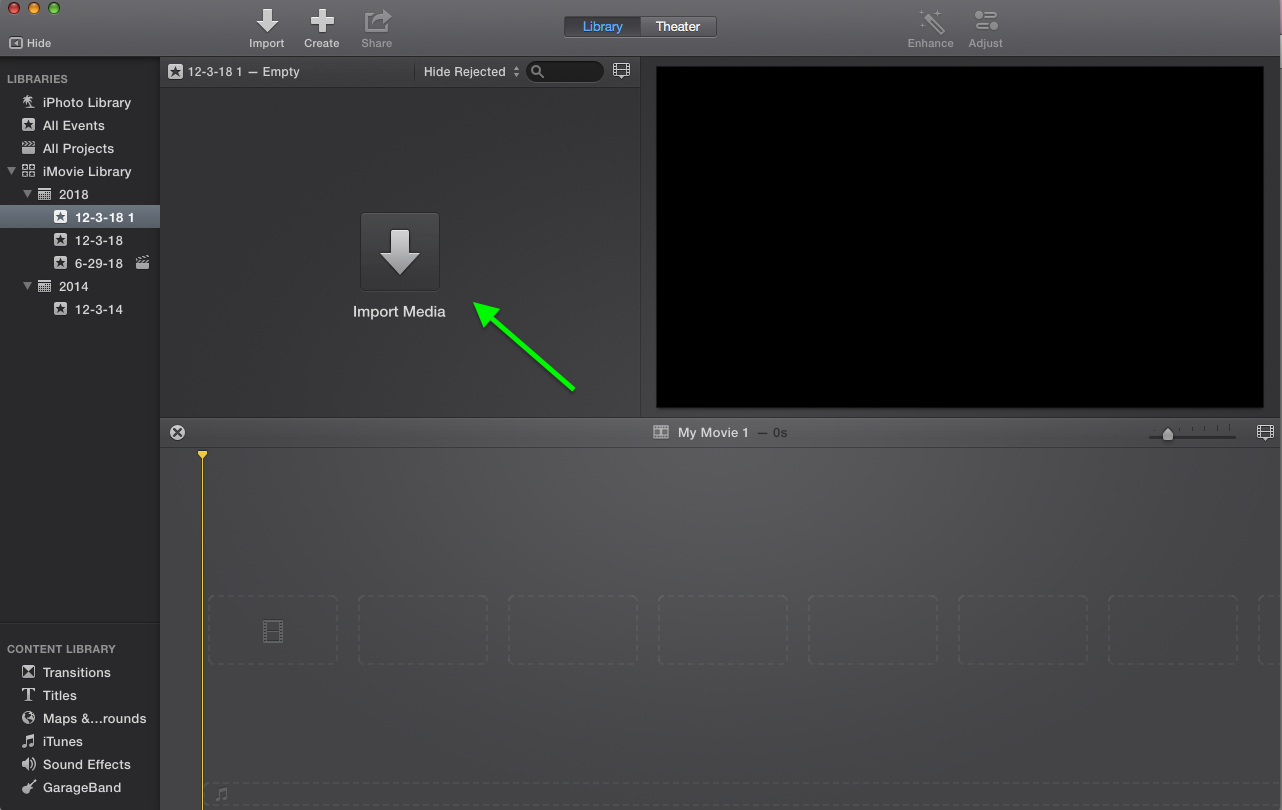
- Use the import media tool to import the foreground and background movie.
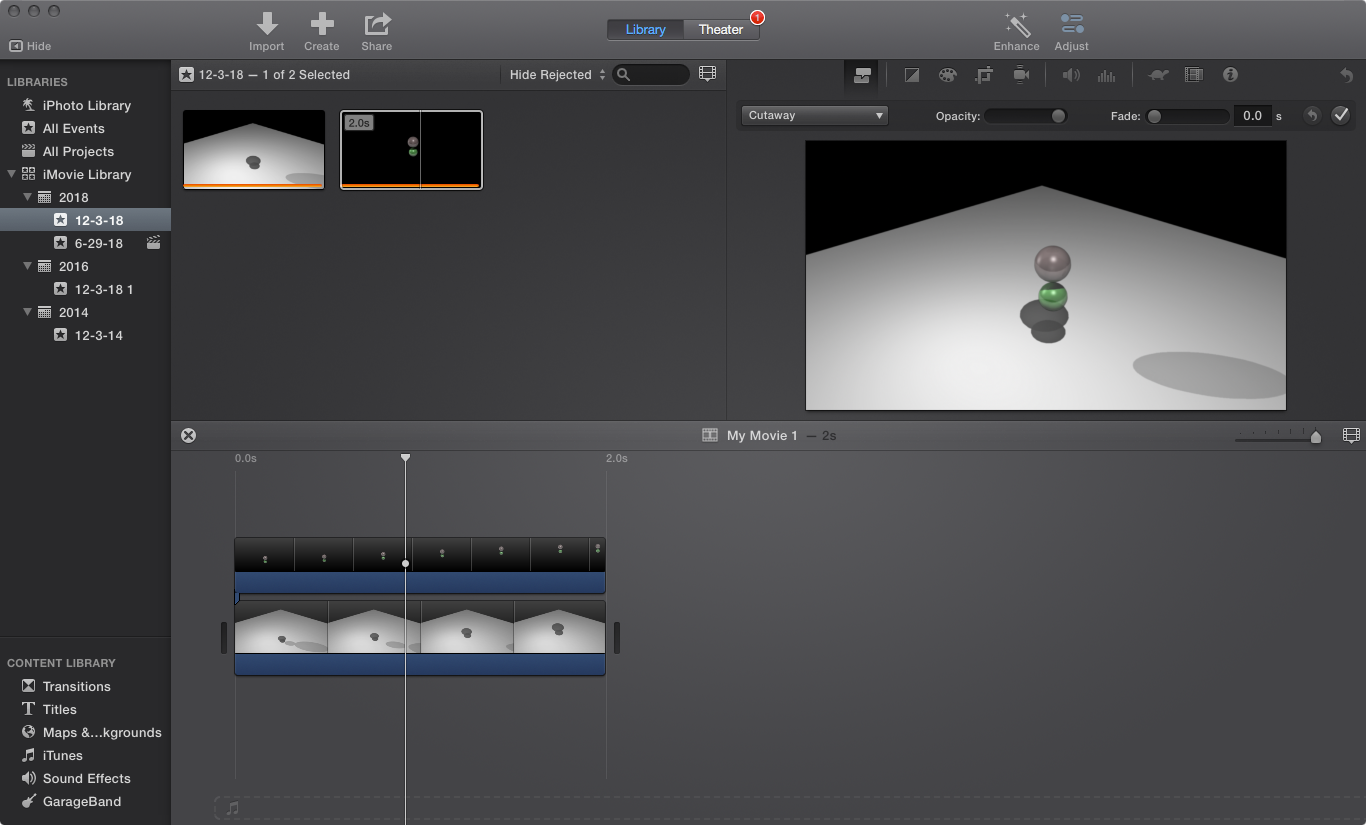
- Place the background movie on the video track.
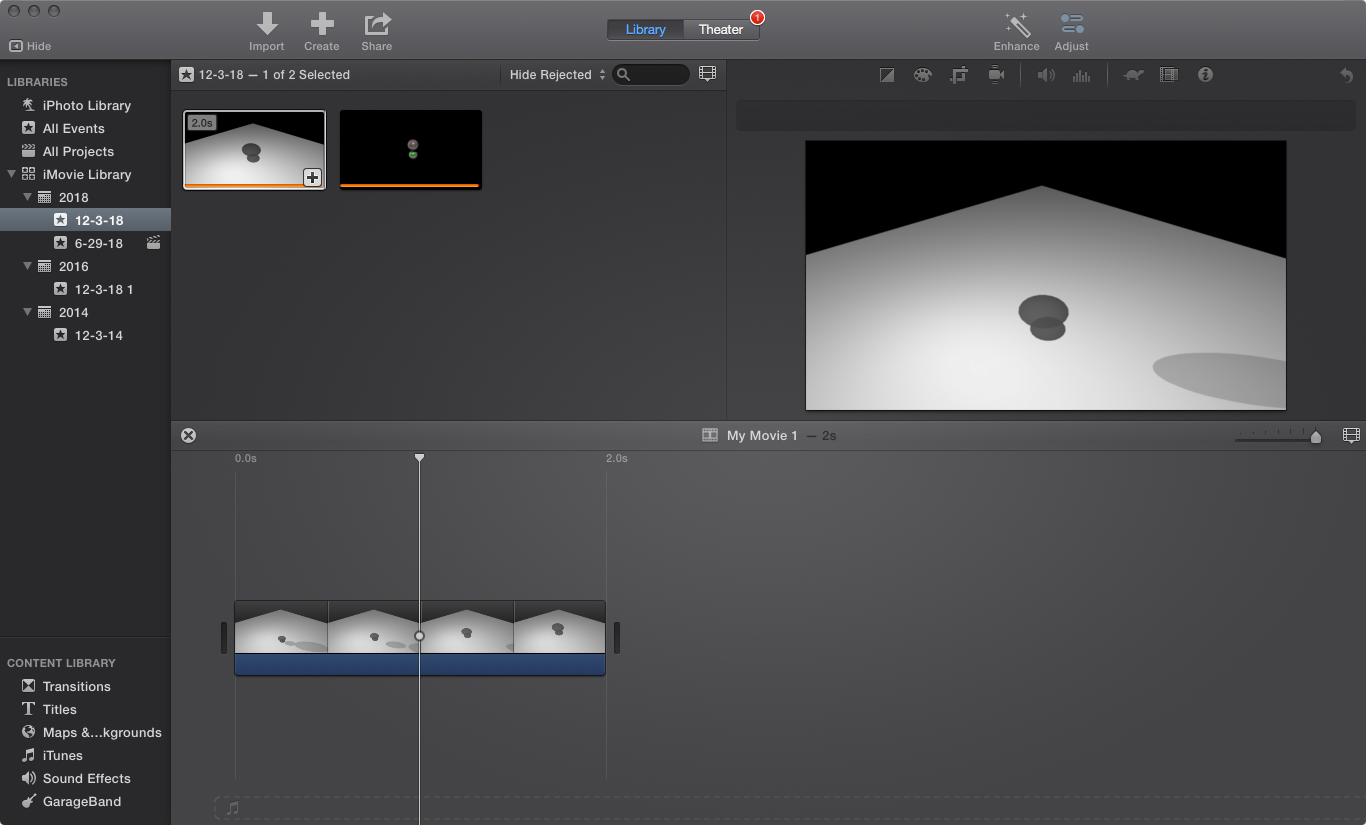
- Place the foreground video in the work area just above the background video.
- To complete the edit, use the menu" File/ShareFileSequnce" and confirm the video resolution.

- Select the "Next" button (shown in the image above) and choose the appriate folder for placing the composite movie.
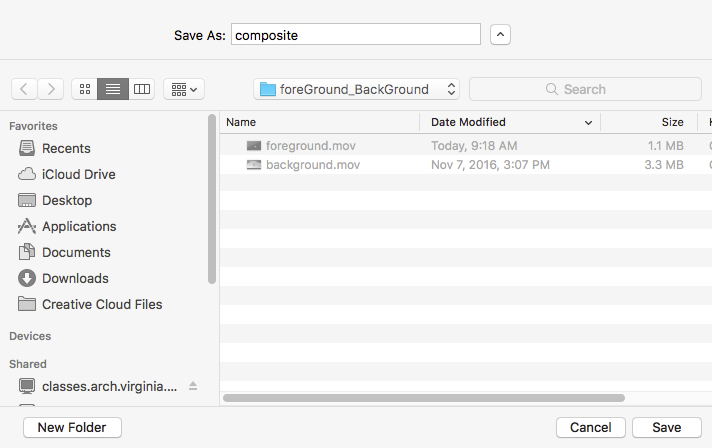
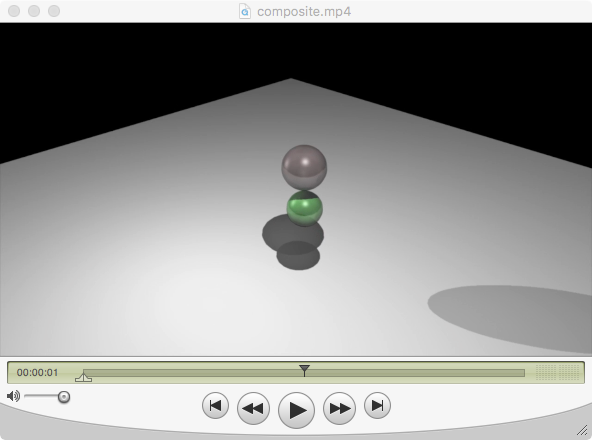
- The mp4 file is created.
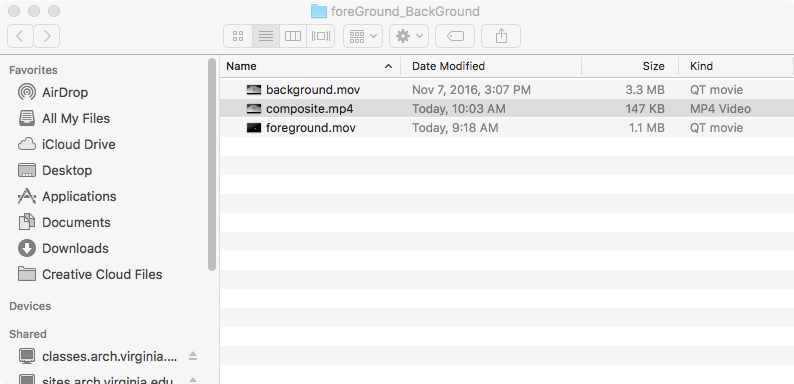
- Open the file and playback to confirm the result.
PART 3: Create the composite video with OpenShot
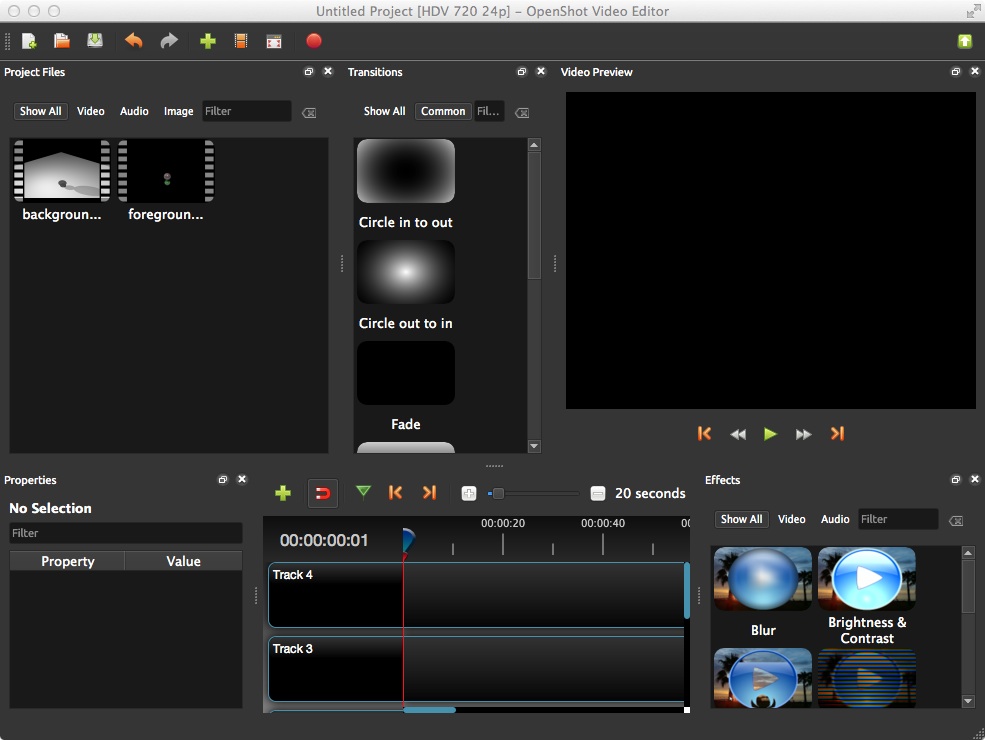
- Open the OpenShot video editor to begin the composite edit.

- Use the import tool to import both movie files.
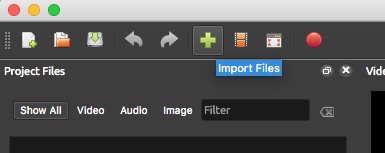
- Or simply drag the movie files to the upper left "Project Files" window from their folder on the computer's hard drive within the OpenShot video editor.
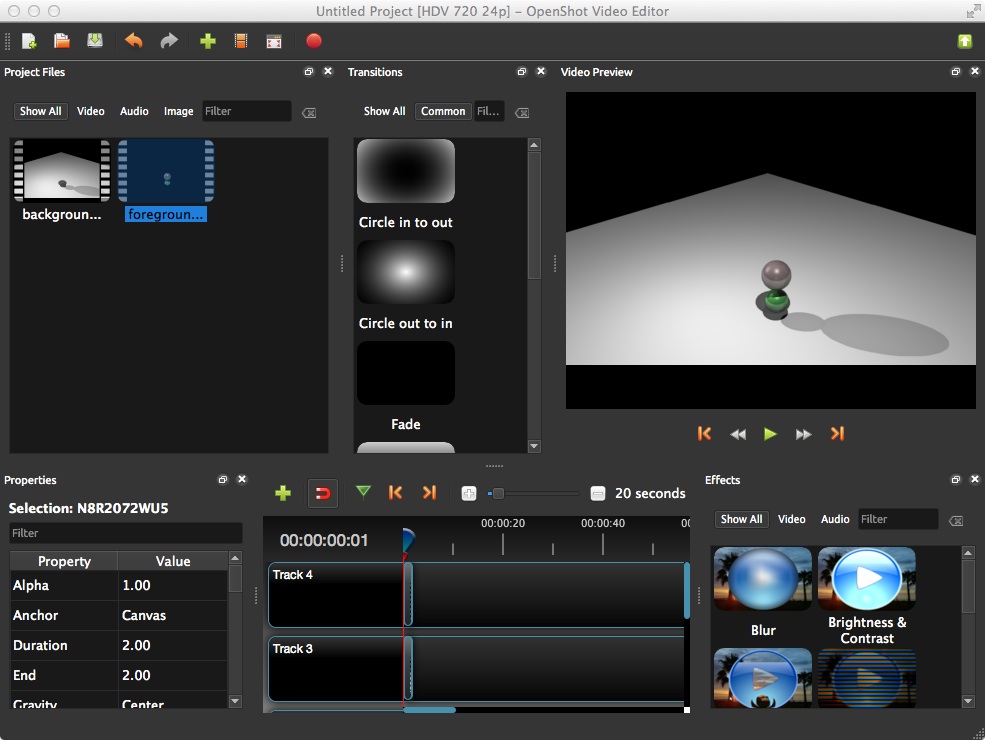
- Drag the background movie to "Track 3" and the foreground movie to "Track 4". Use the green right play arrow in the Video Preview window to preview the result.
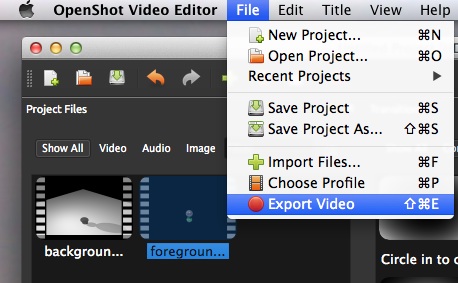
- Export the movie file with File/Export Video menu.
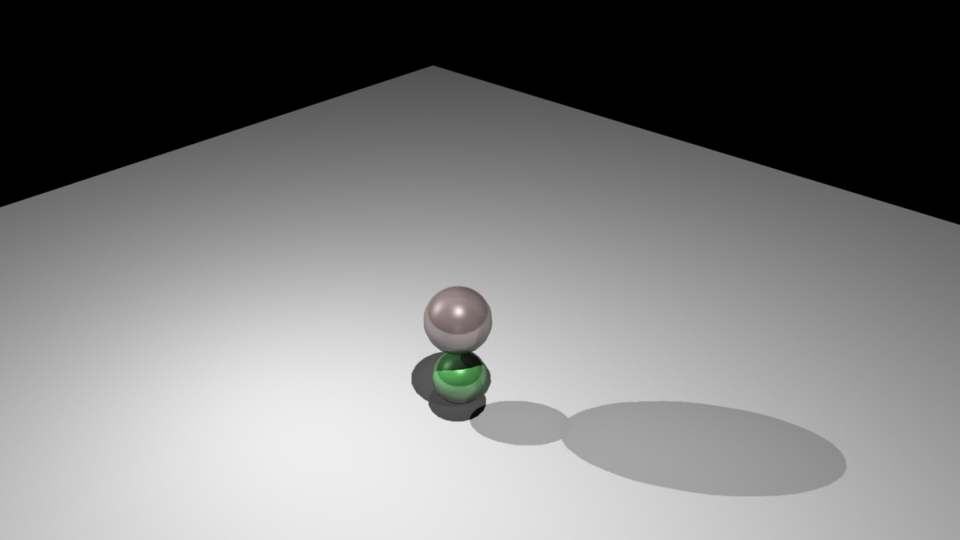
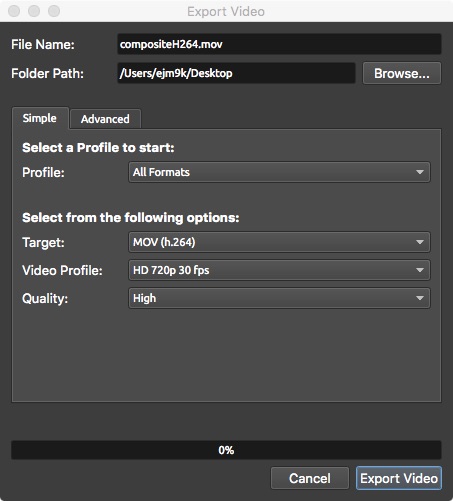
- Next, pick the '"mov(h.264)" or alternative format on the "simple" tab and name the file "compositeH264.mov".
- In addition, set the desired resolution on the "advanced" tab and select the button "export" to create to composite movie.
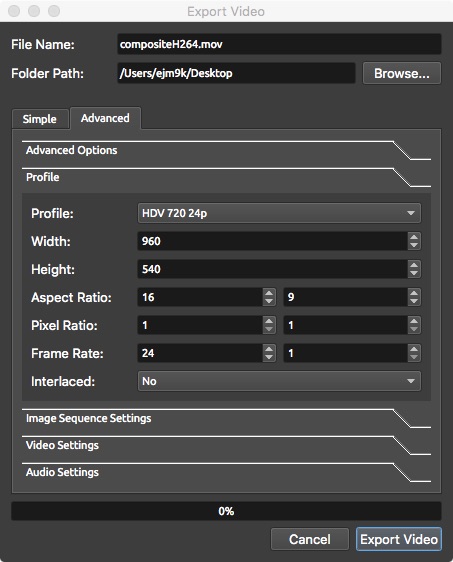
- The resulting movie file compositeH264.mov is now compressed with a single video track.