3. Load the files Skeletons.mb and SmoothSkin.mb into a working folder on your local hard drive from the classes folder or the equivalently named folder on Collab :
September 14, 2021 Workshop 6 Notes
CHARACTER
SETUP AND IK HANDLES
1. This
workshop is developed after the on-line
tutorials provided by Autodesk, and also refers to specific pages in the
accompanying PDF file. Note that the online tutorials for character setup and IK handles are generally well developed and for this workshops supplant the the online notes provided for other workshops. The relevant linkes are below.
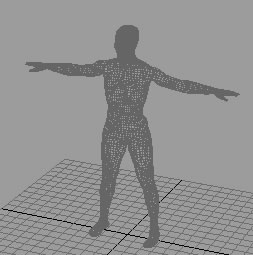
2. First note that a simpler character with hierarchically linked parts
and without a skeleton has been placed in the classes folder in the
scene file ergoman.mb. This figure was intially released as a part of a
CAD system, re-linked and simplified. This file can be found in the Examples/IK folder on Collab or on the Classes server:
Arch5420-Mark-FAL2021/Examples/IK/ergoman.mb
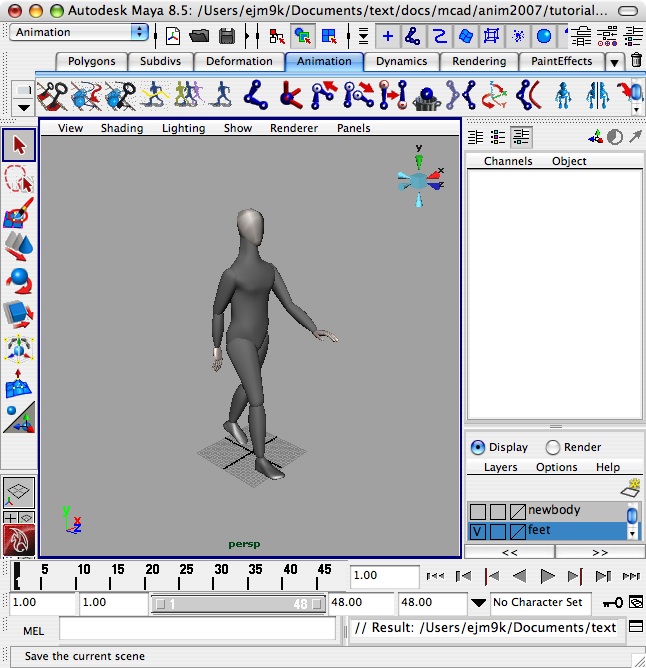
3. Load the files Skeletons.mb and SmoothSkin.mb into a working folder
on your local hard drive from the classes folder or the equivalently named folder on Collab :
Arch5420-Mark-FAL2021/Examples/IK/
 |
 |
| Skeltons.mb | SmoothSkins.mb |
3. From
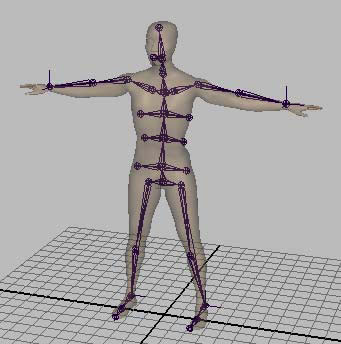
within Maya, open the file Skeltons.mb, and
follow the Autodesk tutorial on forward and inverse kinematics. This covers
setup of a skeleton and adding inverse
kinematics (ik) handles to it.
4. From within Maya, open the file SmoothSkins.mb, and follow the
Autodesk Maya tutoria on creating a smooth skin. This covers
smooth skinning a surface model to a
skeleton and adjusting the influence of individual joints on the model.
5. This interactive web
site also contains additional tutorial
files for Maya.
6. Maya 2020 has a "QuickRig" tool that expedites rigging characters based on an initial mesh surface such as may be produced with the MakeHuman open source program. See the related tutorial on character rigging on Autodesk's Knowledge Base web site
7. Painting Skin Weights
Within the rigging module, create a upper-leg, knee and heel joint.
Create a polygon cylinder coincident with the leg and set the "subdivisions" height to 8.
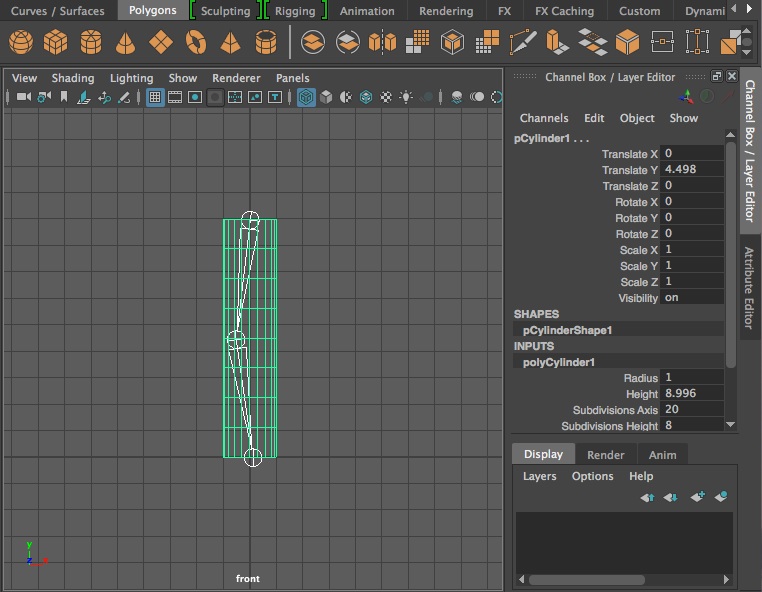
Attach the polygon as a skin surface to the leg with the menu item "skin/bind skin".
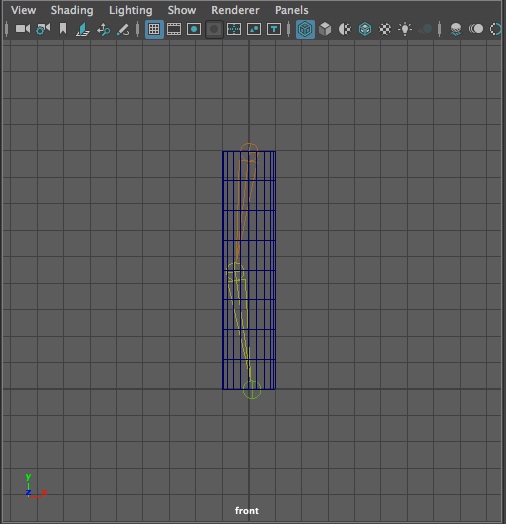
Go into shading mode with the number 5 key.
Select the skin surface.
Select the menu item "skin/paint skin weights" with the check-box also selected.
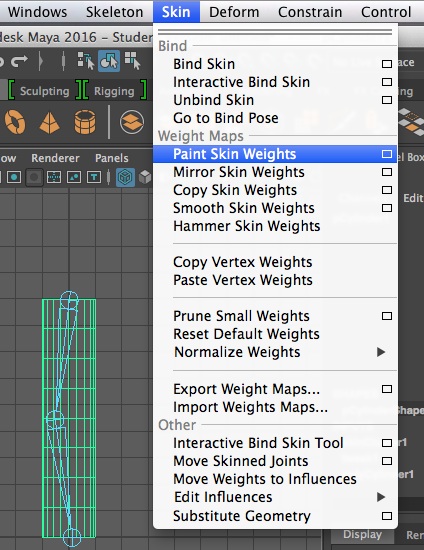
Select the skin and one of the three joints on the dialog box that follows, and use the paint brush to paint greater or less weight of the joint on the selected areas of the skin surface.
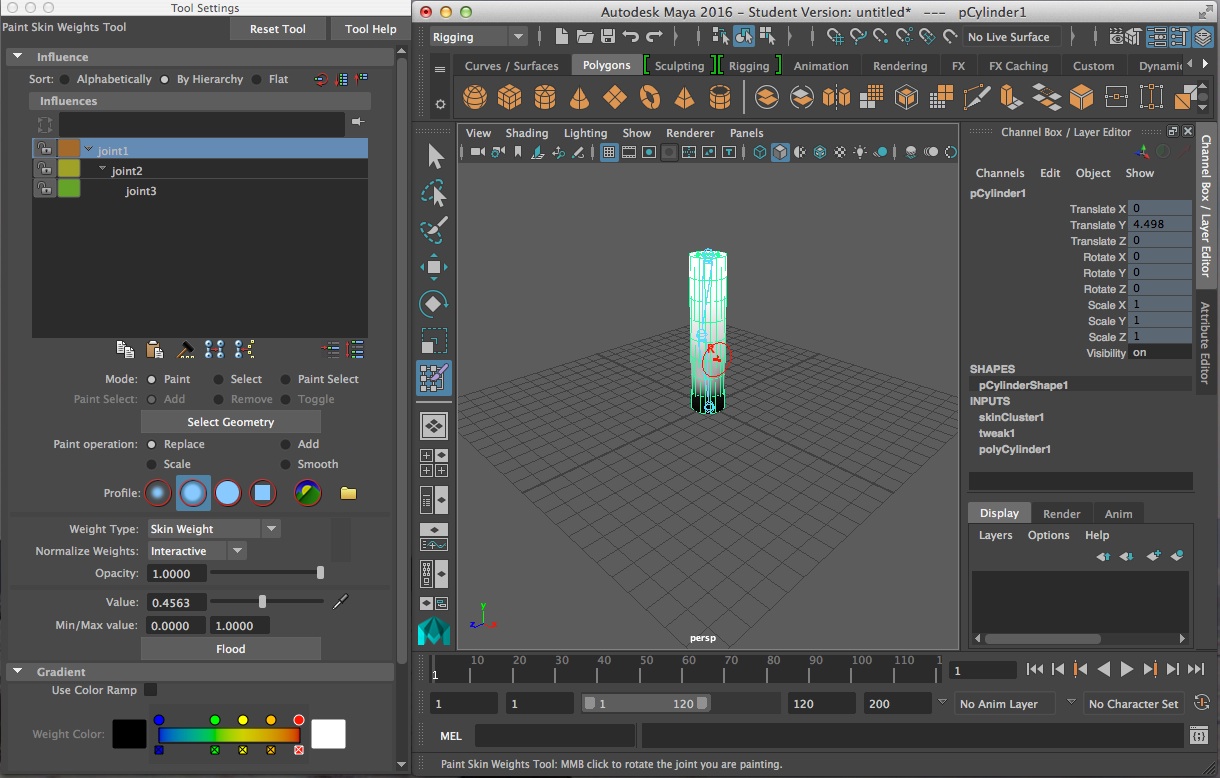
Note that setting a lower weight decreases the influences of a joint on the area of skin painted. Setting a lower capacity decreases the rate at which the weight is applied. For more details see Autodesk on-line documentation on painting skin weights.