September 9, 2025 Workshop 3 Notes
POLYGON EXTRUSION AND EDITING/RENDERING TO QUICKTIME
PRO EDITOR
*Note images and sequence excerpted from Maya Help
Documentation
PART I. POLYGONS WITH EXTRUSION

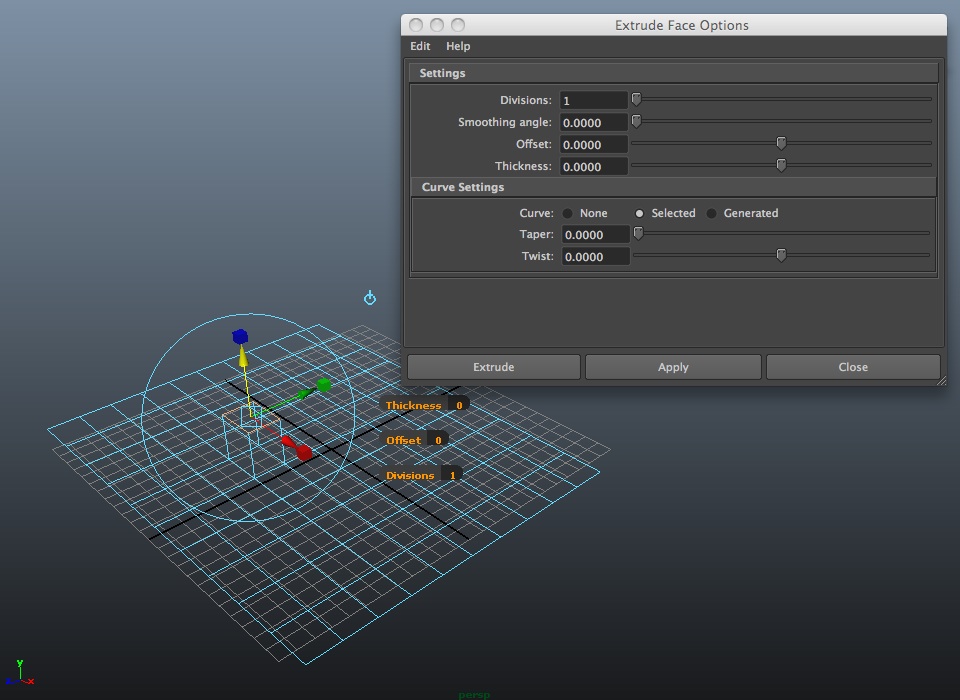
I.A EXTRUDE A FACE
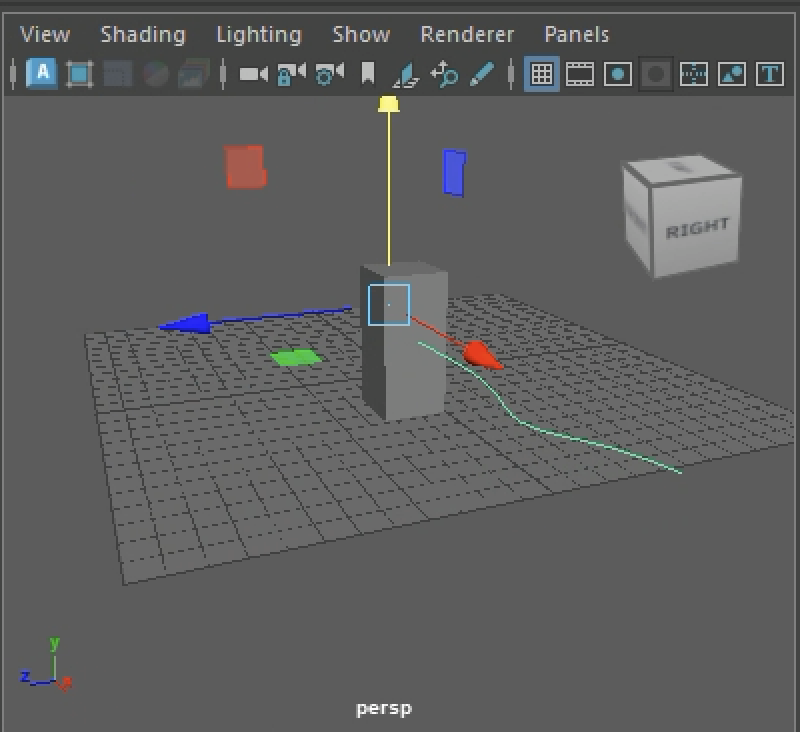
1. Create/Polygon Primitives/Plane (use the menu
box)
2. Set subdivisions to 10 along width and 10 along
height/Apply

3. Scale the surface
4. Right-click on the surface and select "face".

5. Use the select arrow to grab a face.
6. With the surface face still selected/pull out the
Edit Mesh Menu
7. Select Edit Mesh/Extrude (use the menu
“box”)
8. Put all settings to “0” except divisions which should be set to 1.
9. Note: World coordinate space option is alternative
to local object coordinate space (see Local/World switch toggle
icon, round target, that appears when selecting face).
( See also online help documentation for
tool)

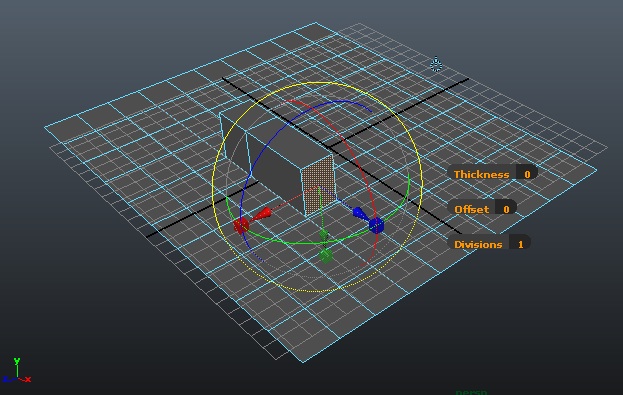
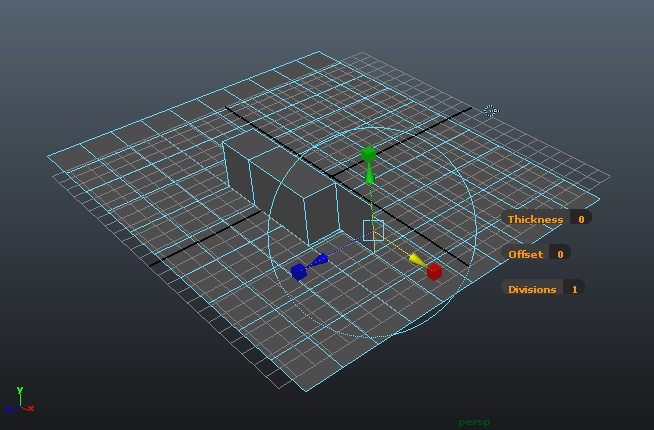
10. On Object select faces.
11. Apply individual extrude tool: extrude with
arrow, scale face with box
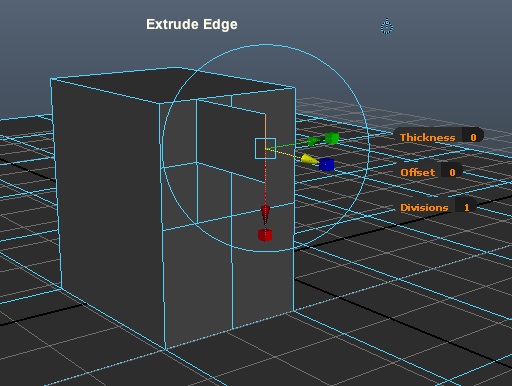
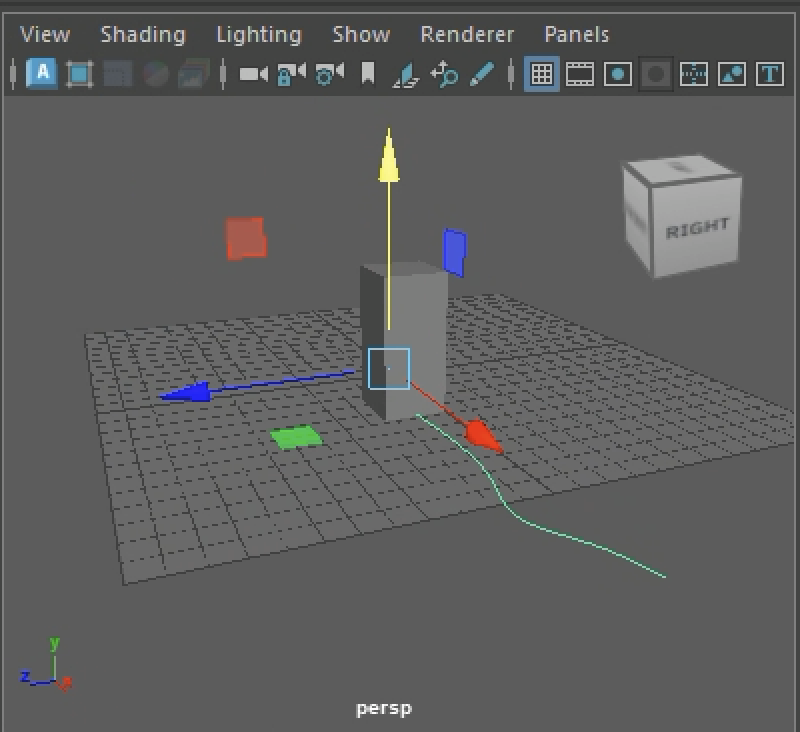
I.B EXTRUDE A FACE ALONG A PATH CURVE
1. Select the edges/or faces
you want to extrude and the curve you want to extrude along.
- Select a Face & Choose Edit Mesh > Extrude
(to extrude a face)
- Select an Edge & Choose Edit Mesh > Extrude (to
extrude an edge)
2. To extrude along a cuve
Draw a gently changing curve at the base of a face of an vertically extruded part of the polygon and then move the curve up so that it is roughly centered on the face. Continue to let the curve be selected.
Right-mouse button click on surface and enter "face" select mode.
Shift-select the face to extrude (while holding onto the prior selection of the curve.

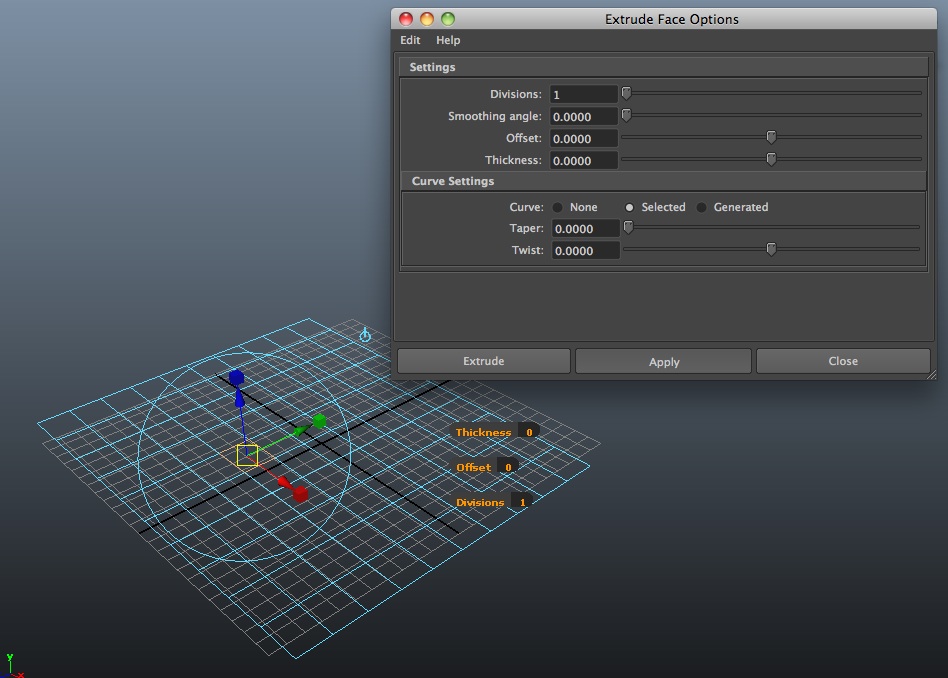
Select the menu "Edit Mesh" and then select the "Extrude" dialog box item.
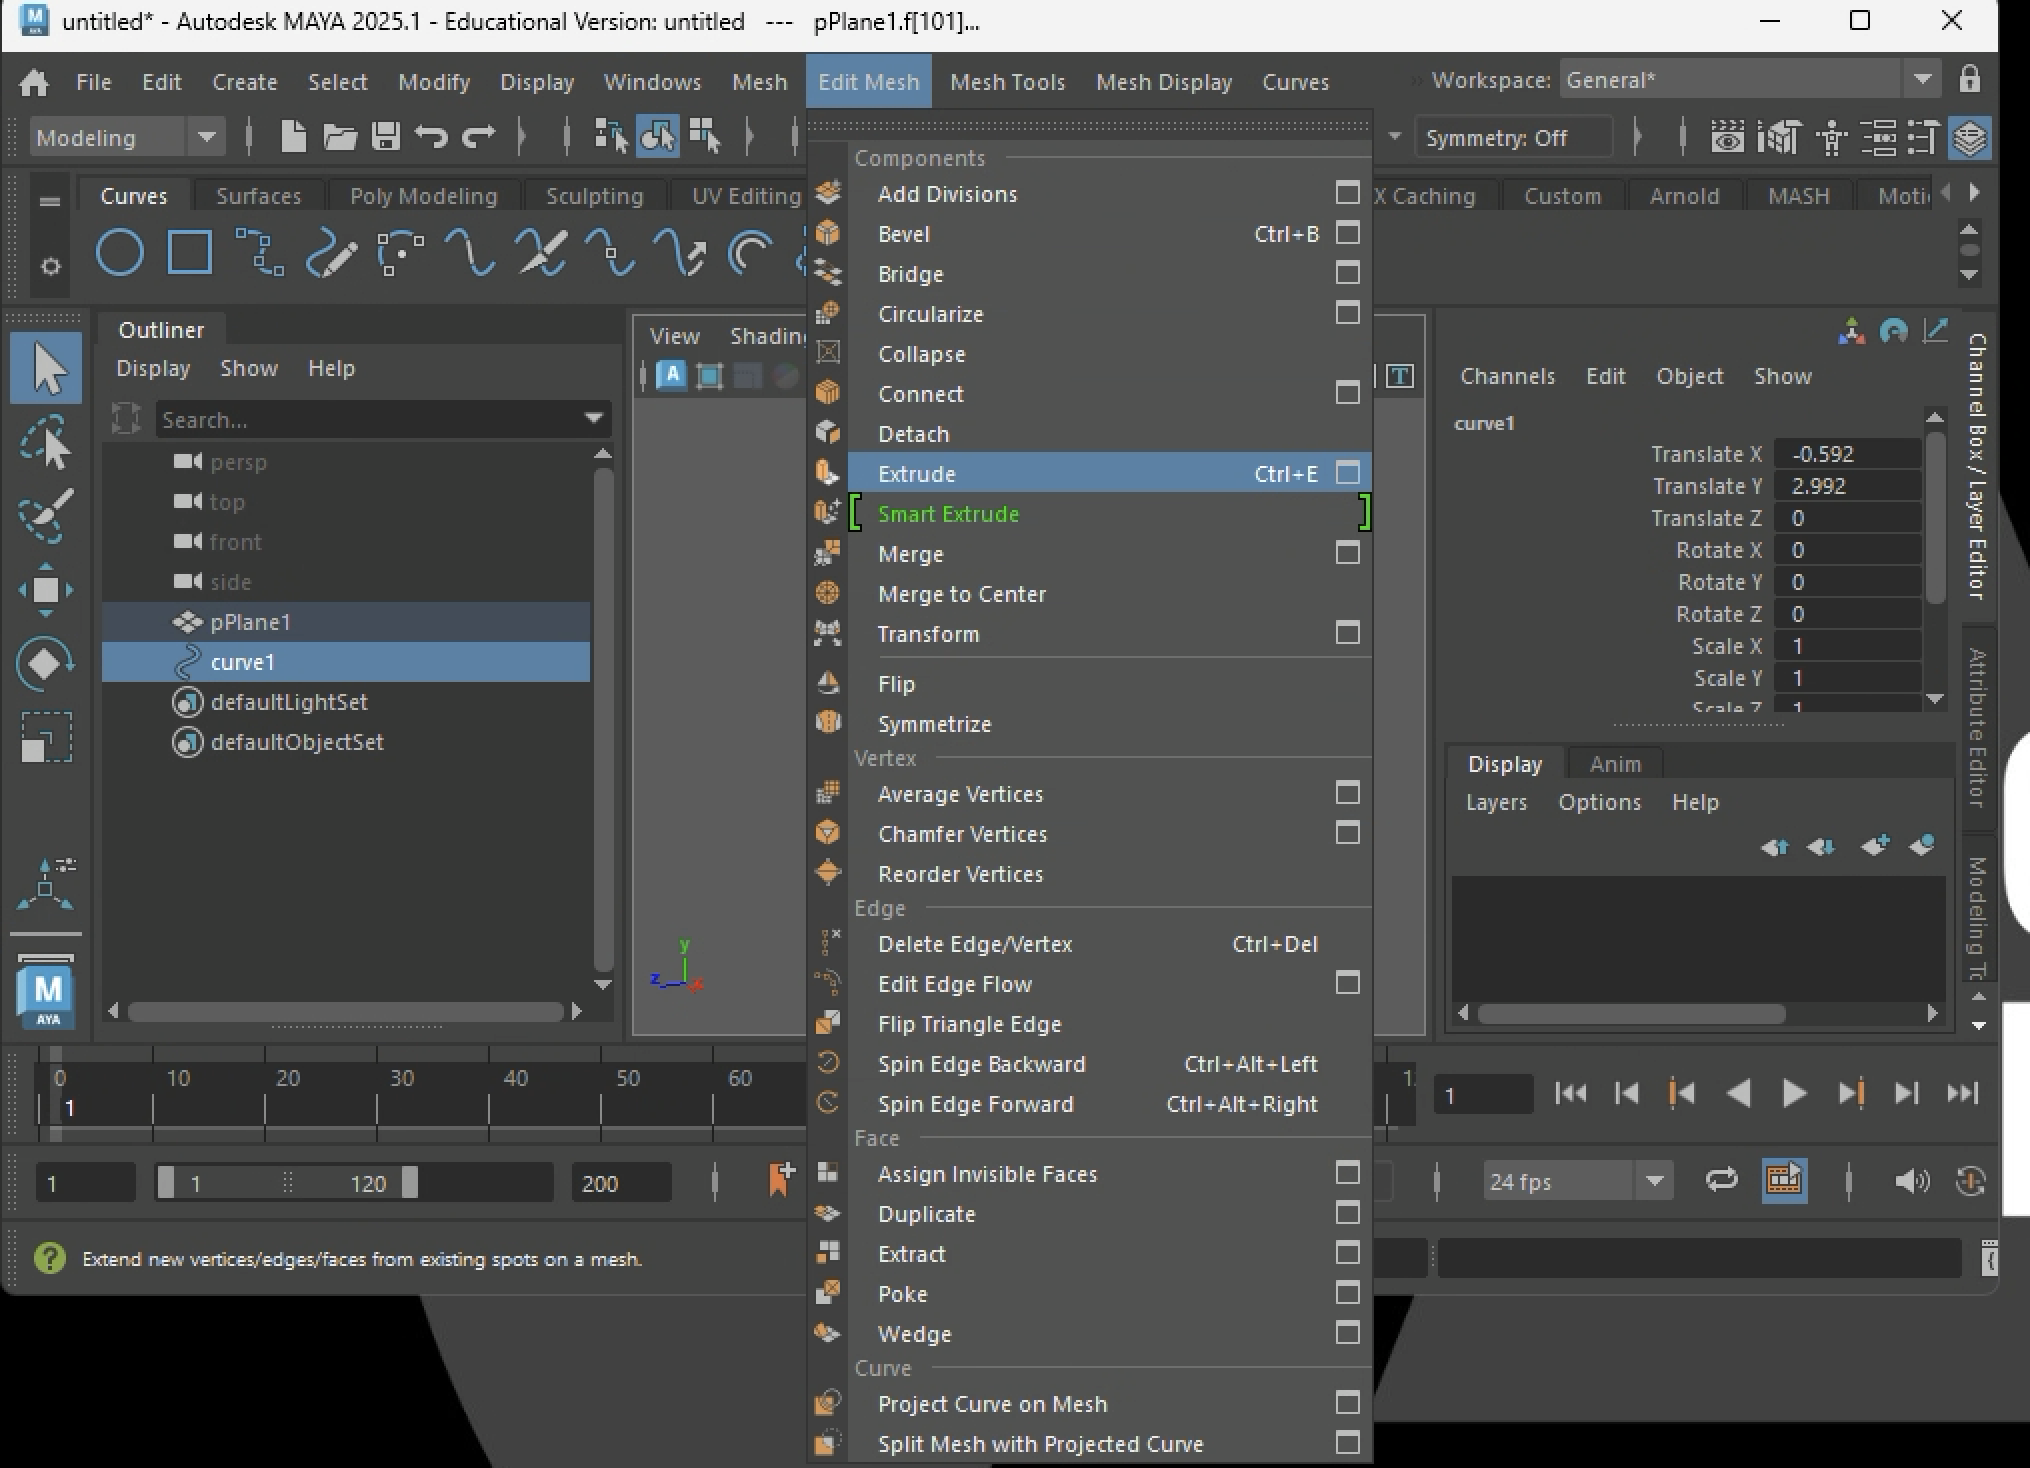
In the Extrude dialog box change the subvisions to 12, taper to 1 (equal 100%) and all other settings to 0.
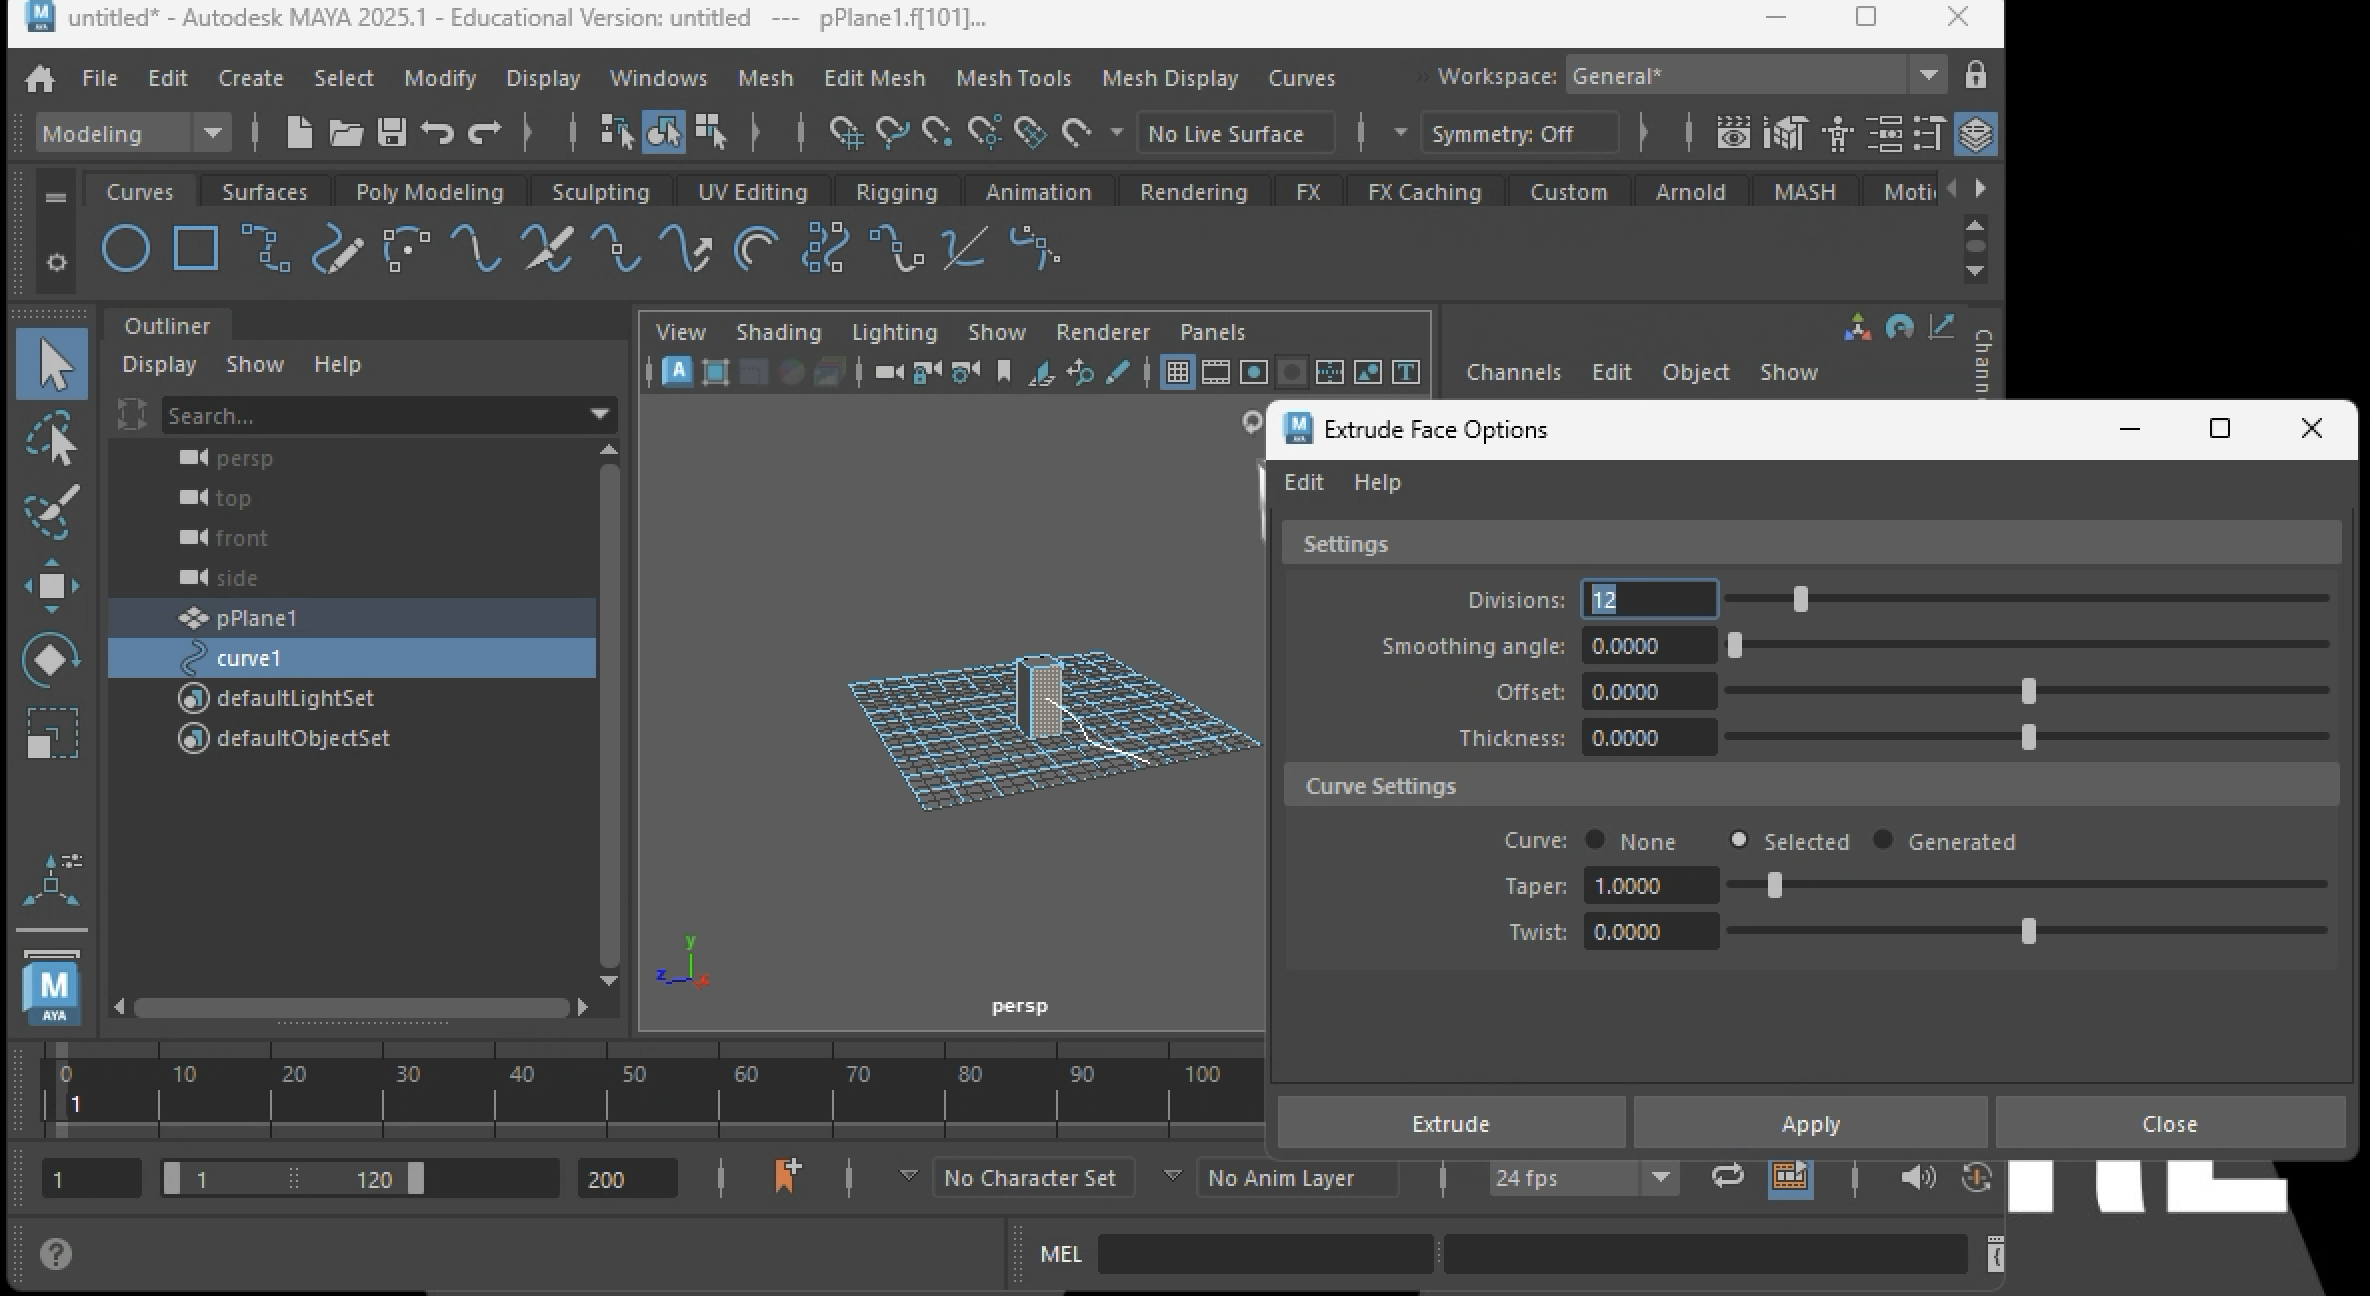
Select the apply button and extrude the face. Next. return to object mode by right-mouse-button-clicking on the suface and selecting "object" from the pop-up dialog box.

Finally, view the extruded face of the polygon surface.

PART II. SUBDIVIDE FACE
- Select the edges or faces you want to subdivide and choose Edit
Mesh > Add Divisions
- Set Mode to triangles or quadrangles.
- Subdivision Level lets you subdivide multiple times. A value of
1 subdivides once. A value of 2 subdivides once and then subdivides
each of the new faces again, thus yielding an exponential number of
faces. Thus, a face converted to quadrangles subdivided 2 times yields
8 faces, and subdivided 3 times yields 16 faces and so on.
- Click Subdivide.
- Exponential option subdivides in u and v direction for
each face selected
- linear option allows you specify subdivisions in u and v
direction
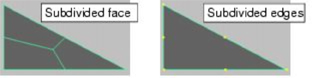
[Also, You can also select the polySubd node and
change the subdivision values and modes in the channel box or attribute
editor.]
PART III: CREATE SIMPLE ANIMATION
- Add simple rgb color and transparency to objects.
- Introduce shaders/applying Phong shader to object with primary
colors.
- Setup spheres with dynamics falling on deformed surface with
gravity - dynamics module/Soft/Rigid Bodies/Create Active Rigid Body
- Use animation module/create deformers/non-linear/bend on base
surface for bending in xy plane and zy plane. Add pyramid object from
shelf. Apply resistence to both - dynamics module/Soft/Rigid
Bodies/Create Passive Rigid Body
- Rendering a Key Frame Animation.
- Go Window/Rendering Editors/Render Settings or Select render
globals icon.
- Go to Common TAB
- Set Filename prefix to name#.ext
- Set image format to jpg
- Set start frame to 1 and end frame to end of sequence (i.e., 48)
- Set image size to 640 x 480
- Go to Maya Software TAB
- Set quality to intermediate quality
- Go to raytracing tab to turn on check-box for raytracing.
- Go to File/Project/Edit Current menu & review or Edit the
project folder to establish the "images" directory for individual
rendered frames.
- Select Render/Render Current Frame tool.
- Make adjustments to lighting or any other adjustments needed.
- Render again/if satisfy choose the Render/ Batch Rendering or
select the Batch render icon.
PART IV: COMPILE FRAMES FROM ANIMATION IN OPEN SHOT
- Open the OpenShot Program and import
- Use the methods of workshop 2 to import the image squence and save it to an MP4 movie file..
2. Add a second
sequence in Quicktime Pro {for adding a second compiled movie file to
the first one, we will cover this in the next workshop.
- Edit the
Maya project folder to establish a second "images" directory for individual
rendered frames.
- Batch render.
- Use the methods of workshop 2 to import the image squence into OpenShot .
- Select, drag and place the image sequence into track 1 of the OpenShot video editor.
- Use the Export method within open shot from workshop 2 to save the two sequences to a single MP4 movie file.