July 7, 2015
Workshop 18
Notes
COMPOSITE EDITING WITHIN QUICKTIME PRO AND BLEND DEFORMER WITHIN MAYA
PART 1: COMPOSITE EDITING WITHIN QUICKTIME PRO
These notes provide for a technique builds a composite animation by
using the "alpha channel" of one animation so as to provide a transparency
for ovelaying it onto a second animation.
Using the Alpha Channel to blend to separate renderings.
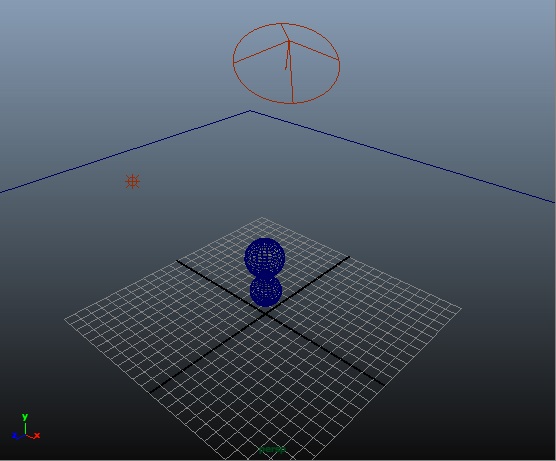
- Create a scene with a ground plane, two spheres, a spot light and
an ambient light. Apply transparent materials to the spheres.
- Key -frame the spheres moving upward from the ground along the plus Y axis (vertically) over 48 frames.
- For each sphere go to the attributes editor, go the
"nurbsSphereShape tab" and "Render Stats" sub-tab and turn off "Primary
Visibility".
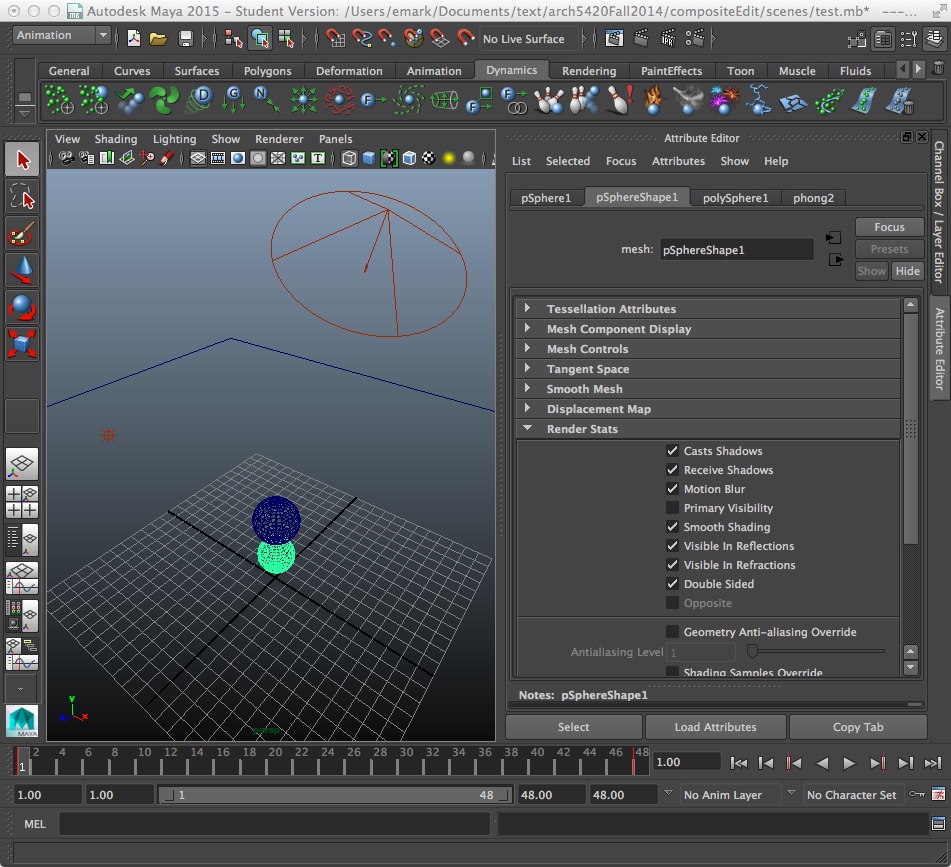
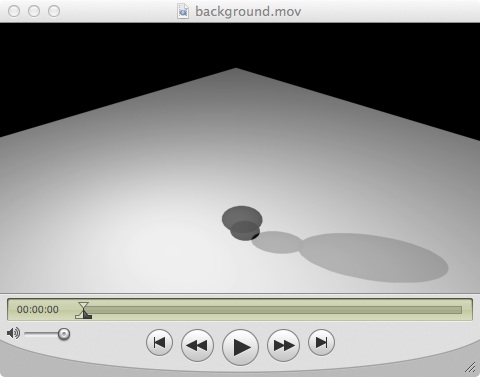
- Render out the scene as a jpg series (which will not record an
alpha channel), and load the images into the QuickTime Pro movie player. This rendering will
show the ground plane and sphere shadows, but not the spheres. Save the frames within QuickTime pro to a self-contained files such as background.mov.
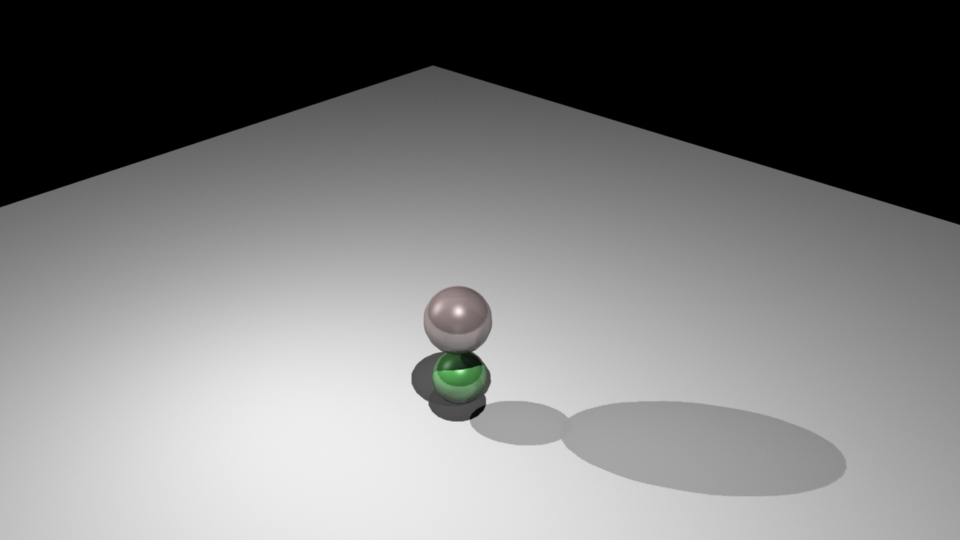
- Now, turn back on visibility for the ground spheres, and turn it
off for the ground plan, ensure that the "alpha channel" check box is
turned on in the Render Settings common tab, render the scene out as a
series of "targa" files, and compile them withinQuickTime Pro, and save the movie to a file such as foreground.mov.

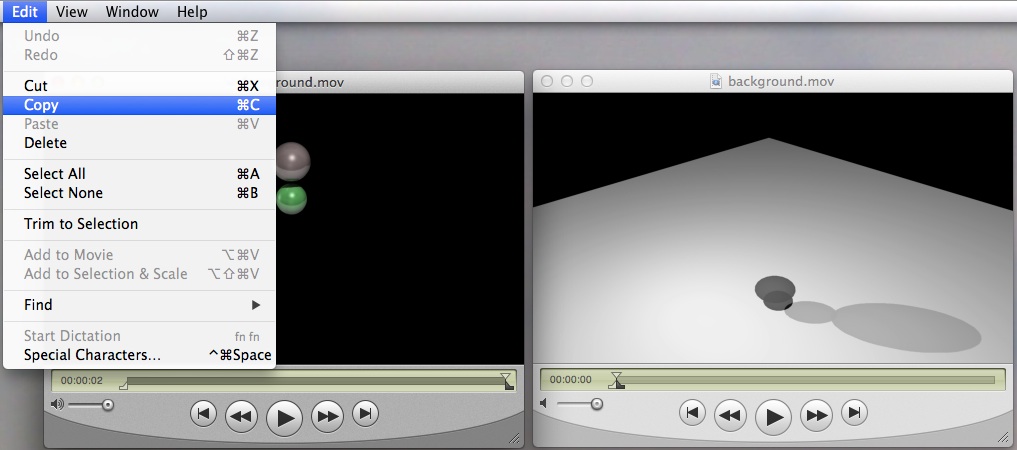
- Within QuickTime Pro, juxtapose the animations in two separate view windows. Select the entire "foreground" animation and copy it into the editor memory buffer with the menu item "edit/copy".
- Select the Quicktime window displaying the background animation, select the the entire animation sequence, and do an "edit/Add to Selection & Scale" of the sequence copied in step 6.
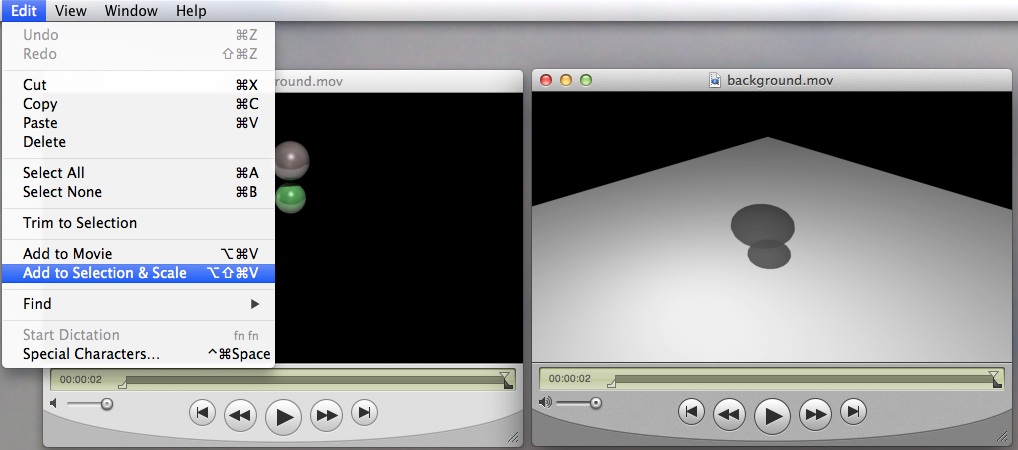
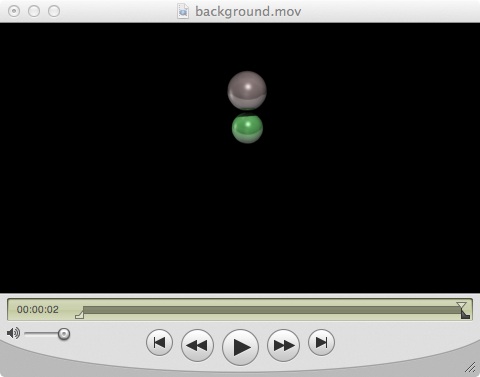
- The resulting compilation from step 7 at this stage only shows only the foreground animation withing the background.mov QuickTime window.
- However, within the background.mov Quicktime window, select the "Window/Show Movie Properties" menu item.
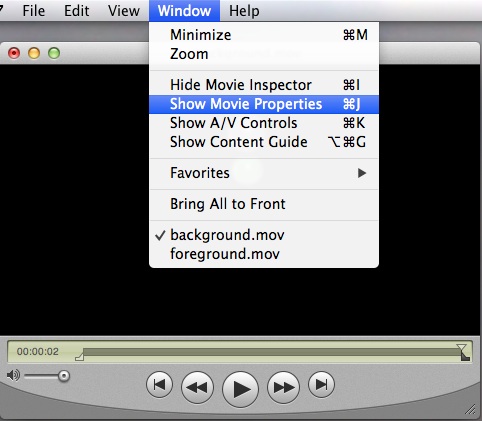
- Select "Video Track 2", and under the "Mask/Transparency" option choose the "Straight Alpha" overlay.

- Within the QuickTime movie player, drag the "playhead" and the edit-in and edit-out markers in the timeline back to the first frame of the animation squence, and save the movie file using the self-contained option.
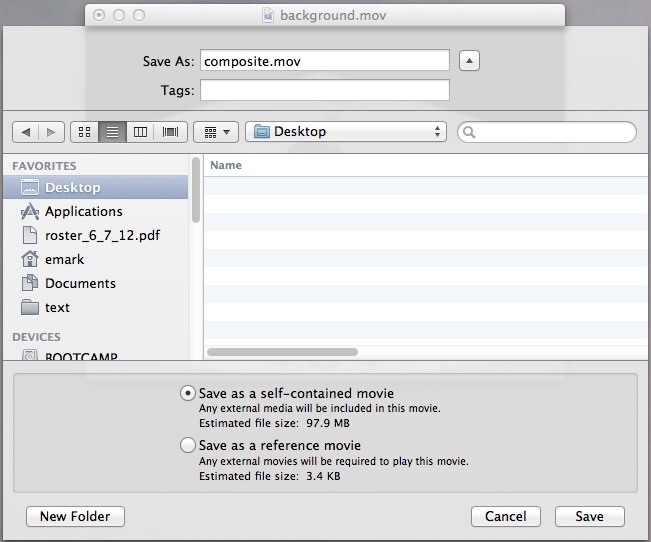
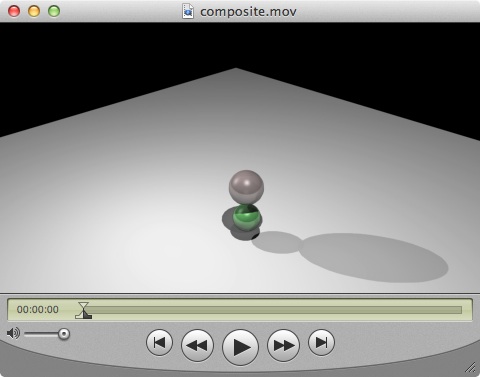
- The resulting movie file composite.mov contains full compositing of the forground over the background animation; however, to playback the movie file in Quicktime Pro is is necessary to ensure that the transparency mask for Video Track 2 is turned on.
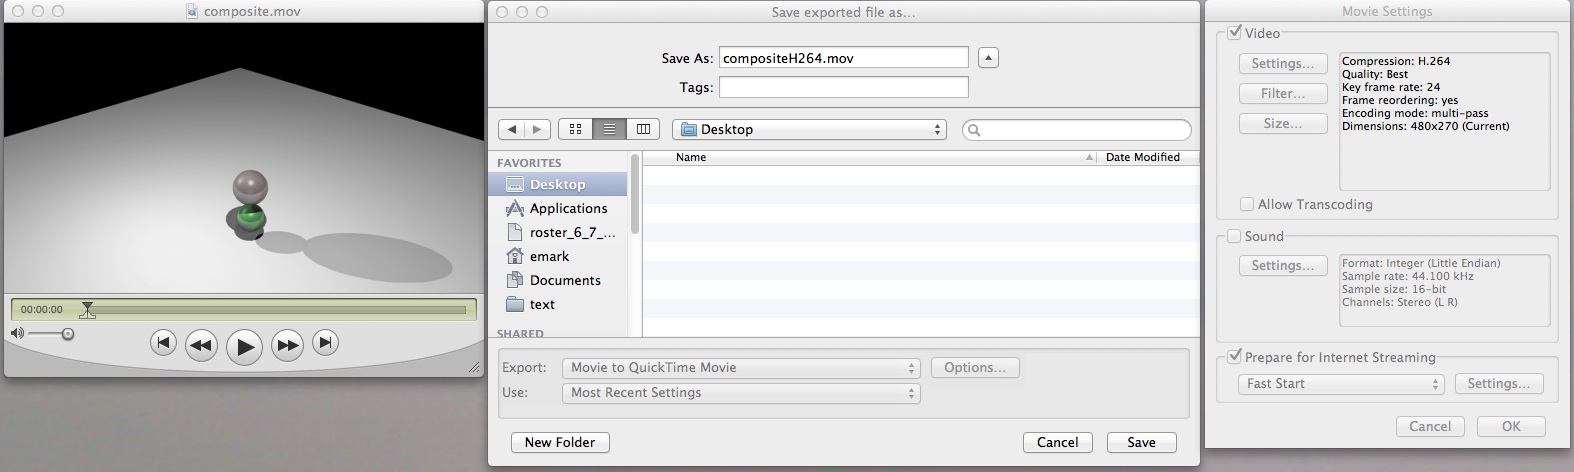
- As an alternative to step 2, to compress the video tracks within QuickTime, go to the "File/Export" option and compress to the H264 format using methods covered in earlier workshops.
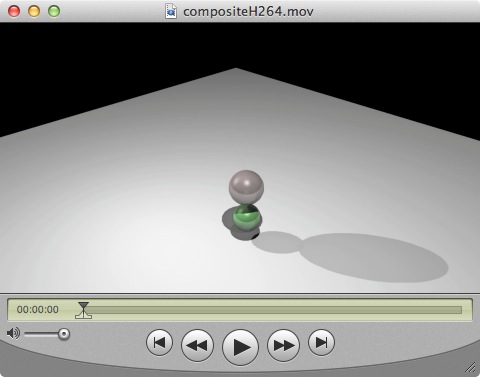
- The resulting movie file compositeH264.mov is now compressed as well as has only a single video track for consistent playback. That is, it doesn't require the active selection of the transparency mask.
PART 2: BLEND DEFORMER
1. This
part of the workshop is developed after the on-line
tutorials provided in the Robinson Text. From within UVA, go directly
to the on-line
reader and review pages on the
Bend Deformer beginning at page 321.