3. Load the files Skeletons.mb and SmoothSkin.mb into a working folder on your local hard drive from the classes folder:
June 23, 2015 Workshop 7 Notes
CHARACTER SETUP AND IK HANDLES
1. This workshop is developed after the on-line
tutorials provided by Autodesk, and refers to specific pages in the
accompanying PDF file.
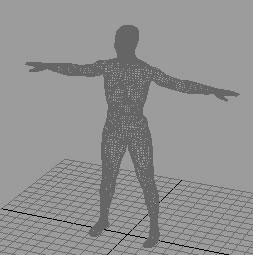
2. First note that a simpler character with hierarchically linked parts
and without a skeleton has been placed in the classes folder in the
scene file ergoman.mb. This figure was intially released as a part of a
CAD system, re-linked and simplified.
Arch5422-Mark-SUM2015/Examples/IK/ergoman.mb
3. Load the files Skeletons.mb and SmoothSkin.mb into a working folder
on your local hard drive from the classes folder:
Arch5422-Mark-SUM2015/Examples/IK/
 |
 |
| Skeltons.mb | SmoothSkins.mb |
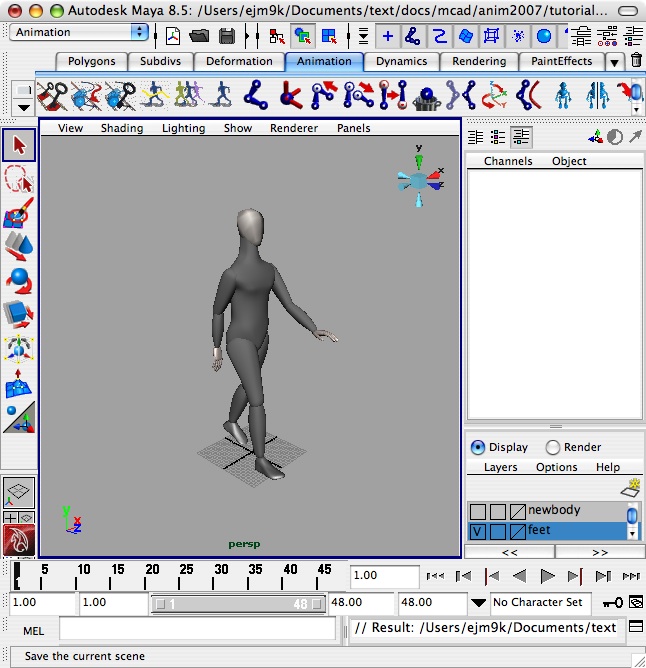
3, From within Maya, open the file Skeltons.mb, and
follow the Autodesk tutorial, pages
349 through 365. This covers setup of a skeleton and adding inverse
kinematics (ik) handles to it.
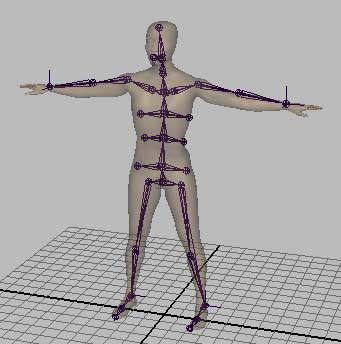
4. From within Maya, open the file SmoothSkins.mb, and follow the
Autodesk Maya tutoria, pages
366 through 377. This covers smooth skinning a surface model to a
skeleton and adjusting the influence of individual joints on the model.
5. Adjusting the influence of each skeleton joint over parts of the skin surface is oftern necessary. We will cover this in class; however, a tutorial is also found in Robinson in a section on "Editing smooth skins" in chapter 12. (available on-line from ongrounds or through UVA VPN access only).
6. You may wish to download the file
Gettingstarted1.pdf from the Autodesk web site other tutorial
materials. This web
site also contains tutorial files for Maya Unlimited.