June 24, 2015 Workshop 8
Notes
CAMERA CONTROL AND ATTRIBUTES
This workshop focuses on a few ways to
manipulate the MAYA camera. It also includes a final note about the IPR
rendering tool.
1, Camera Setup
- Select Create > Cameras > Camera Type
> , where Type is the type of camera.
- The Create Camera Options window appears.
- Set the camera options, then click Create.
Camera, or Camera + Aim, or Camera + Aim + Up
2. Harnessing camera to object with aim control
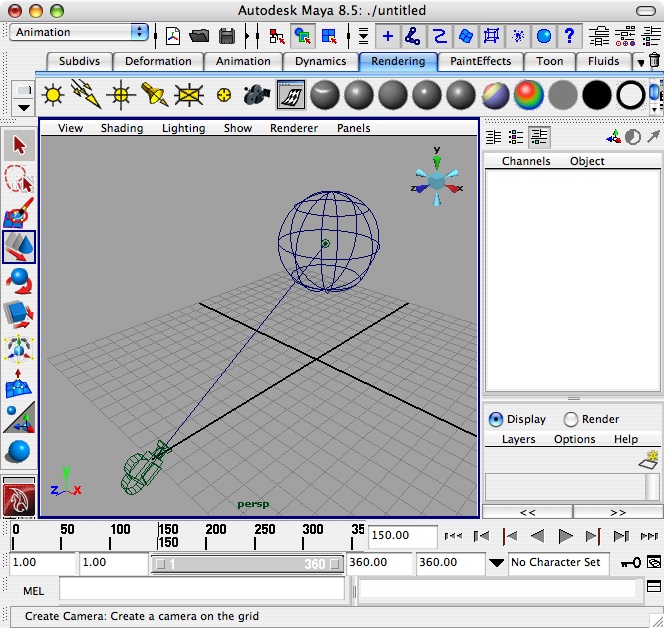
- Create Camera of type Camera + Aim.
- Move the camera around -> camera and aim move together
- Move the aim around -> camera follows the aim.
- Key frame a sphere and parent the “aim” to the
shere -> the camera follows the sphere.
3. Animating the camera
- Create some objects
- Create a simple Camera
- Select the camera in the outliner {caveat, camera must be
selected to be keyframed, changing the camera view and hitting the
keyframe will not work.
- Hit the s key to keyframe the camera in two different positions.
- Play the animation.
4. Rotate The Camera Around an Object
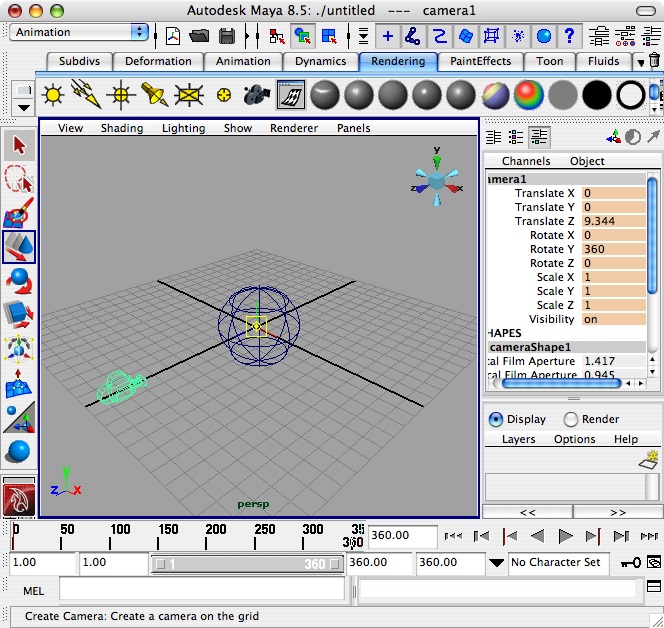
- Cameras> Create
- Move the camera back from the origin
- Press “w” and then
“insert”/”home” to go into pivot mode
- Move the “pivot” point to the origin
- Select the camera and hit “s” to key frame the
current location.
- Change the current frame in the animation to 30.
- In the channel box, type 360 in the Rotate Y field.
- Press “s” to keyframe the camera again.
- In the panels box, look through the camera.
- Playback the animation.
5. Animate the camera along a path
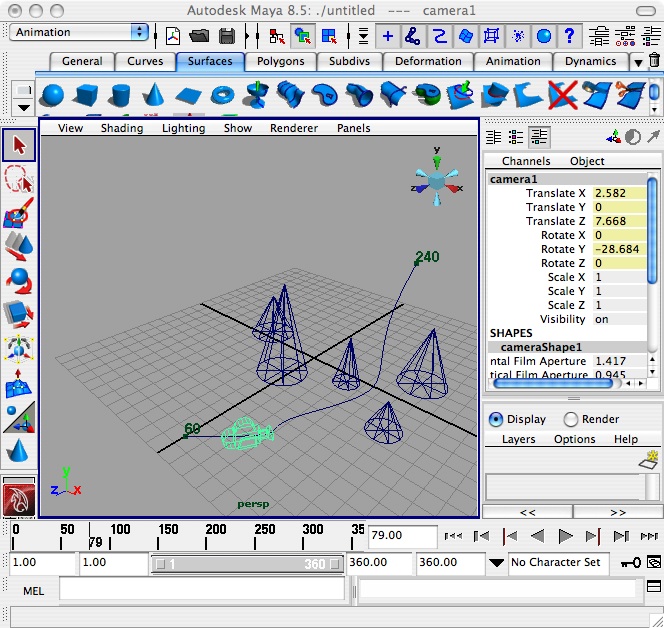
- Create a row of cones.
- Create a nurbs spline in top view the weaves among cones
- With the camera selected, shift-select the curve
- From Animate menu select Motion Paths/Attach to Motion Path
- With camera selected, select motionpath1 in the channel box >
four attributes appear
- If the camera is not pointing down the motion path directly, then
select the “Up Twist” box to ensure that the camera
is pointing in the right direction.
- Playback the animation.
- Use position marker shape attribute to set the “end
time” / or do so in the Attach to Motion Path check-box extended
dialog.
6. Focal length/camera zoom
- Place any surface at the origin
- View Menu/Select Camera
- In the Channels box set view length to 6
- Dolly the camera closer to the object (object distorted as in
fish eye).
7. Camera Attributes and focal length:
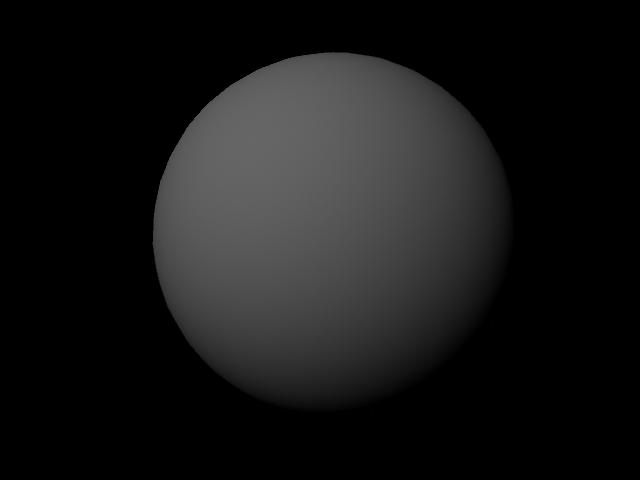 |
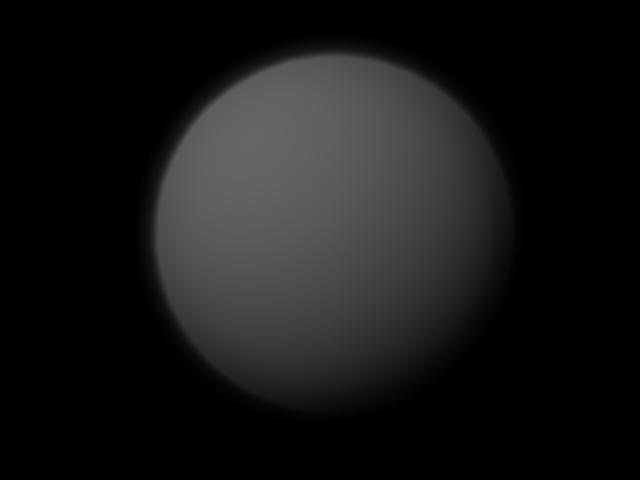 |
| in focus sphere |
out of focus sphere |
- Create and view some objects.
- Use Diplay/Heads Up Display/Object Details to see distance of
objects in the view.
- Select View window/view menu/camera attributes
- Set depth of field attribute (tied to fstop). Note: Depth of
field is the region of
sharp focus in a
photograph. Depth of field is determined by the camera's aperture
setting. At wide aperture settings (for example, at fStop f/2), the
depth of field is shallow, and more of the foreground and background
(that brackets the area in sharp focus) is out of focus. At narrow
aperture settings (for example, at fStop f/22), the depth of field is
deep, and more of the foreground and background is in
focus.
- Key frame focus distance to occur before distance of objects in
model, and then beyond distance of objects of the model and animate
between keys.
8. Motion Blur/Render Globals Option
- Simluates blurred motion on object.
9. View/Import Image (sets view background
image)
- Fit to Resolution Gate – Rendering resolution
- Fit to Film Gate – fits to Camera resolution (aspect ratio)
10. IPR Rendering (interactive rendering not
avail in raytracing – see changes immediately)
- Select NURBS plane with bump map.
- IPR rendering, draw box about plane.
- Update bump depth (to 2)
- See Changes immediately