Now that you have a surface relief created, ArtCAM is used to generate the appropriate toolpaths for machining it. This process has several steps and many different factors, including not just the surface itself, but also what cutting tool or tools you are using, how many machining passes to take, and what kind of passes these are - roughing to take out the bulk fo the material, or finishing to smooth out and clean up the surface.
ArtCAM keeps all of this fairly straightforward, though, and more or less stepwise through a top-to-bottom approach to making these decisions.
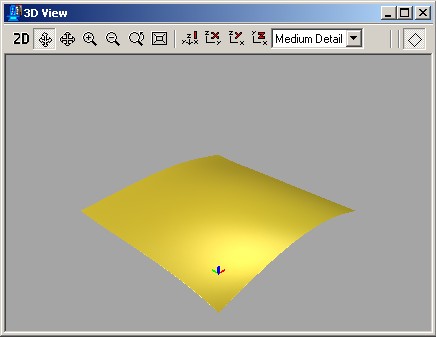
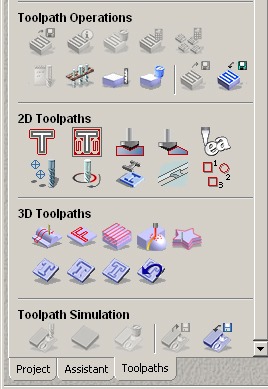
Once you have a relief loaded and displayed in the 3D window, like what you see above, you need to switch modes in ArtCAM into the Toolpaths section of the software.
At the bottom of the control pane (left side of the screen), find the Toolpaths tab, and click it. This will bring up the complete set of toolpath generation and posting tools (left).
For this handout I'm going to keep things simple and only work with a basic 3D Machine Surface operation. Other options for creating 2D toolpaths as well as 3D roughing and machining particular geometries exist as well, and you can and should experiment with these as you like.
To initiate 3D Machine Surface, choose the ![]() tool from the 3D Toolpaths section of the pane.
tool from the 3D Toolpaths section of the pane.

The following describes each of the options on the way down the path to machining.
Area to Machine:
This allows you to select to machine the entire relief model (Whole Model)
as a single machining process, or to select just one vector outline or
object (Selected Vector) to machine as an independent operation. The default
is the whole model, so we'll leave it that way for now. There are times,
however, where you might wish to only machine a small and single object
of the whole model, or to define such an object differently than others
within the whole relief.
Strategy:
This option gives the choice of:
Raster in X - the cutting tool passes back and forth across the machined
surface in parallel passes of the X (left-right) direction. This is the
default mode.
Raster in X and Y - same as X, cutting tool passes in both X and Y parallel
pass directions.
Spiral - Starting from a point, proceed outward in a continual spiral
as the surface condition is traced. This option does not include any remaining
corners.
Spiral in a Box - Same as spiral, but includes the remaining corners.
Raster Angle:
Turn the parallel passes of the cutting tool at an angle from teh X-axis
Allowance:
This will leave a certain depth of material behind that is not cut, essentially
offsetting the entire surface up the given distance. The remaining material
would then have to be cut off in another machining operation, usually
with a different or smaller tool. This is one mechanism for pursuing Rough
vs. Finish cutting.
Tolerance:
How closely the cutting tool's stepping motion fits the actual curve of
the geometry. A smaller value will yield a more precise form, but much
more code and far greater time.
Machine Safe Z:
This is the height above the surface of the stock at which it is safe
for the tool to move around. This value must be tall enough to clear any
clamps or other holding/fixing devices that are keeping the material stock
in place on the bed.
Tool:
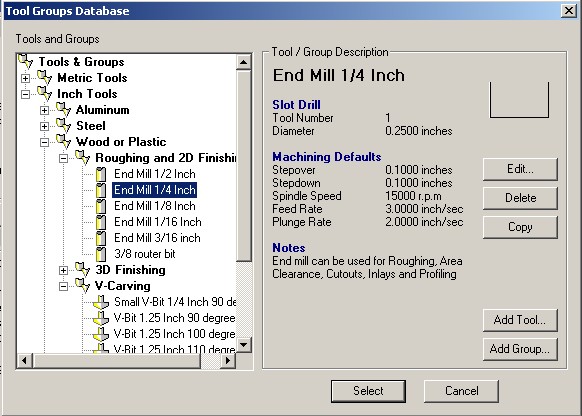
Select the cutting tool that you will use. This is the tool that the toolpaths
will be generated based upon, including the tool's cutting depth, width,
stepover, stepdown, etc. See the section on tool definition
below for details. This is perhaps the most important selection that you
will make in the toolpath generation process.
Multiple Z Passes:
If your surface requires a cut that will go deeper than the flute-length
of the cutting tool that you will use, then you must do multiple Z-passes.
Multiple Z-passes run the tool across the material cutting off one layer
at a time until you reach the bottom-most depth of your surface. If you
do not choose to do multiple passes, then you will end up trying to cut
with the smooth shank (shaft) of the cutting bit rather than the cutting
flutes. The shank cannot cut, so it will puch the stock right off the
table, or jam up the cutting head causing damage to the machine.
The Z-heights of the first and last passes establish the starting depth (relative to the 0,0,0 point established), and the ending depth of passes. The number of passes in between is calculated based upon the tool's StepDown setting - the distance that the tool will step downward for each new pass. This is set in the tool definition window.
Ramping Moves:
Some cutting tools are called "Center-Cutting", while others
are called "Noncenter-Cutting". Center-cutting tools are able
to cut using their tip, much like a drill bit, and are therefore able
to drill or "plunge" into the material. Noncenter-cutting tools
are not built to cut with their tips, only their sides. When using these
type of tools, if you want to move down into the material, you must use
Ramping Moves - zigzag motions to get the tool down into the material.
This is only necessary when using noncenter-cutting tools.
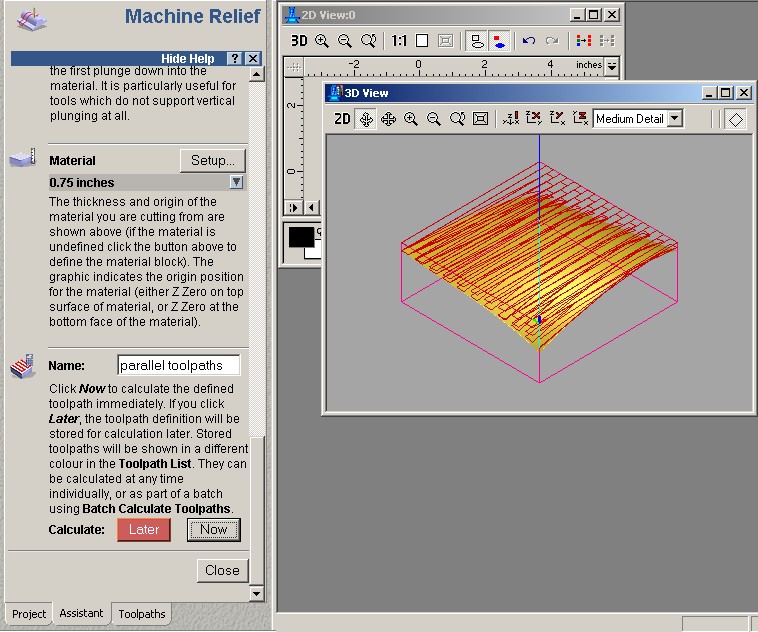
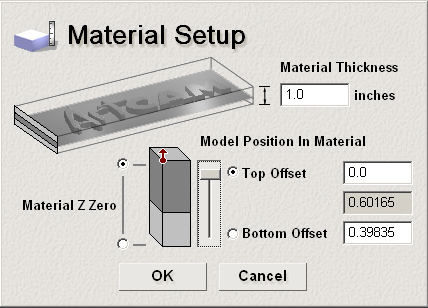
Material:
Click this Setup button to define the material stock to be used to cut
the surface relief out of. The relief itself does not contain this information,
so it must be defined here
Of importance here are the Thickness of the material and the location of the origin. Generally, you will want to place the origin at the top of the material block and use a Top Offset.
Name:
Give this machining process a name by which you can identify it later.
The name can be anything you like, but should refer to the processes meaningfully,
as you may later create several different ones on the same surface relief.
Calculate:
Once everything has been defined, choose to calculate the paths Now or
Later. Calculating paths will generate the toolpath graphics and data
according to the parameters that you have just defined.
