COMPUTER
AIDED
ARCHITECTURAL DESIGN
Workshop 8
Notes,
Week of October 15, 2017
Environment Settings, Sun, Sky, HDRI Images
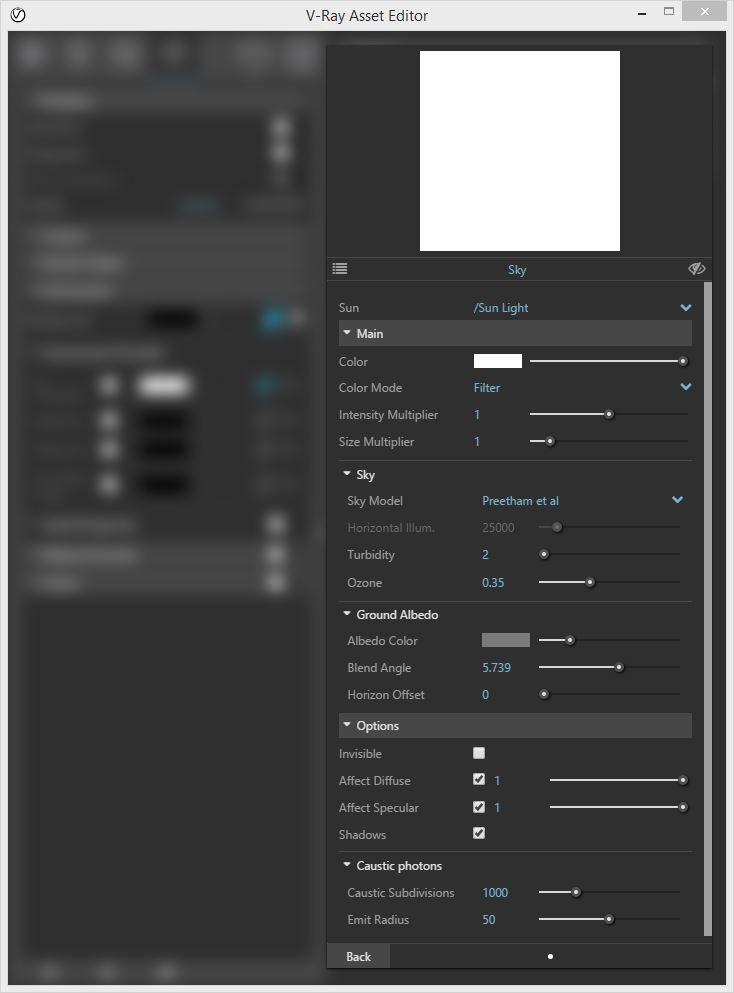
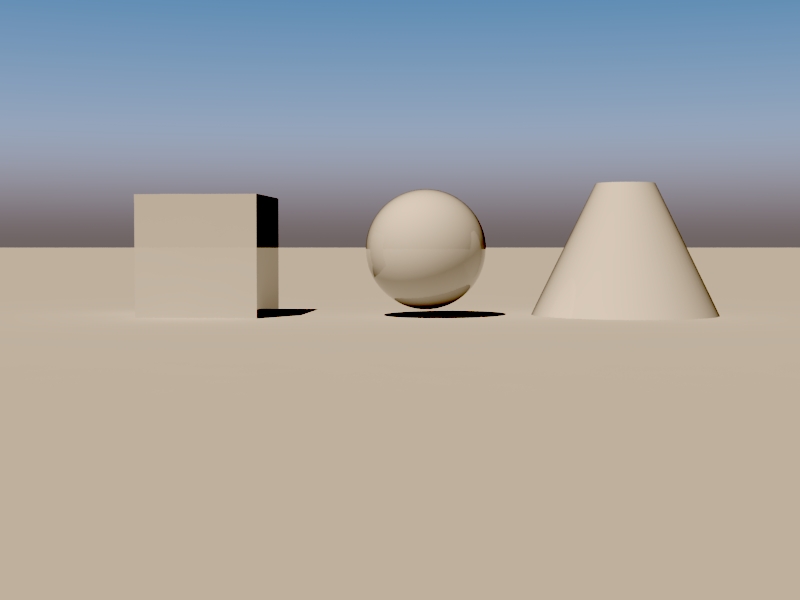
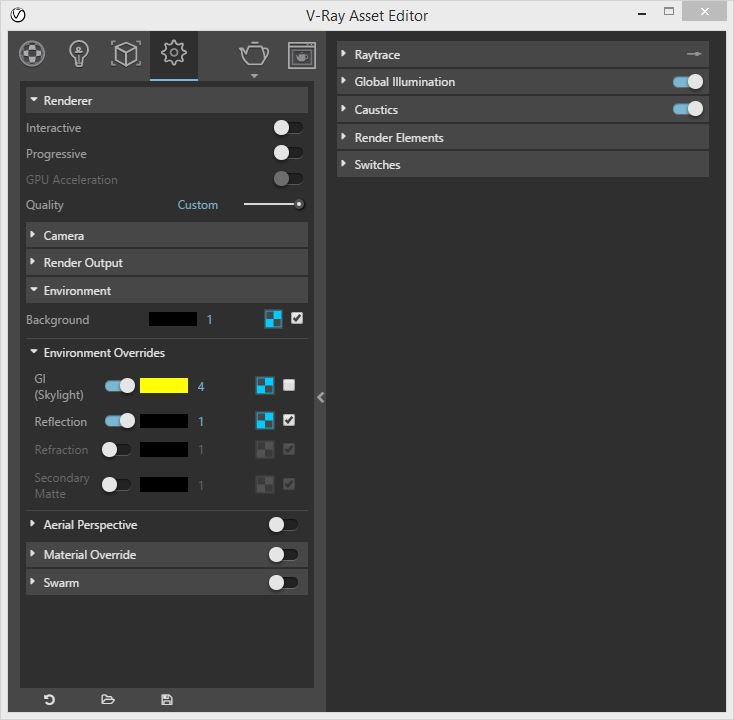
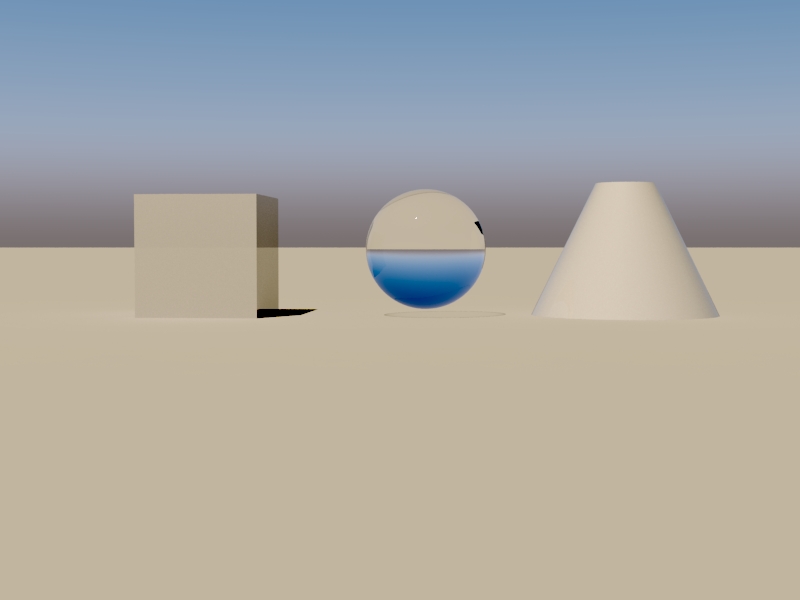
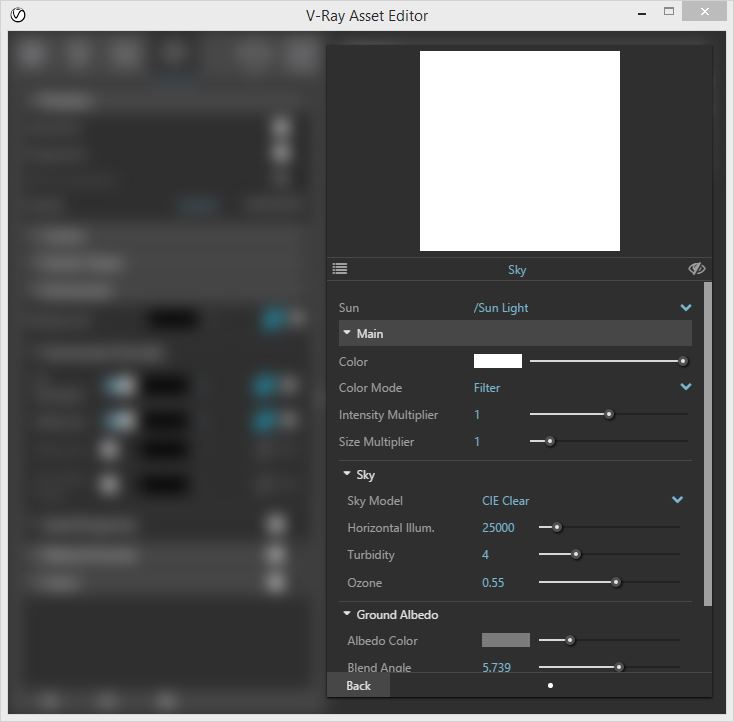
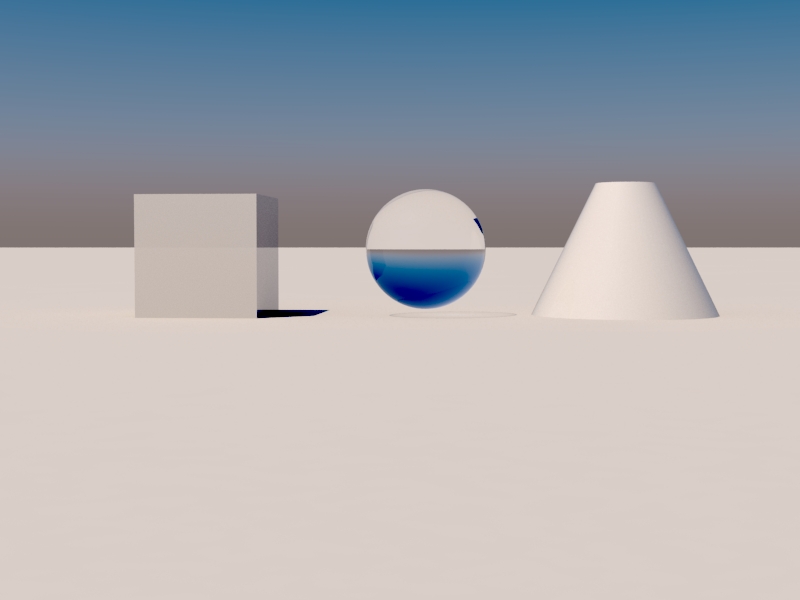
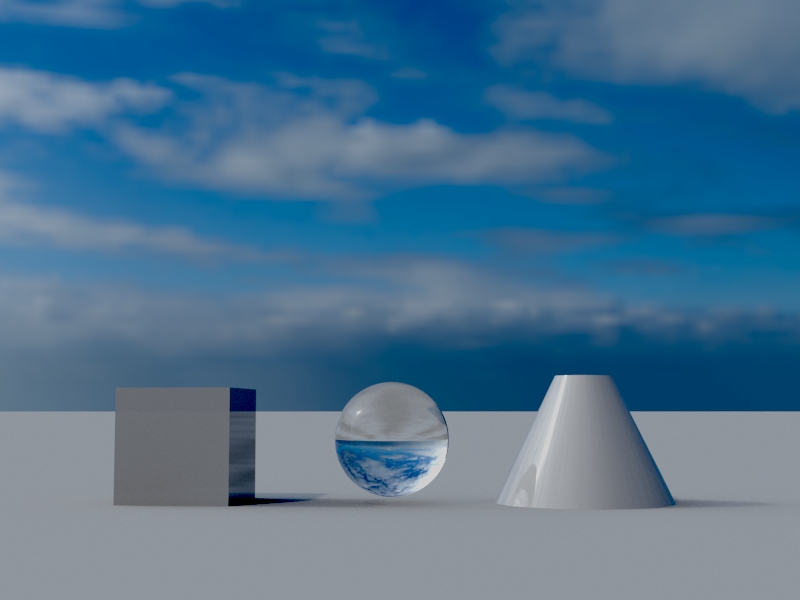
There are a number of options availble for determining the the general atmosphere assocaited with rendering, light and shadows studies. Some documentation used to develop this tutorial are published on line in the vV-Ray for Rhino manual published on-line at:2. Within the V-Ray Asset Editor, go to the "Environment" tab, select the checker-box icon adjacent to "Reflection/refraction (background), and add a "sky" as per the techniques used in workshop 6 . Set the "Sky Model" to "Preetham et. al. and set "Turbity to 2.0.
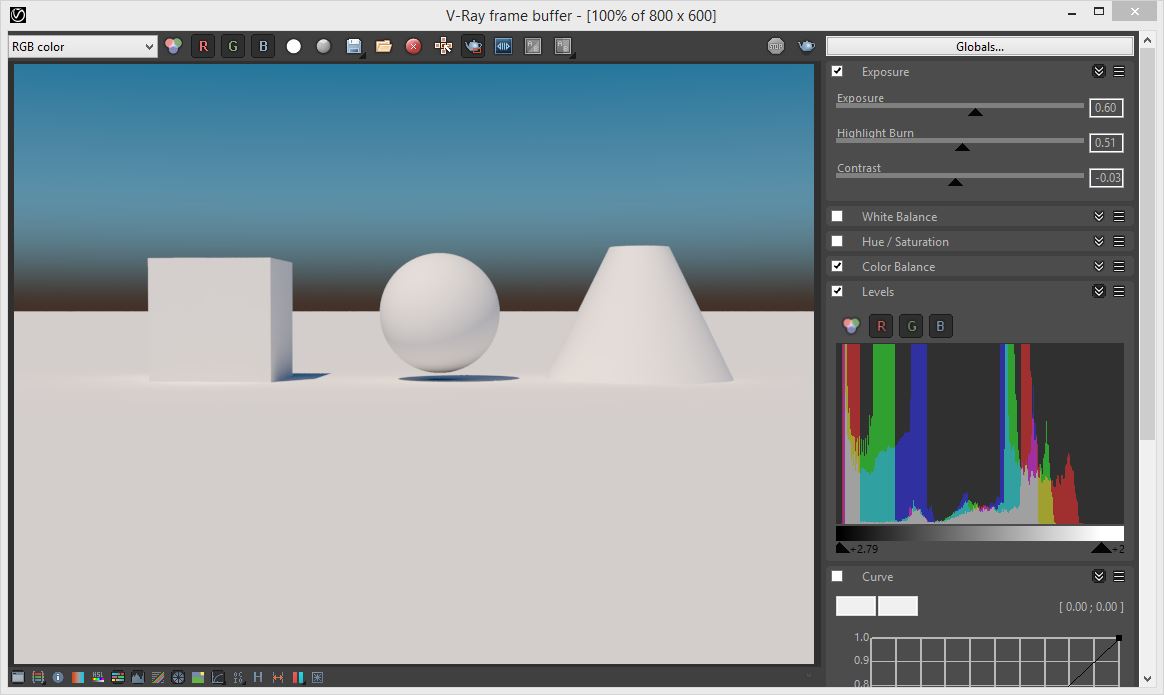
3. Do a test rendering in V-Ray and use the "Levels" option in the V-Ray frame buffer to adjust light balance.
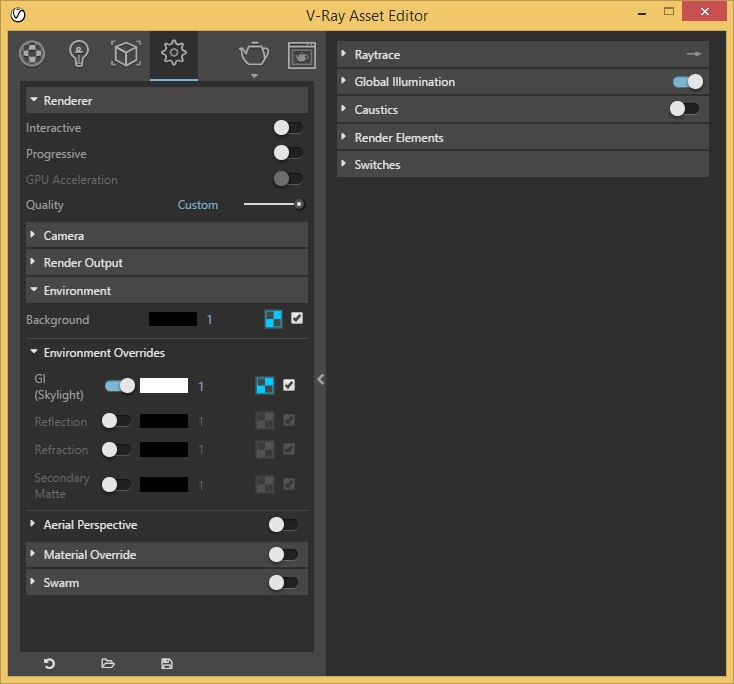
4. Now turn on the GI Skylight.
5. Select the checker box and then select the Sky option with the Preetham et. all. simlulation again similar to the method of workshop 6.
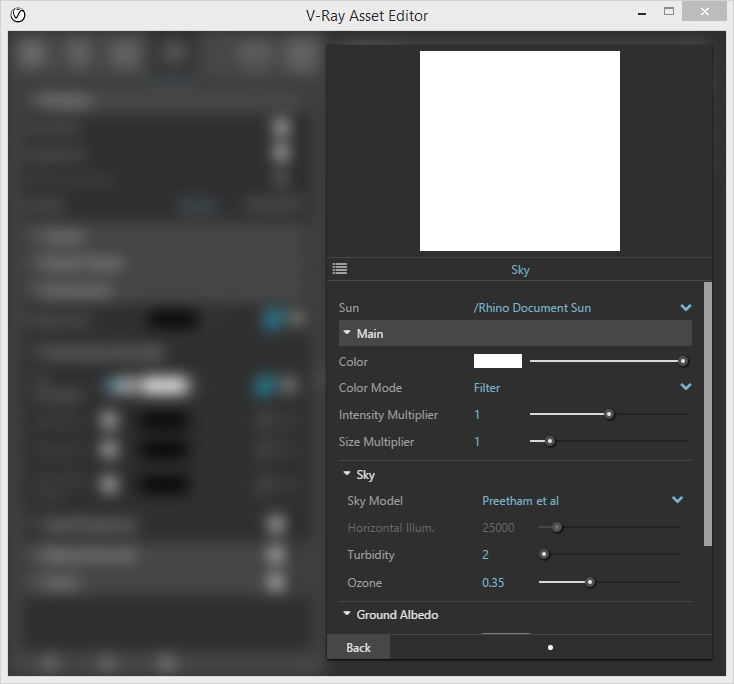
6. Re-render the same view and note that the tone of the materials is a little warmer.
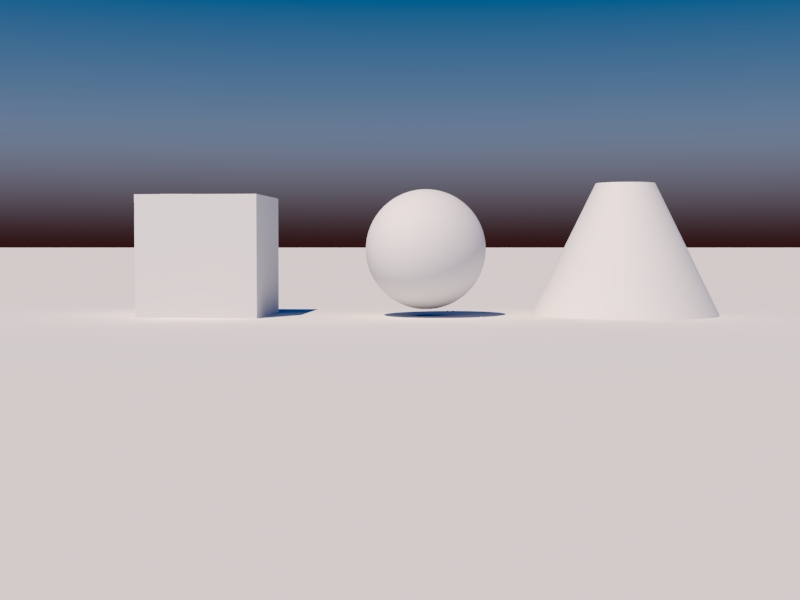
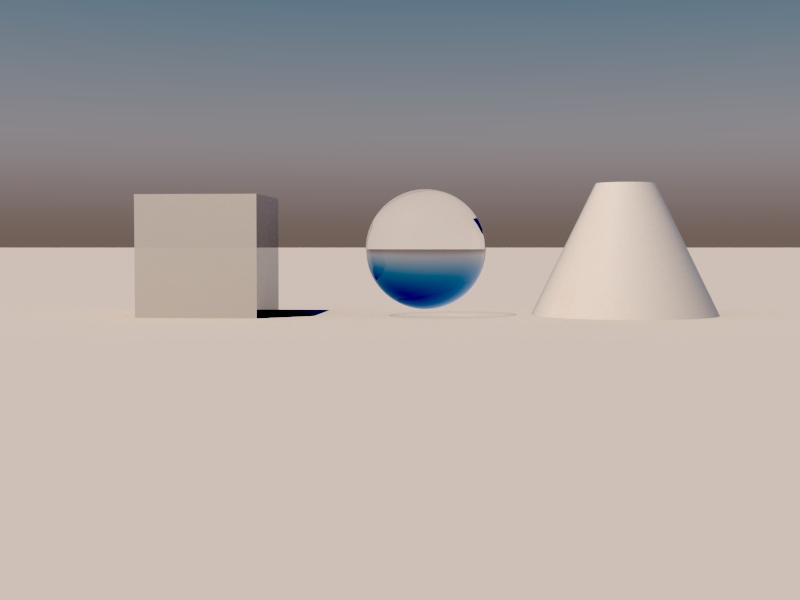
7. Now, similarly again to workshop 6, activate the switch on "Refection", select the checker box, and add the Preetham et. al simulated Sun to it.
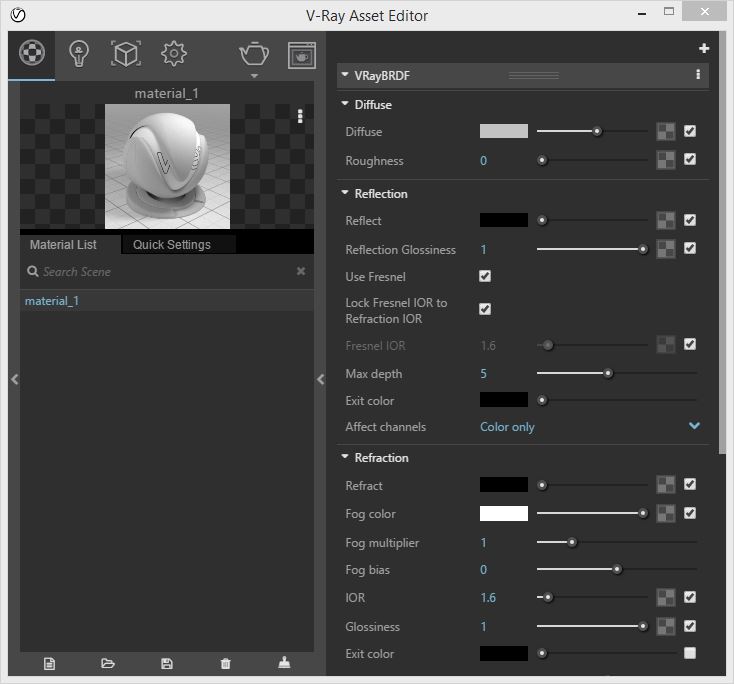
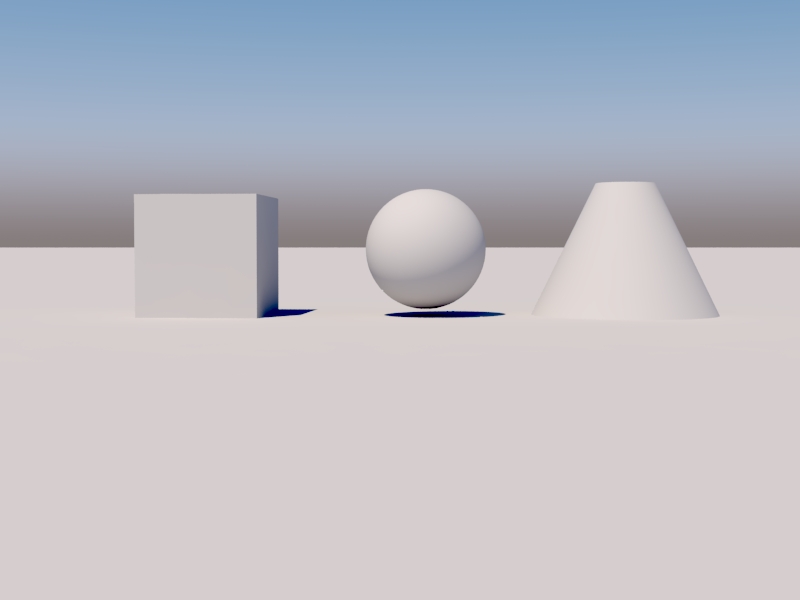
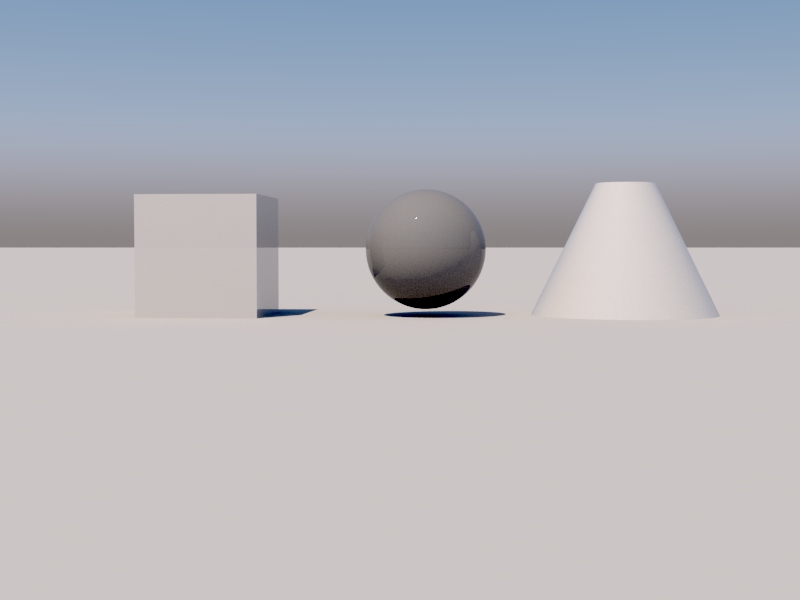
8. Now create a neutral gray Generic material, name it "material_1" and apply it to the objects and ground plane.
9. Re-render the same view and note the higher contrast range of the result.
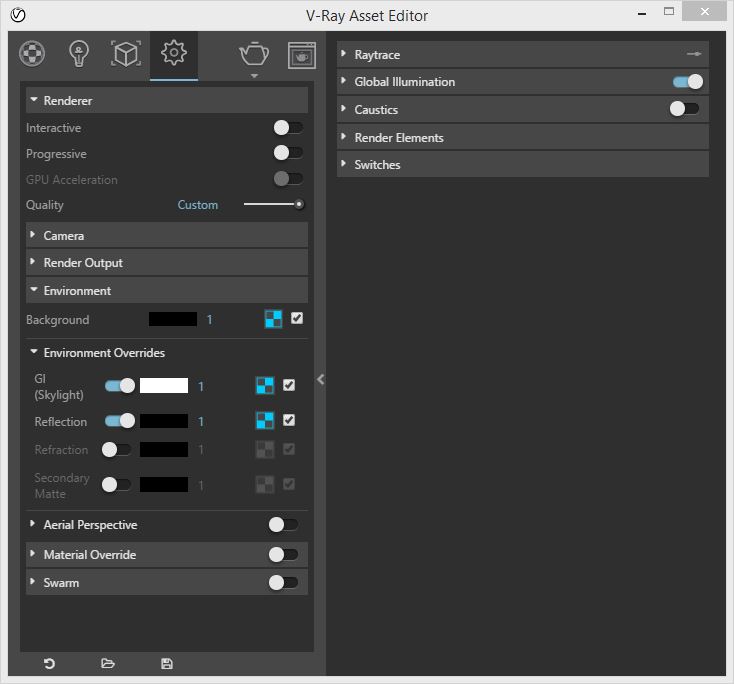
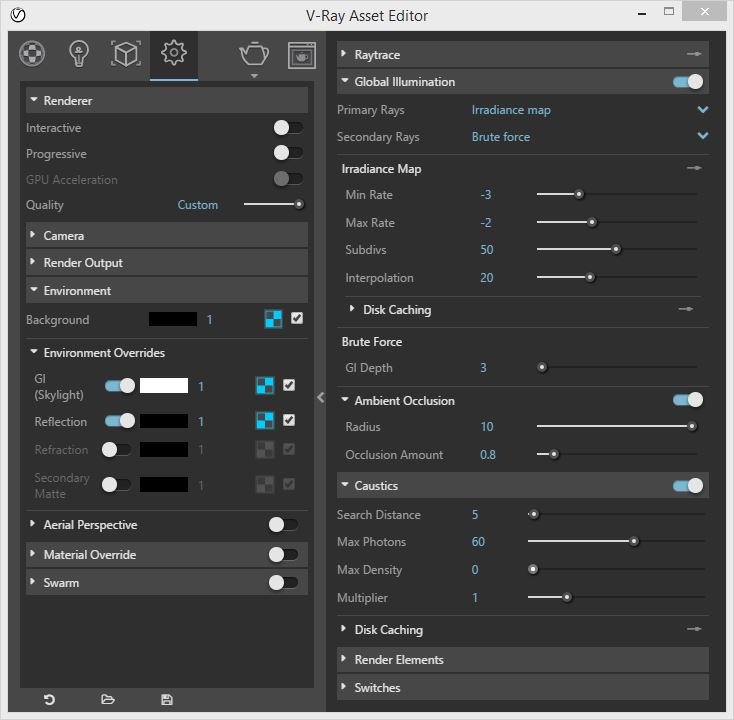
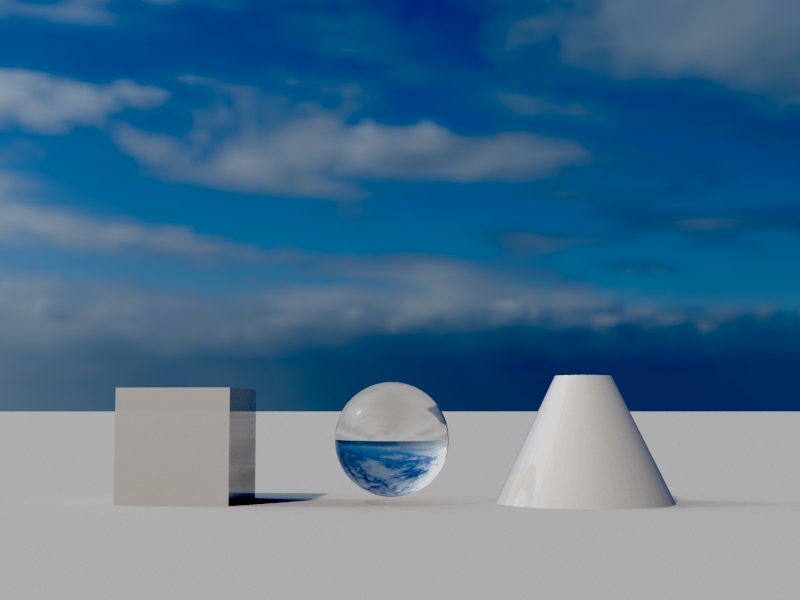
9. Now go to the "Caustics" tab, and select the check-box for
"Caustics" to turn caustics on.

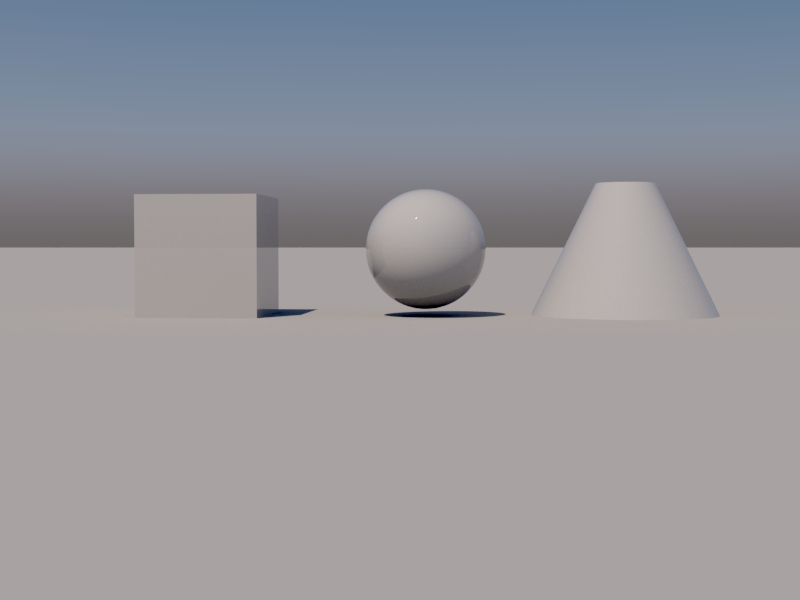
5. Do another test rendering in V-Ray. Given the lack of transparent surfaces there's very little difference if any between the two renderings.
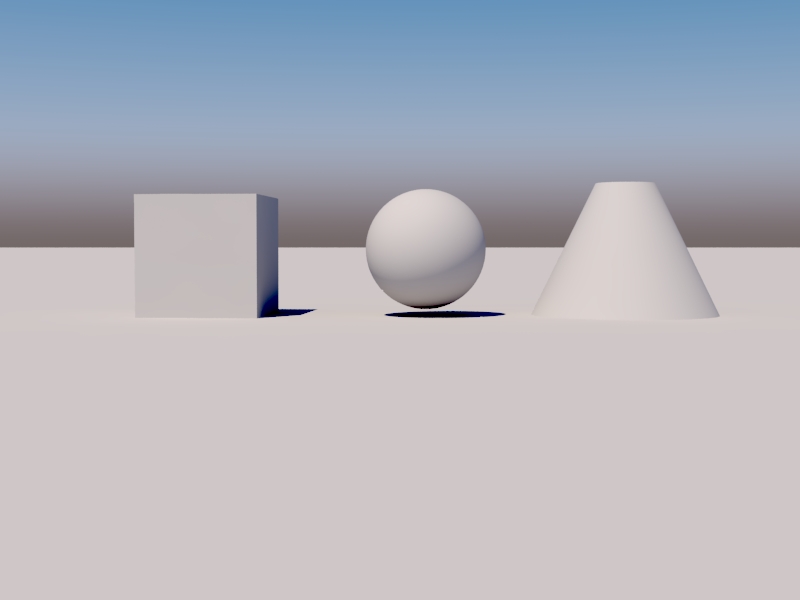
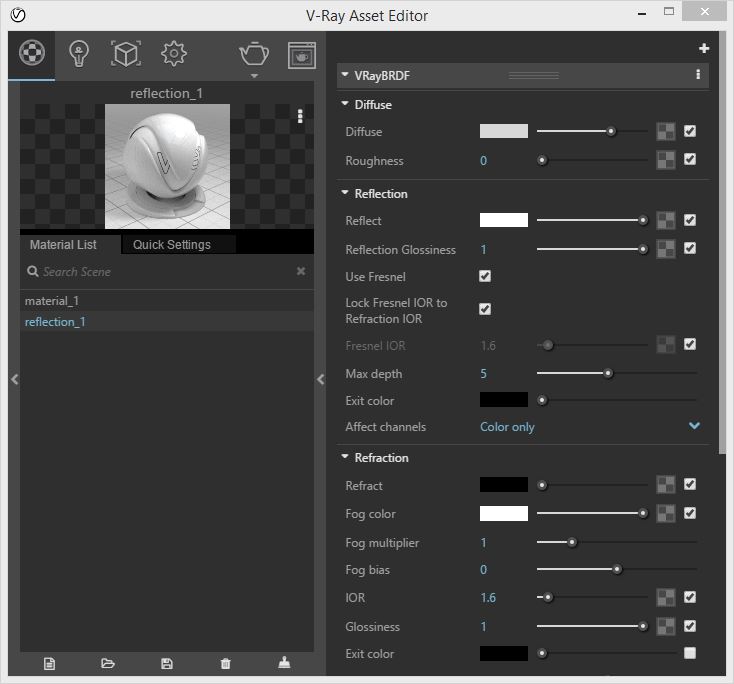
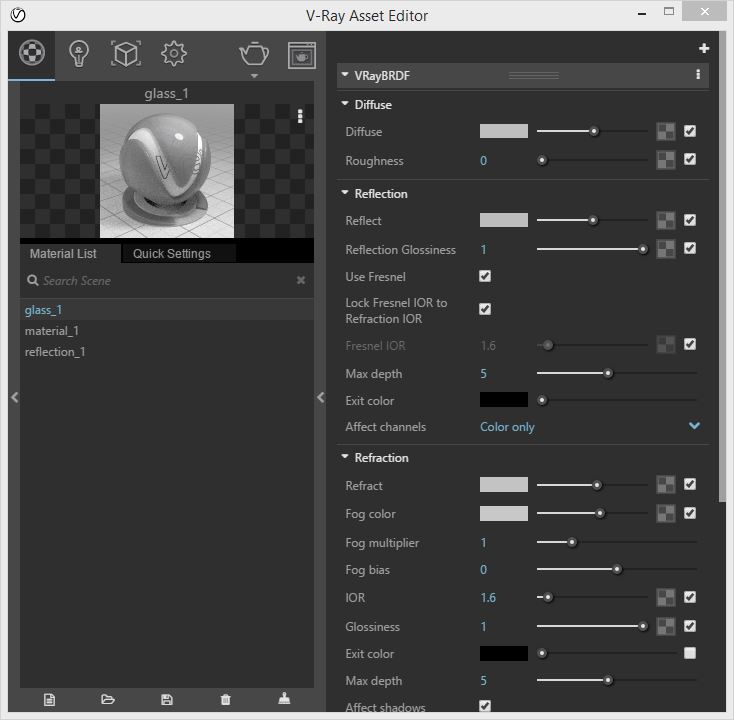
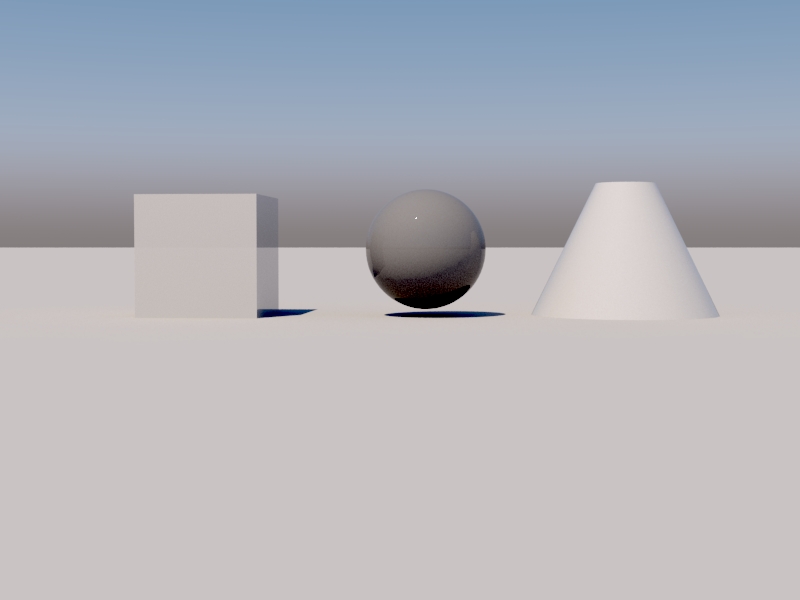
6. However, with the V-Ray materials editor create a light gray "generic " material named "reflection_1". Set the reflection color to white and and apply it to the three solid objects.
7. Re-render the same perspective view with caustics on and note the basic similarity in terms of the overall lighting and the casted shadows to the earlier renderings but for the less flat appearance of the solid objects with a subtle hint of blue on the edge of the sphere and cone..
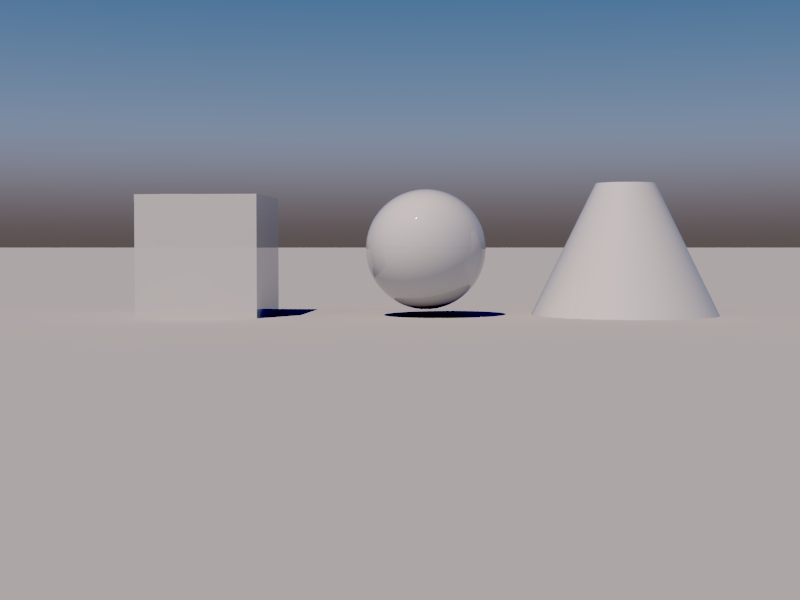
8. Now, however, within the V-Ray Options dialog box, turn off the "on" check-box for "GI (Skylight)" and :Reflection"

9. Re-render the image and note the higher contrast in comparison to the image under step 7. Here, the overall rendering appears warmer and the contrast range is about the same. The contribution of the Sky illumination has been lowered and the proportion of direct sun color temperature to color appears to have been increased.

 |
 |
 |
| morning | mid-day | late afternoon |
Morning rendering with color adjusted via the "Color corrections"
dialog box:
Mid-day rendeing with
color adjusted via the "Color corrections" dialog box:

Late afternoon rendering with color adjusted via the
"Color corrections" dialog box:
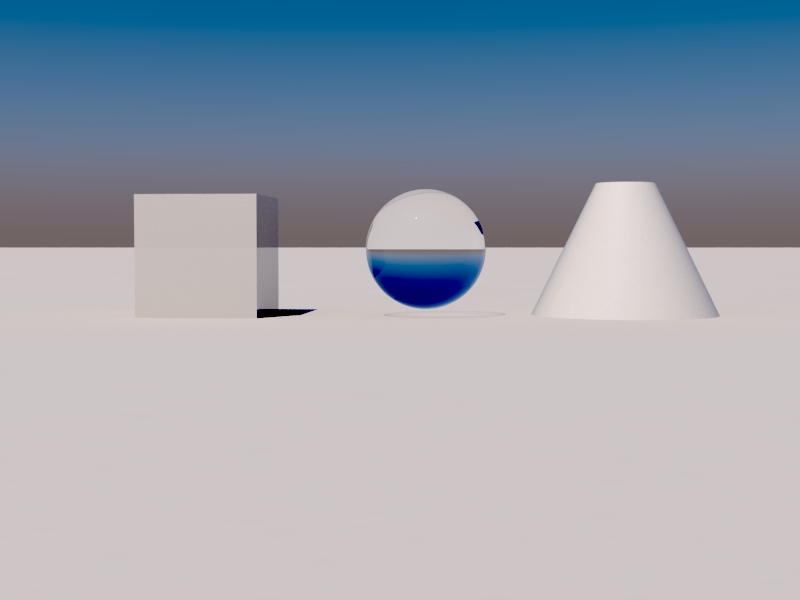
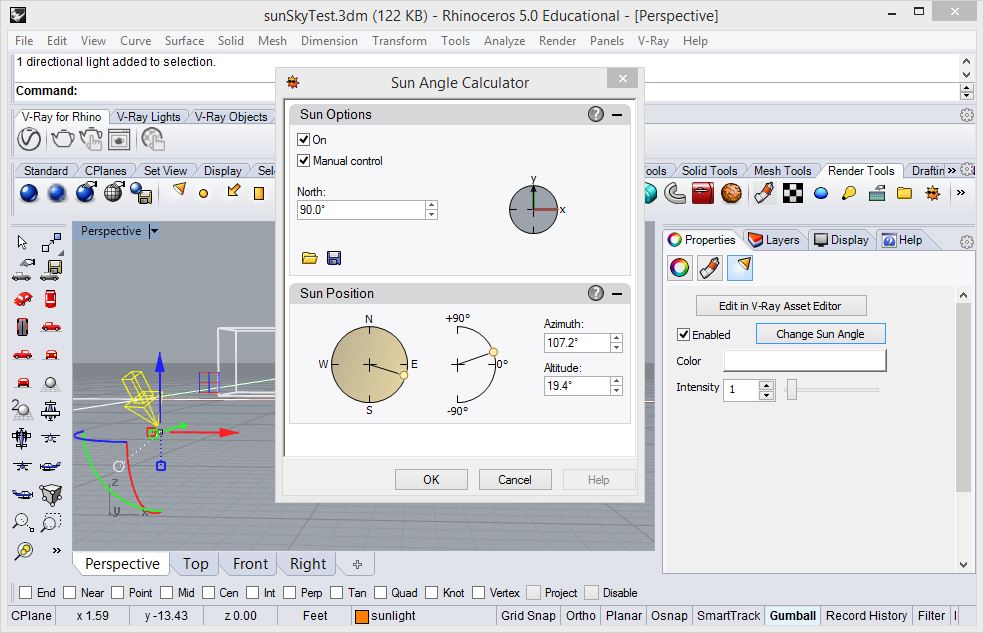
7. Adjust the sunlight to approximate early afternoon.
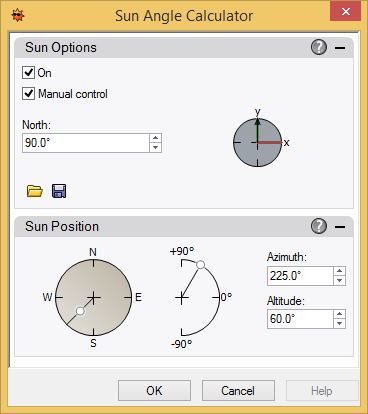
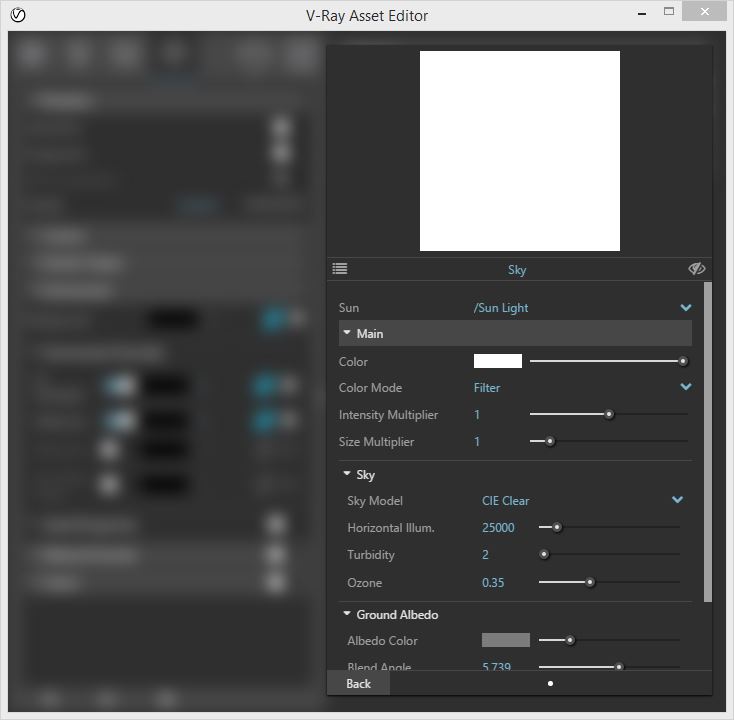
8. Return to the CIE Sky, and change the turbidity to values of
2, 5 and 8 and also rendering in turn for each value
respectively:
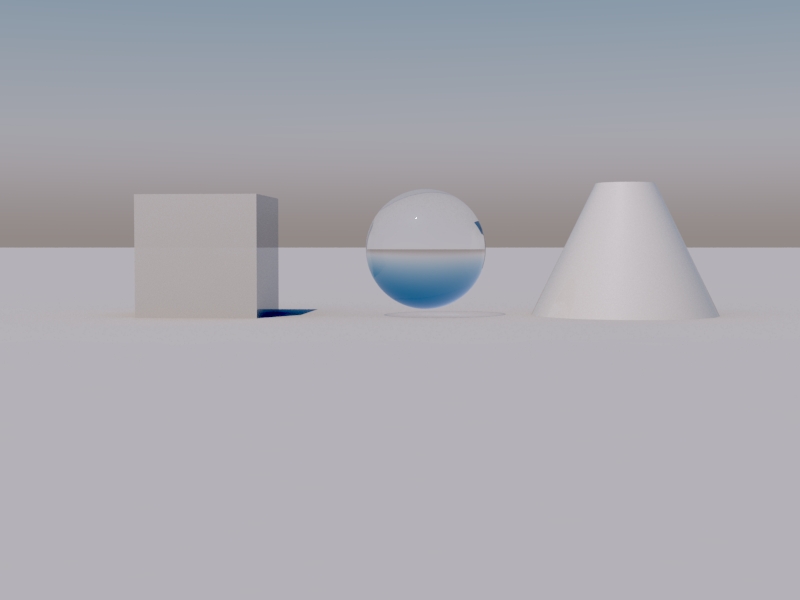
Turbidity = 2.0:
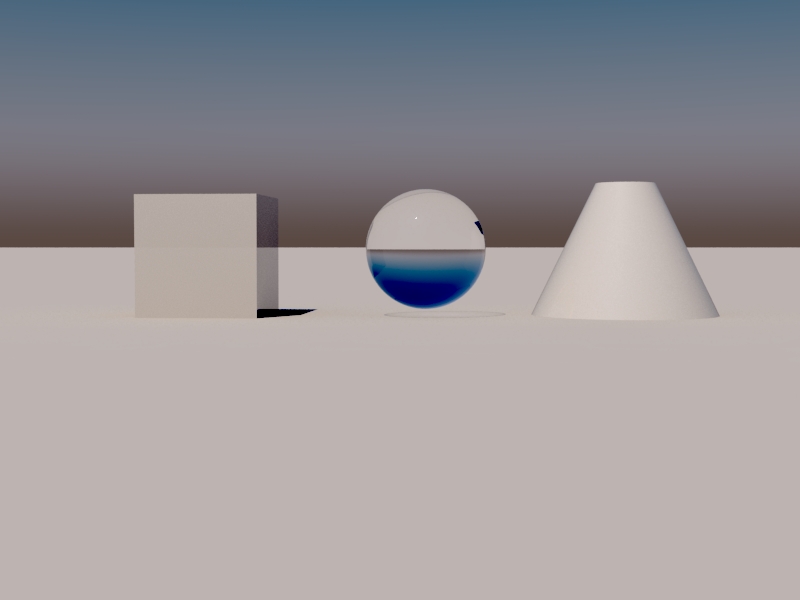
Turbidity = 4.0:
Turbidity = 8.0:

Part III: Viewing the
Sun.
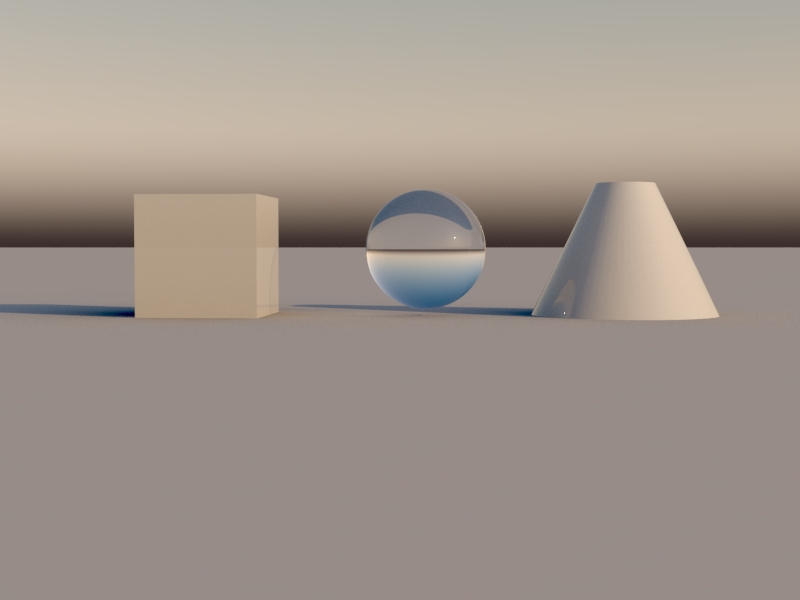
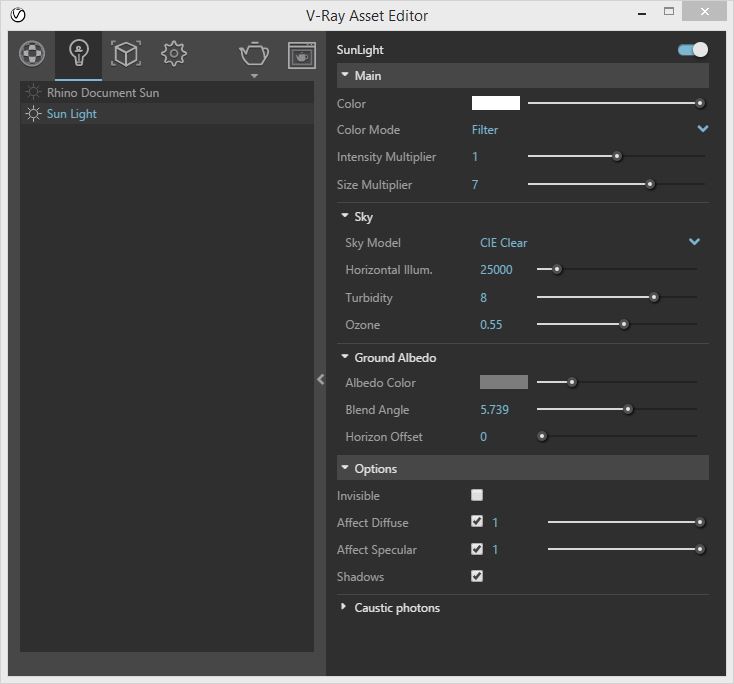
1. Return to the V-Ray Asset Editor,, Select the Light Iconr, and reset
the "Sun Light " size to 7.0. Note that this more direclty
accesses the same properties for "Background", "GI(Skylight)" and
"Reflection" skies
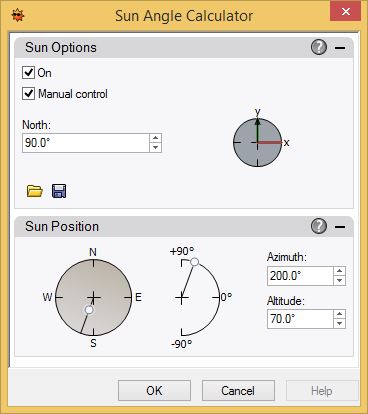
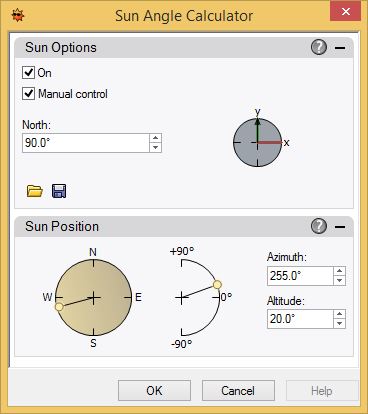
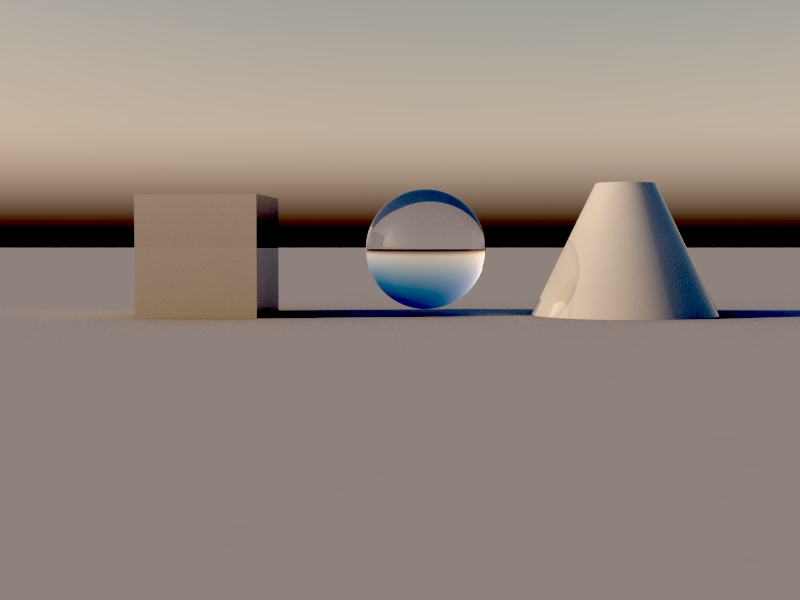
2. Change
the Sun Azimuth to 220 and the Altitude to 20, and rotate the view so
as to look in the approximate direction of the Sun, and render. This
may take a number of trial renderings to pinpoint the location of the
sunin the perspective view. Right-click on the view name "Perspective"
in the upper-half hand corner fo the view, hold down the right-mouse
button continuously and select the "Set Camera/Adjust Lens Length and
Dolly" tool to adjust the view. Use this tool in combination with with
the "Pan" tool to help find the appropriate adjustment of the view so
the the sun will be visible within it.
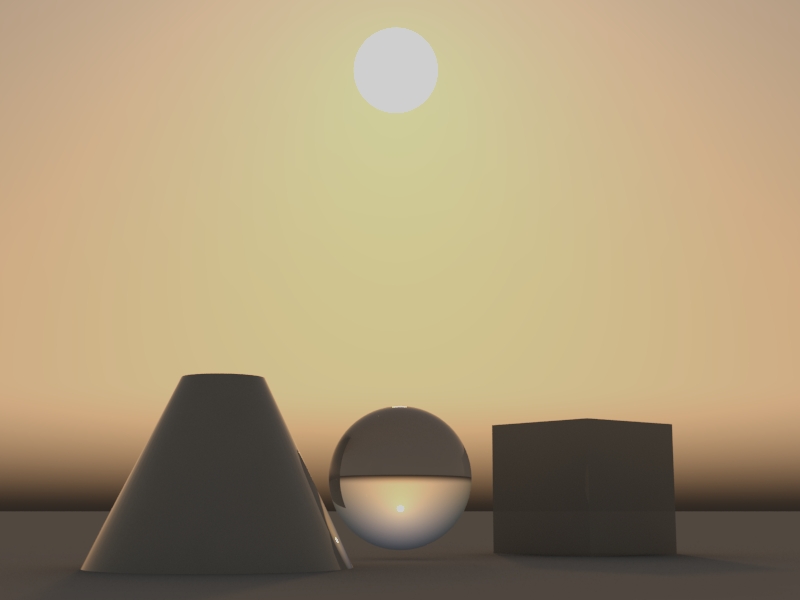
3. Restore the Turbidity to 2.0 and re-render the same view.
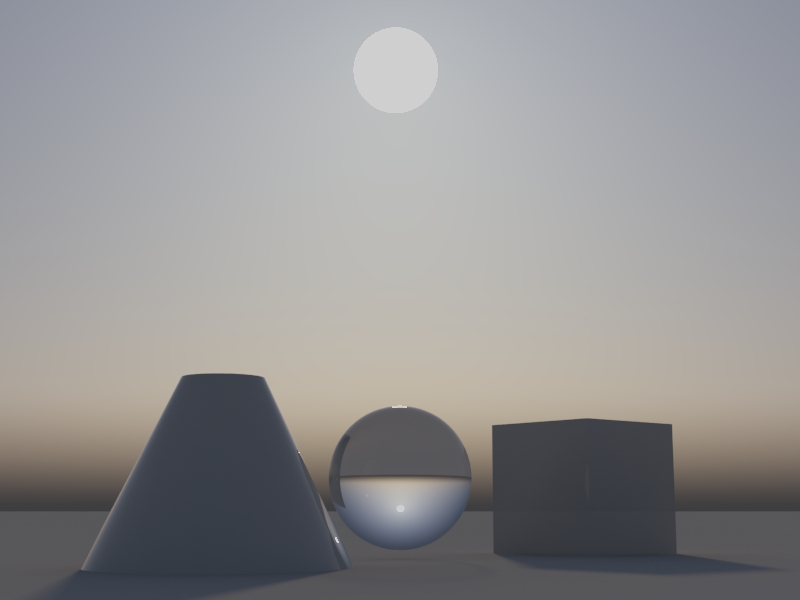
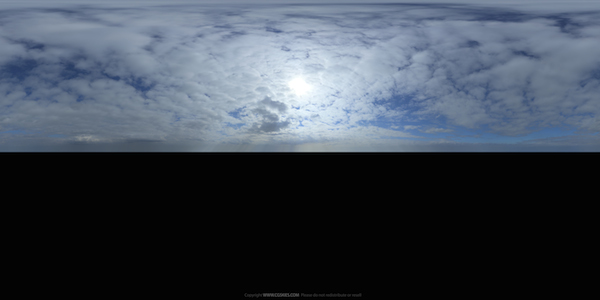
Part V: HDR Environmental Sky
Select an HDR ski from the classes\examples\HDRSampleSkies, or download
the entire folder, and place it in same folder as your Rhino
3dm file. A number of copyright free HDR skies are available
on web sites for a fee and some are available without charge. These
examples were obtained from the web site http://http://www.cgskies.com/
and subject to terms of restricted use for educational purposes. See
the
cgskies web site for copyright restrictions.
1. Go Back to the "V-Ray Asset Editor" and switch off the Environmental Overrides for "Backround" , "GI(Skylight", "and "Refraction"

2. Select the V-Ray lights tab and select the "Dome" light as well

The "Dome" light is the fourth from the right-hand side:

Place the dome-light in the center of the model space and concurrently select the HDRI sky file.
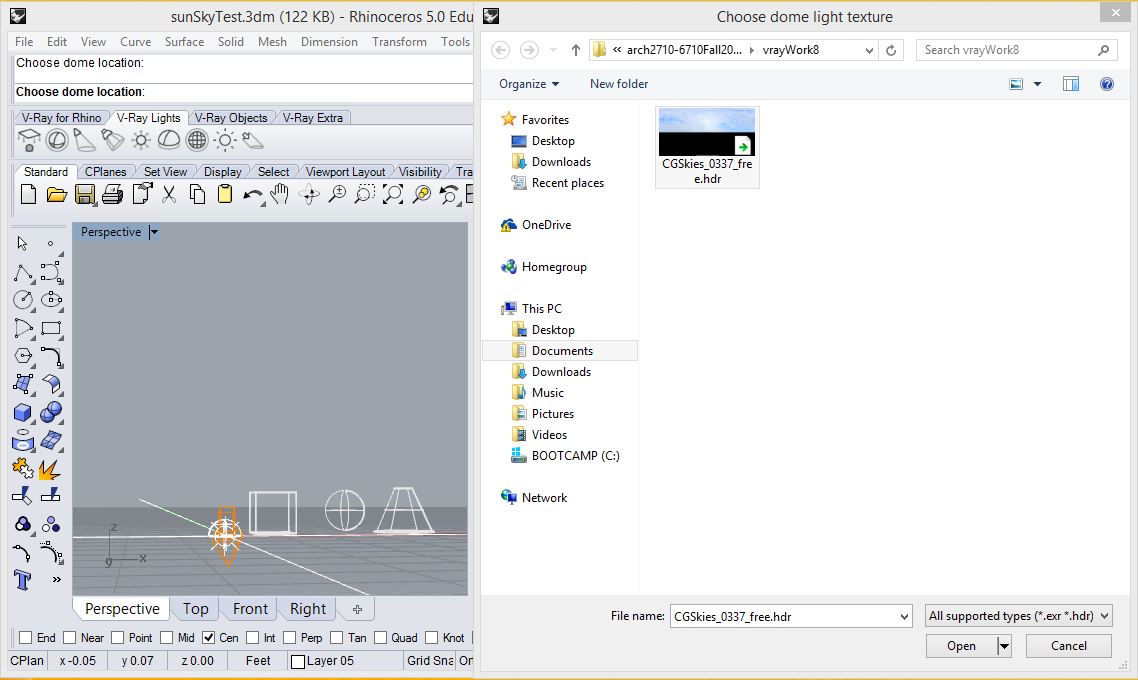
2. Select "Open" to return to Rhino. Using the scale tool, adjust
the scale facor for the dome to a size that surrounds the model (500
was used in this case).
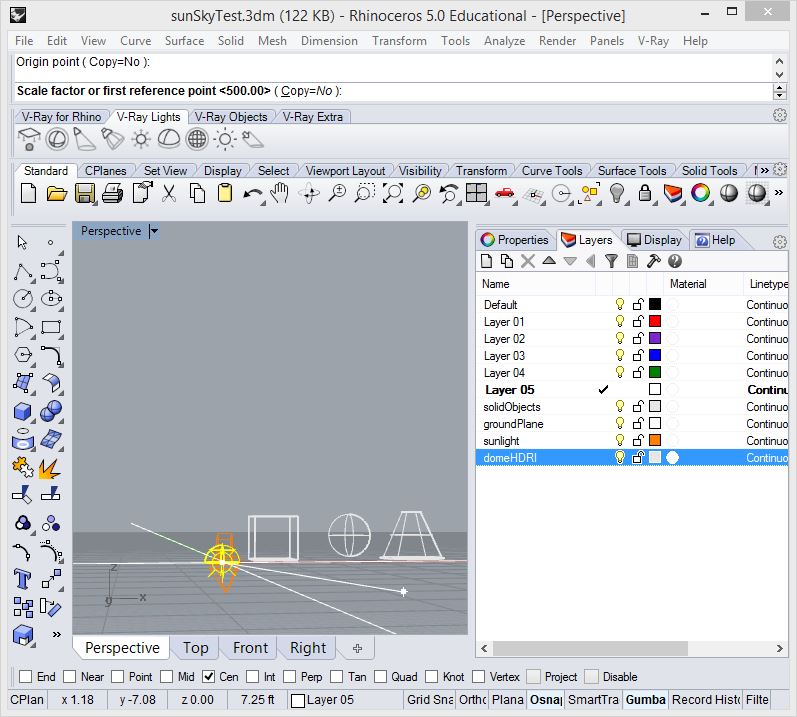
3. Within the "V-Ray Asset Editor" select the "Dome Light" and adjust the scalar value for intensity to 1000.
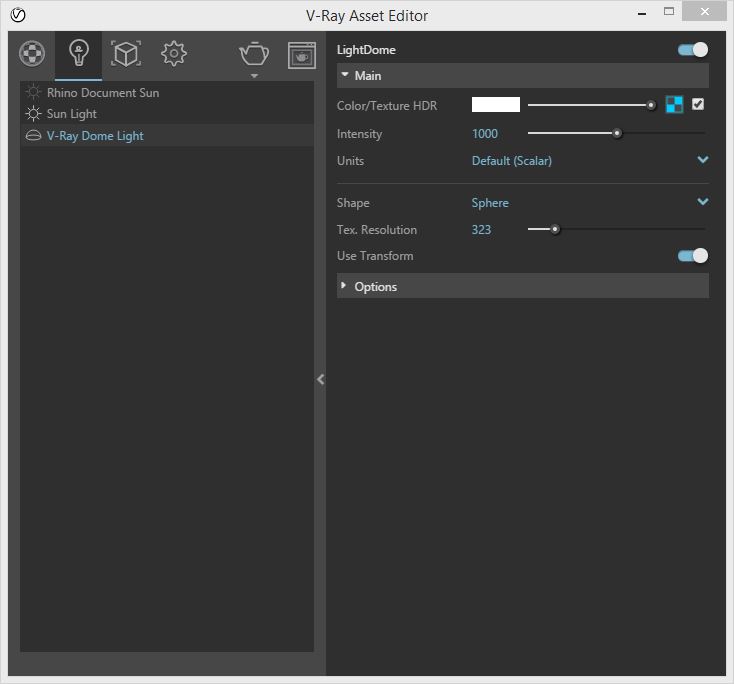
Note that a more accurate approach is to specify the itensity in Lumens or Watts which is one of the pull down options. under "Units".
4.
Change perspective as appropriate to establish a greater
area of sky within the view, re-render, post-processing the
result through the" Color corrections" dialog box as needed
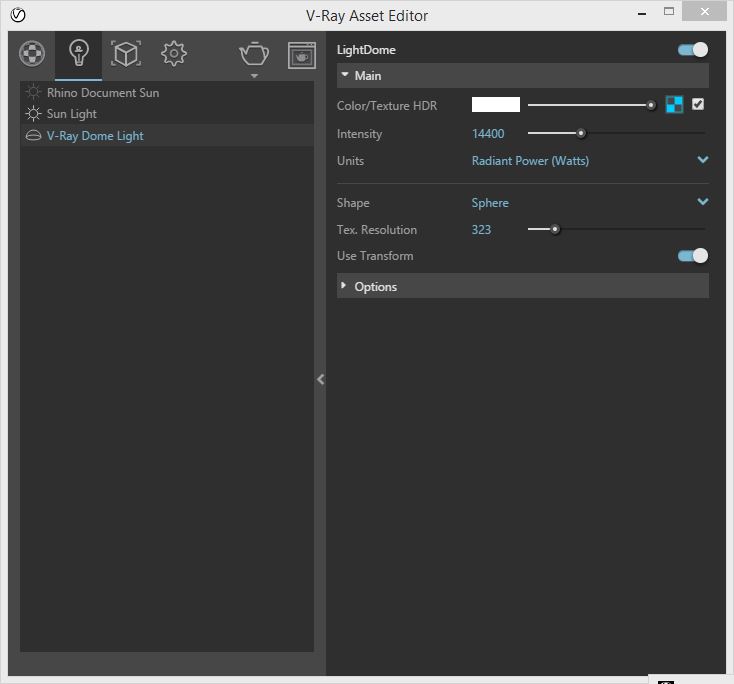
to obtain the appropriate exposure. See below renderings at 1000 scalar
(center) and 14400 watts (right) with light levels adjusted in
rendering.
 |
 |  |