Actors and Scripts
Creating an animation within Microstation involves several steps. Once an actor has been defined (see creating an actor), steps to be followed in producing an animation are to:
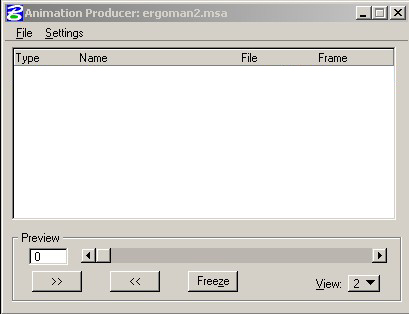
1. Open the script file and save it separately from the dgn file with its file pull down menu. Script files have the suffix ".msa" and appear in an "Animation Producer" window. The script file a master choreographic sheet in which all actors and other events are listed in frame sequence order. Its possible to list more than one event occuring over the same interval of frames which provides this approach with some useful advantagees for setting up multple and simultaneous animated elements. The script file below is named "ergoman2.msa". No events are yet incorporated into the script file.
.
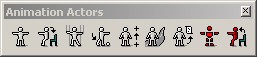
2. Manipulate and key frame the actor at different locations. The Animation Actors palette contains a number of icons for naming, defining the coordinate systems of, and in other ways determining the properties of actors.
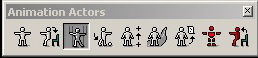
2.A. First, from the actors palette, you need to select the manipulate actor tool:
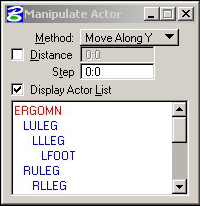
When invoking the Manipulate Actors tool, the window below is opened. Note that it includes a reference to the actor "ERGOMN" and its hierarchically linked elements, including "LULEG" (left upper leg), "LLLEG" (left lower leg), and at an equal position in the heirarchy, "RULEG") (right upper leg), "RLLEG" (right lower leg), etc., as have been linked to the actor "ERGOMN". Other actors linked to "ERGOMN" are not shown here, but would be viewable in Microstation by hitting the scroll bar on the right hand side of the list.
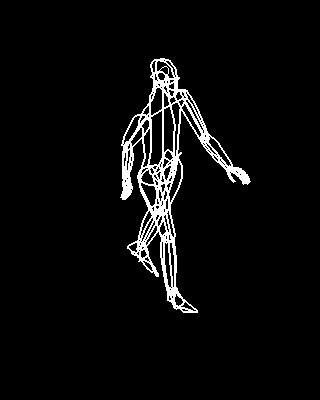
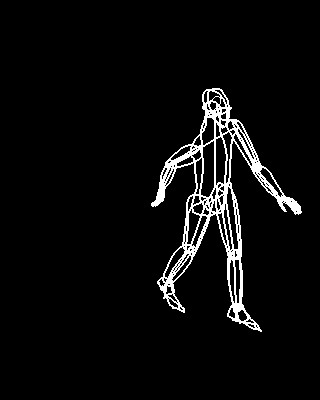
2. B Each modification of the actor is then captured in a key frame. For example, each of three modifications below of a hierarchically linked actor are captured as keyframes as "start", "step1", and step2". The actor "ERGOMN" is translated along its "Y" axis . Its legs and arms are rotated around the "X" axis.
 |
 |
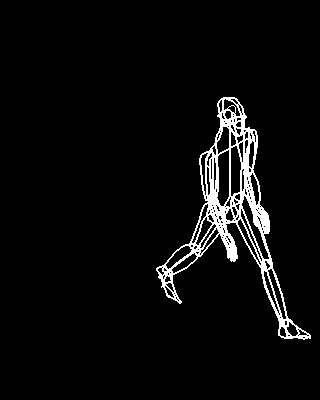 |
Each of these separate positions is recorded with hitting the "Create" button of the Animation KeyFrames dialog box explicitly by the user as they are created. That is, "ERGOMN" is put into the position of the first image and the "Create" button is selected to create a keyframe called "start". The full set of dialog windows is not shown here. Next, "ERGOMN" is moved to the middle image position and the Create" button is selected to create a keyframe called "step1". Similarly, "ERGOMN" is moved to the right image position and the Create" button is selected to create a keyframe called "step2".
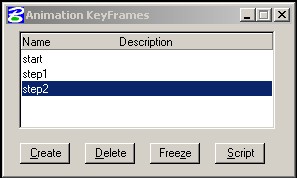
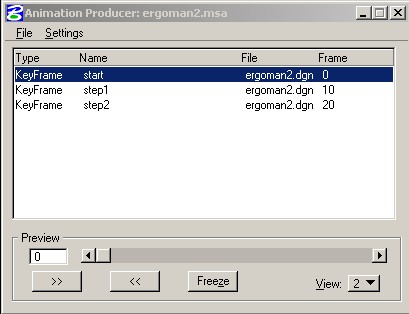
3. Hitting the script button in the "Animation KeyFrames" dialog (above) is then undertaken for each key frame so to place them in the script with each one at a discretionary frame number as illustrated in the modified Animation Producer window below..
4. From the file menu of the script dialog box, the next step is to record the animation in one of the many file formats available. The dialog box for this step is not shown here. Note that the "fli" format is an 8-bit color format and limited to one master file for the entire animation. However, the jpeg format records each frame to a separate file in a numerical sequence.
5. These files can then optionally be compiled into a Quicktime animation, or processed into a movie in a variety of other ways. The current version of Quictime software provides an option to read in an image sequence and to then export the sequence into a self-contained Quicktime movie. This is the technique used to make the Quicktime movie above.